Flushing Water Heater Made Easy: Clear and Simple Instructions
Did you know that ignoring routine maintenance of your water heating system can cause it to lose efficiency and potentially become a safety risk? One crucial maintenance aspect is flushing water heater, which helps avert sediment buildup that can hamper your unit’s performance and lead to expensive repair or replacement costs. Regularly flushing your water heater ensures it operates efficiently and extends its lifespan.
This guide will delve into the significance of flushing water heater and supply you with detailed, easy-to-follow instructions to perform this essential maintenance task on your own. By adhering to these steps, you can keep your water heater in top condition and enjoy consistent, reliable hot water in your home.
Why Flushing Your Water Heater is Important
Flushing your water heater is a crucial maintenance task that ensures optimal performance and prevents potential problems. Regular flushing keeps your heater running efficiently and prolongs its lifespan.
- Prevent Sediment Build-Up: Over time, sediment and minerals can settle at the bottom of the tank. This accumulation can cause clogs, reduce heating efficiency, and lead to potential damage.
- Increase Efficiency: Removing sediment allows the heater to work more efficiently by improving heat transfer. This means your water heats up faster and more consistently.
- Extend Lifespan: Regular maintenance, like flushing, helps to avoid wear and tear caused by sediment. This practice can significantly extend the lifespan of your water heater, saving you from premature replacements.
- Reduce Energy Bills: An efficient water heater uses less energy to heat water. Keeping your heater clean and sediment-free can lower your energy consumption and reduce your utility bills.
Tools and Materials Needed
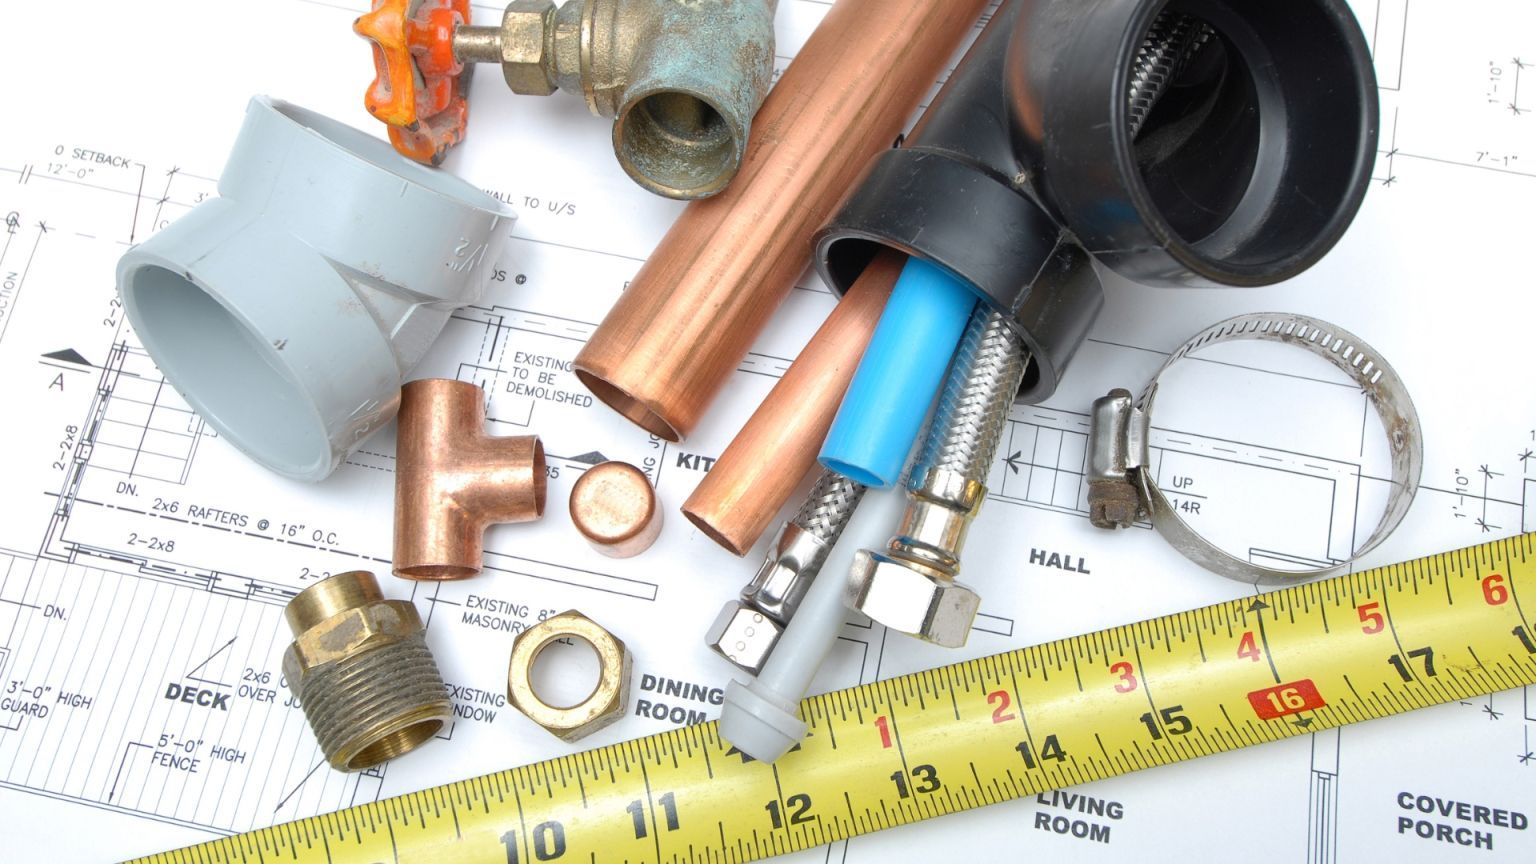
The right tools and materials are crucial for a successful water heater flush. Having everything prepared in advance will ensure a smooth and efficient process, helping you maintain your water heater with ease.
Basic Tools List:
- Garden hose: Used to drain the water from the heater.
- Bucket: Handy for catching any spills or for additional draining.
- Adjustable wrench: Helps to open and close the drain valve and other fittings.
- Screwdriver: Useful for removing access panels or screws.
Optional Items:
- Teflon tape: Helps to seal any connections if you need to replace them.
- Water heater flush kit: This can make flushing easier and more efficient.
- Gloves: To protect your hands from hot water and sharp edges.
- Towels or rags: These are used to clean up spills and ensure a dry workspace.
- Pressure relief valve: If yours needs replacement during the process.
Ensure you have these tools and materials before starting the flushing process.
Flushing Water Heater: Step-by-Step Instructions
Flushing your water heater might seem daunting, but it’s simple and can be done with basic household tools. Follow these easy steps to keep your water heater in top shape and ensure it runs efficiently for years to come.
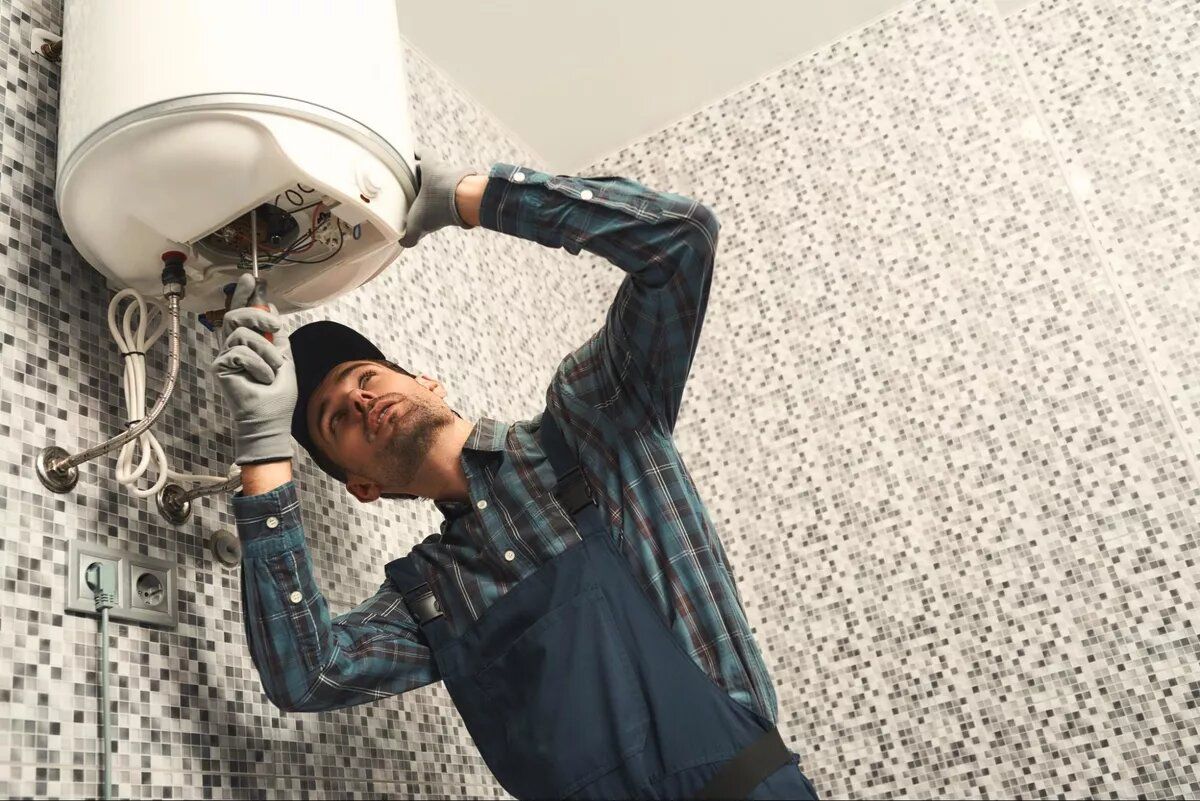
Step 1: Turn Off the Power:
For electric heaters, switch off the power at the circuit breaker. Turn the gas valve to the “pilot” setting for gas heaters. This is a safety measure to prevent any accidents while you work.
Step 2: Shut Off the Water Supply:
Locate the cold water supply valve on your water heater and turn it off. This prevents more water from entering the tank while you’re draining it.
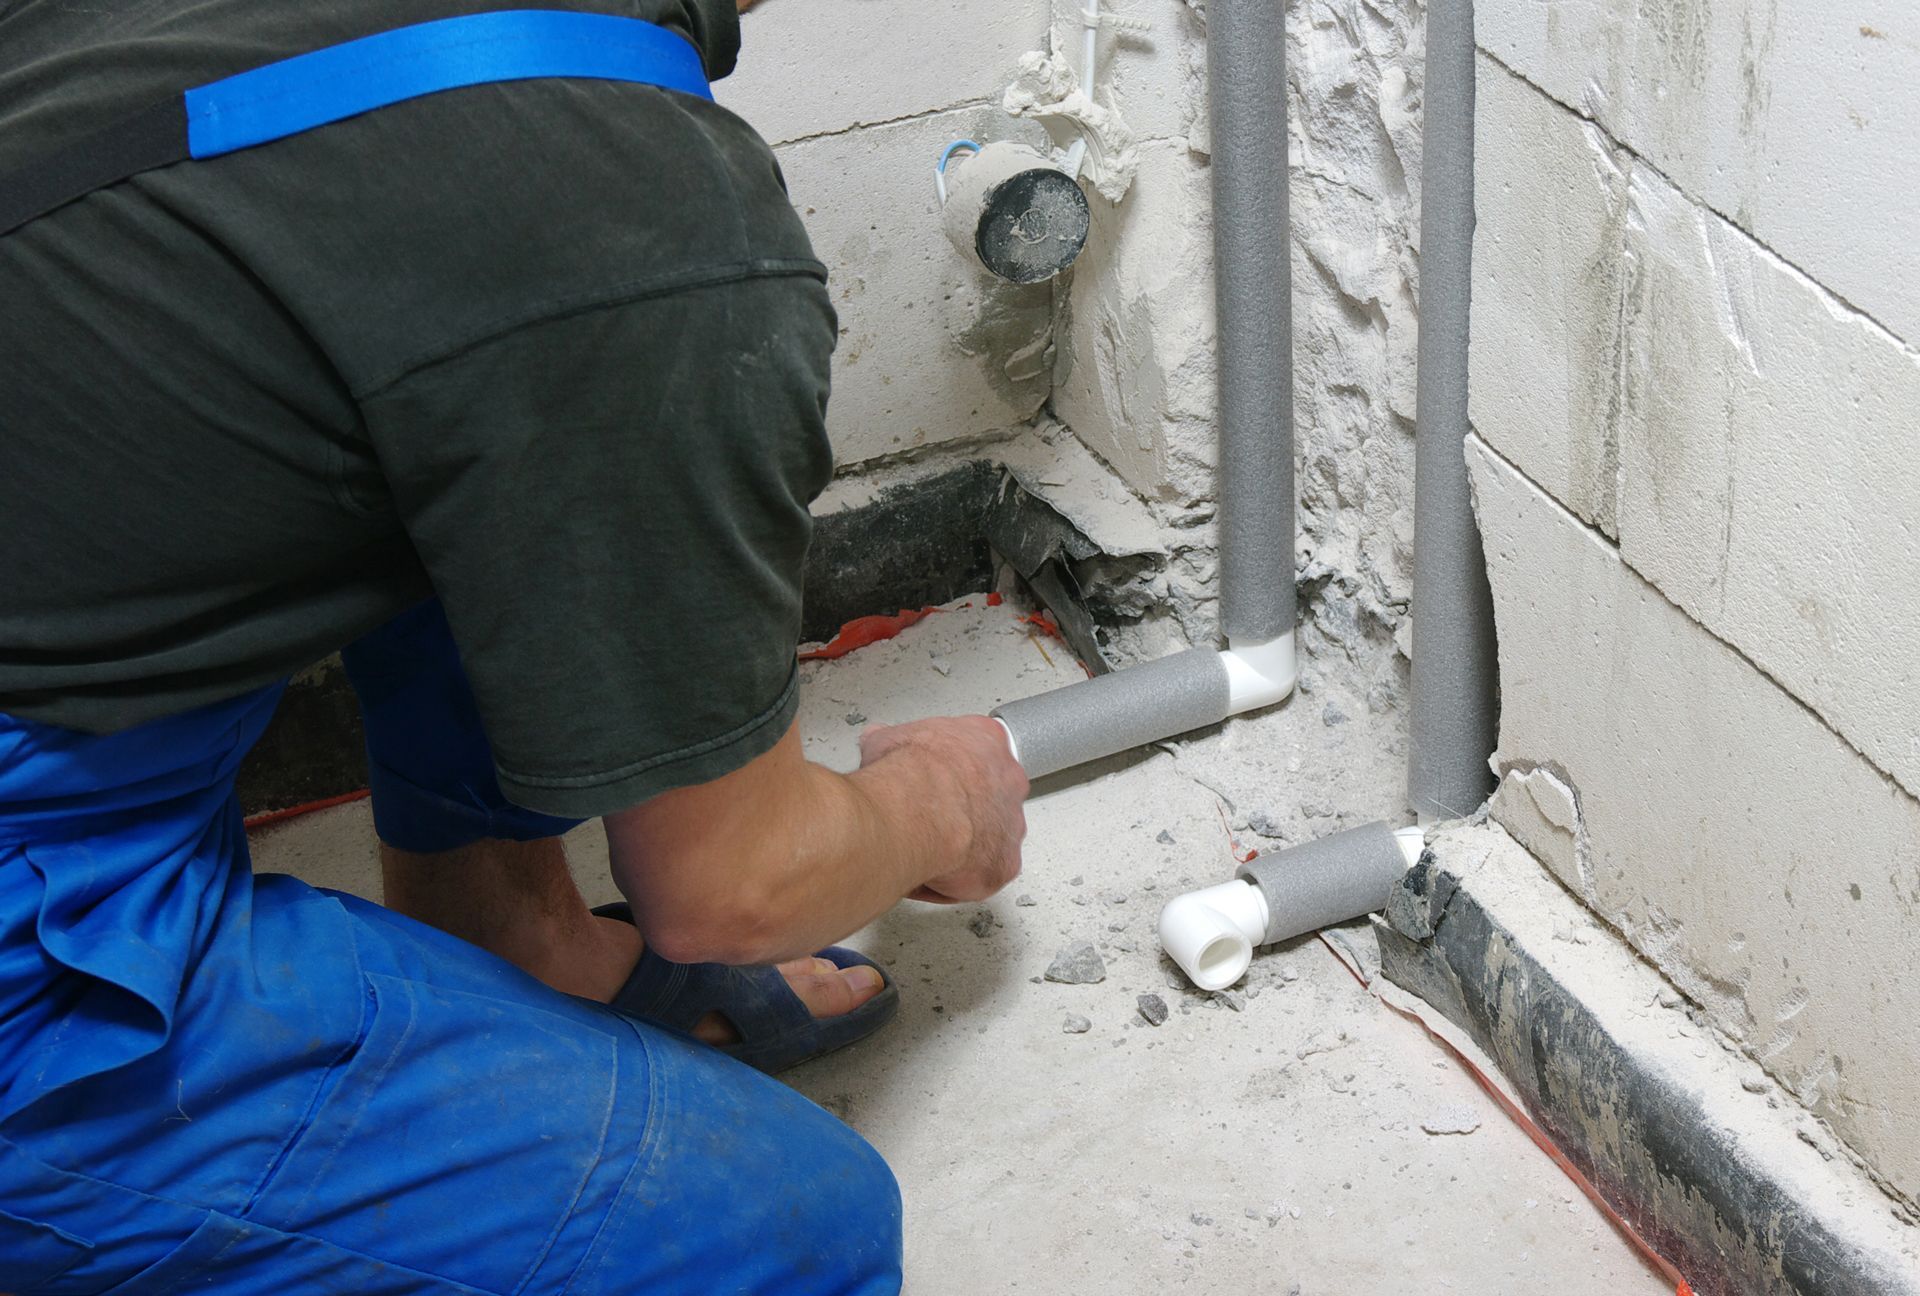
Step 3: Connect the Garden Hose:
Attach one end of a garden hose to the drain valve at the bottom of the heater. Place the other end in a floor drain or outside to safely dispose of the water.
Step 4: Open the Drain Valve:
Using your adjustable wrench, carefully open the drain valve to start draining the tank. Be cautious, as the water may still be hot. Let the water flow out until the tank is empty.
Step 5: Open Hot Water Tap:
Turn on the hot water tap in a sink or bathtub. This helps release any pressure in the system and allows the water to drain more smoothly from the tank.
Step 6: Check for Sediment:
Observe the water draining out. If it’s dirty or contains sediment, leave the drain valve open longer or gently stir the sediment using the hose to ensure it’s fully flushed out.
Step 7: Flush with Fresh Water:
Turn the cold water supply back on briefly to flush out any remaining sediment. Let the water run for a few minutes until it runs clear from the hose, then shut it off again.
Step 8: Close the Drain Valve:
Once you’re satisfied the tank is clean, close the drain valve securely using the adjustable wrench. Make sure there are no leaks around the valve.
Step 9: Refill the Tank:
Turn the cold water supply back on to refill the tank. Keep the hot water tap open until the water runs smoothly without air bubbles, indicating the tank is full.
Step 10: Restore Power and Test:
Turn the power back on at the circuit breaker or set the gas valve back to its original setting. Allow the water heater to heat the water and check for proper operation and any leaks.
By following these steps, you’ll ensure that your water heater remains in great condition and runs efficiently, saving you money and hassle in the long run.
Troubleshooting Common Issues In Water heater
Even with careful planning and execution, unexpected problems may arise when flushing your water heater. In this section, we’ll explore common issues such as slow drainage, leaking drain valves, and unusual noises, providing practical solutions to ensure your maintenance is successful.
Slow Drainage
- Possible Causes:
Sediment buildup blocking the drain valve.
Partially closed or faulty drain valve. - Solutions:
Gently poke the drain valve opening with a thin wire or screwdriver to clear blockages.
Ensure the drain valve is fully opened.
If the problem persists, consider using a more forceful water stream to dislodge sediment.
Leaking Drain Valve
- How to Handle Leaks:
Tighten the valve gently with an adjustable wrench to see if the leak stops.
Apply Teflon tape around the valve threads for a tighter seal. - When to Replace the Drain Valve:
If the leak persists despite tightening, the valve may be faulty.
Shut off the water supply and replace it with a new valve, ensuring proper sealing with Teflon tape.
Unusual Noises After Flushing
- Common Sources of Water Heater Noise:
Air trapped in the tank.
Residual sediment moving around the tank.
Water hammer effect from sudden water supply changes. - Quick Checks and Fixes:
Open the nearest hot water faucet to release any trapped air.
Check for any remaining sediment by flushing the tank briefly again.
Install water hammer arrestors if the noise persists, especially if caused by water pressure changes.
Tips for Maintaining Your Water Heater
Proper water heater maintenance can extend its lifespan and improve efficiency. By following a few simple guidelines, you can ensure your water heater operates smoothly and consistently provides hot water.
- Regular Check-Ups: Schedule routine flushes for your water heater, ideally every six months to a year. Regular flushing helps prevent sediment build-up, which can decrease efficiency and lifespan. Mark your calendar or set reminders to stay on track.
- Inspections: Engage a professional to inspect your water heater annually. They can diagnose and fix issues like loose connections, corrosive elements, or failing components before they become major problems. Professional insights can help maintain the heater’s health and efficiency.
- Temperature Settings: Keep the thermostat set to around 120°F (49°C). This optimal temperature prevents overheating and reduces the risk of scalding. Lower temperatures also lessen sediment build-up, which can affect the heater’s performance and energy consumption.
- Check the Anode Rod: Inspect the anode rod every two to three years. This component attracts corrosive elements, preventing them from rusting the tank. Replace it if it’s significantly corroded.
- Insulate the Heater: An insulation blanket around the tank can help maintain temperature and improve efficiency. Additionally, insulate the pipes to reduce heat loss.
Following these tips will help ensure your water heater remains in excellent condition and offers reliable performance for years to come.
Final Thoughts
Regularly flushing your water heater is crucial for maintaining its efficiency and longevity. Following the straightforward steps outlined, you can easily remove sediment build-up, prevent potential issues, and ensure your heater operates at its best. Incorporating routine maintenance and temperature regulation will further enhance its performance.
We encourage you to follow these instructions, share this post with others who might benefit, and leave comments if you have questions or additional tips. If you need professional assistance, Showtime Plumbing LLC is here to help. Get in touch with us for expert advice and services at 626-612-2030. By taking these steps, you’ll keep your water heater in top condition for years to come. Thank you for reading, and happy maintenance!