Quick and Easy Solutions: How to Fix a Leaky Faucet in No Time
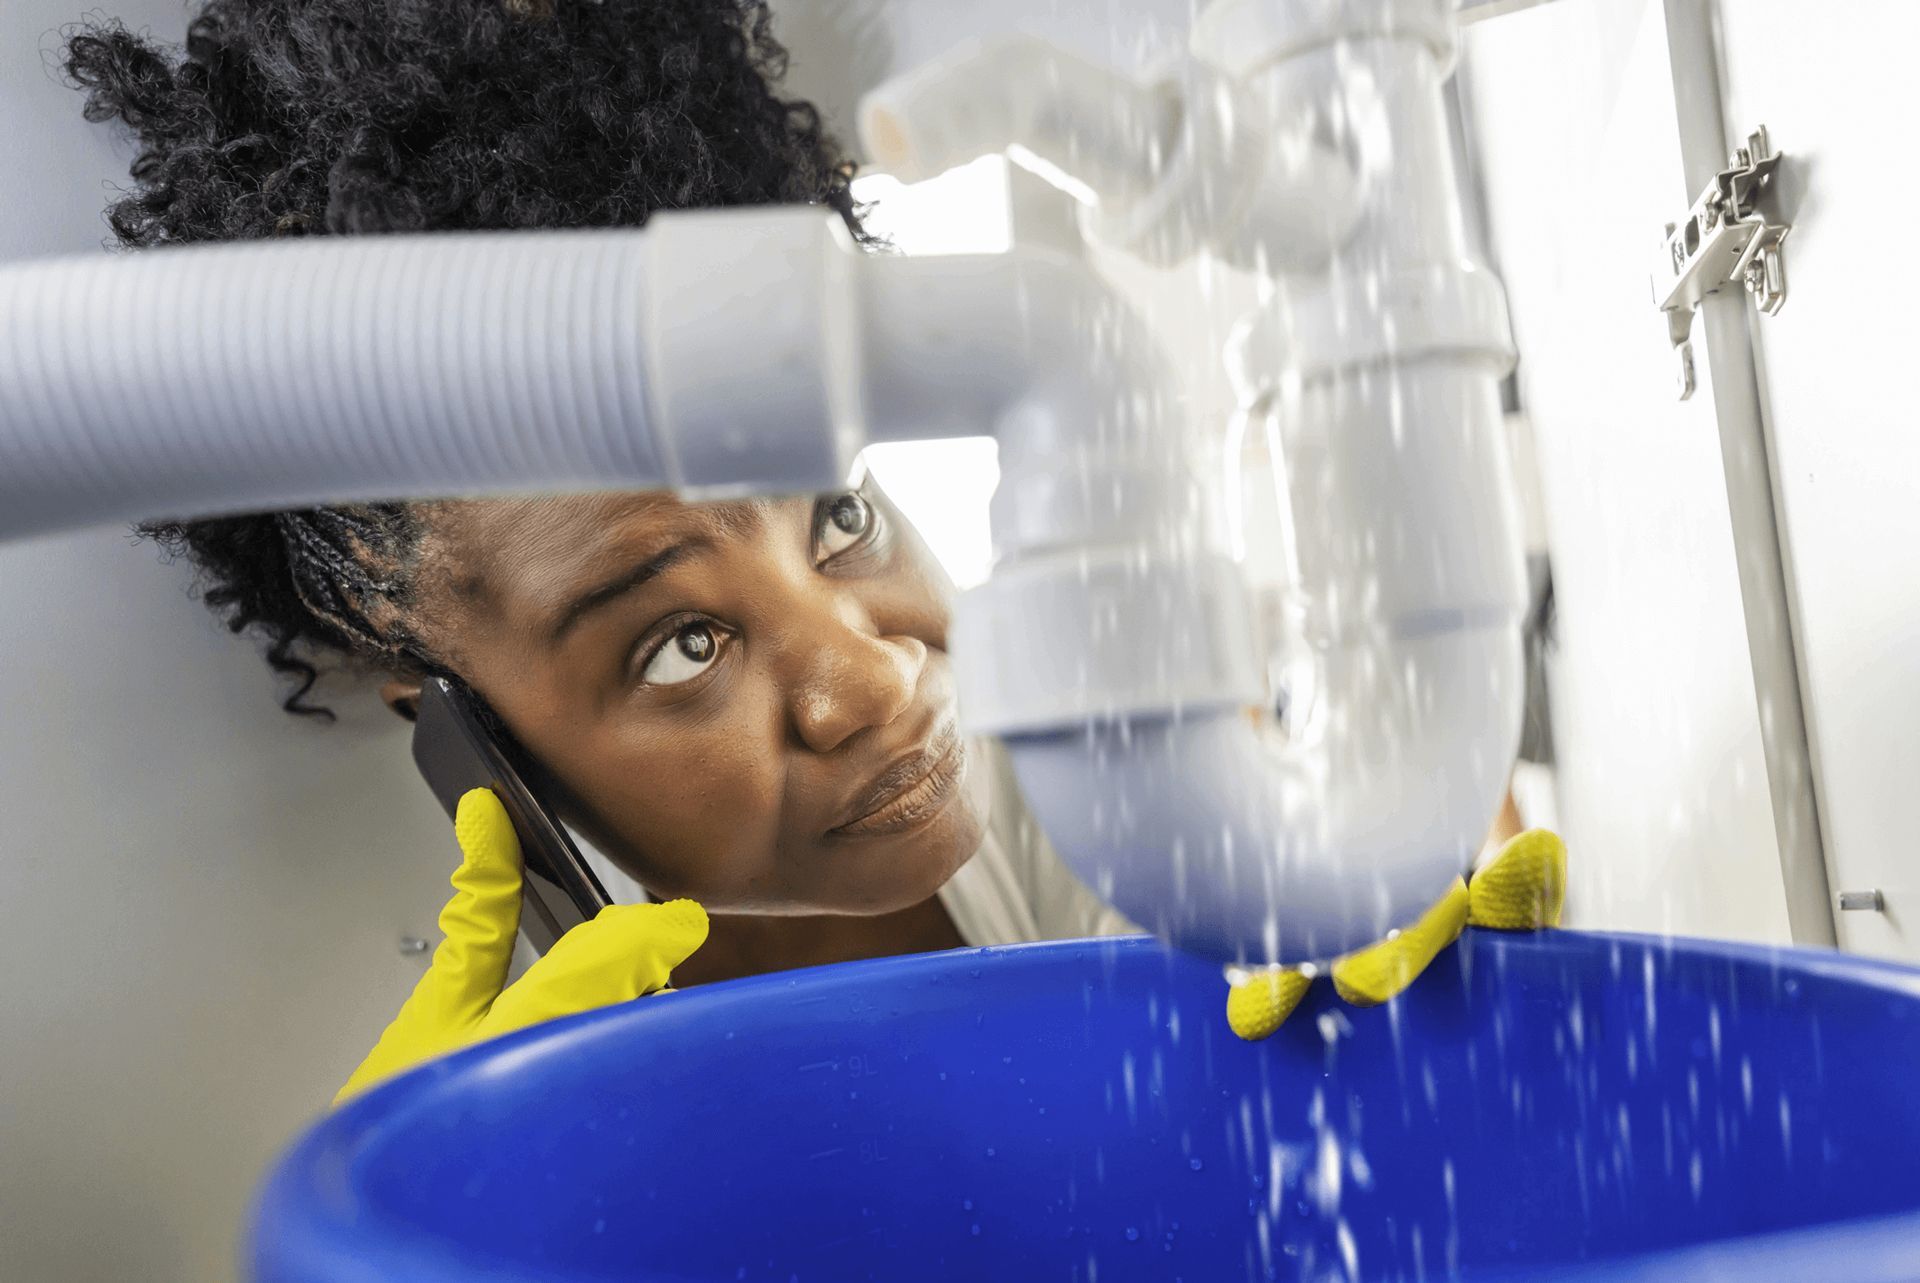
Battling with a leaky faucet is an all-too-common issue in homes, bringing with it the nuisances of constant dripping sounds and unwelcome increases in water bills. Though it may appear as a small inconvenience at first glance, a leaky faucet can contribute to considerable water loss and financial consequences as time goes on.
Thankfully, mastering how to fix a leaky faucet is straightforward and doesn’t require specialized knowledge or a plumber’s expertise. Armed with just a few basic hand tools and clear, step-by-step directions, virtually anyone is capable of resolving this problem promptly and effectively. This guide is designed to lead you through the necessary steps to efficiently repair your dripping faucet, ensuring you can achieve a lasting fix without the hefty price tag of professional services.
Identifying the Type of Faucet
Faucets are an integral part of our home’s plumbing systems, coming in various designs to suit different preferences and functionalities. The four main types are compression, ball, cartridge, and disc, each with unique mechanisms.
- Compression Faucets: The oldest type, these utilize separate handles for hot and cold water, controlling flow through a screw mechanism that compresses a valve against a seat.
- Ball Faucets: Identified by their single handle that rotates over a ball at the base of the faucet spout, controlling temperature and flow. These are common in kitchens.
- Cartridge Faucets: These can have one or two handles. Inside, a cartridge controls the flow of water. A single-handle variant is moved up and down to control the flow and left and right for temperature.
- Disc Faucets: A relatively new type featuring a single lever over a wide cylindrical body. The disc inside controls water temperature and flow by aligning or misaligning holes in the discs.
Tips on How to Identify Your Faucet Type
In the world of DIY plumbing, correctly identifying your faucet type is half the battle. With the right knowledge, you can pinpoint the type you’re dealing with and ensure a smooth repair process.
- Look at the Handle(s): Multiple handles often suggest a compression or cartridge faucet, while a single handle may indicate a ball or disc faucet.
- Check the Mechanism: Remove the faucet handle to observe the underlying mechanism. It provides a clear indicator of the type.
- Manufacturer’s Information: Sometimes, the manufacturer’s documentation or website can provide insights into the faucet type based on the model.
- Observe the Faucet Operation: How the handle operates—rotating, lifting, or both—can give clues about the inner mechanism and, consequently, the type of faucet.
Tools and Materials Needed
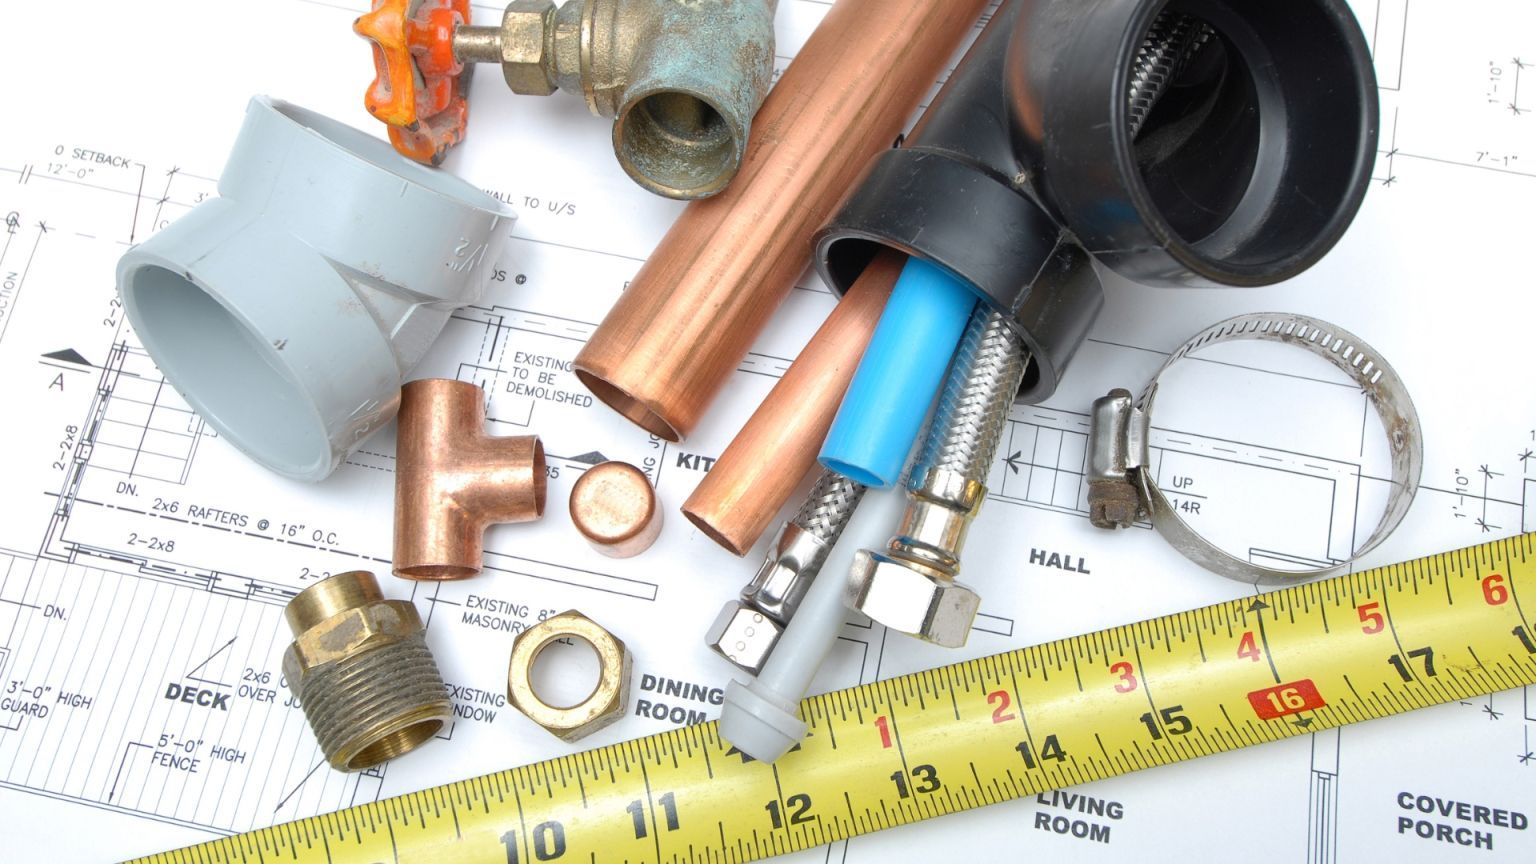
- Adjustable wrench
- Flathead and Phillips screwdrivers
- Replacement O-rings and washers (for your specific faucet type)
- Penetrating oil (such as WD-40)
- Plumber’s tape
- Clean cloth
- Replacement parts specific to your faucet type (if necessary)
Preparation Steps
- Turning off the water supply to the faucet: Before you begin any faucet repair, it’s crucial to turn off the water supply to prevent leaks and water damage. Locate the shutoff valves under the sink and turn them clockwise to close.
- Draining remaining water from the pipes and faucet: Once the water supply is off, make sure to drain any remaining water from the faucet and pipes. Simply turn on the faucet and let any excess water flow out until it stops.
- Placing a plug in the sink to prevent small parts from falling in: It’s a good idea to place a plug in the sink drain to avoid losing any small parts during your repair. This simple step will save you from potential headaches down the line.
- Covering the sink with a towel to protect it from tools: To protect your sink from scratches or damage, cover it with a towel before you start working. This provides a cushioned surface for your tools and prevents accidental harm to your sink.
Step-by-Step Instructions
Embarking on faucet repairs can be a simple task with the right guidance. Follow these step-by-step instructions to ensure you address the issue efficiently and correctly.
For Compression Faucets
Compression faucets, common in older fixtures, use a rubber washer to control water flow. These washers wear out over time and require periodic replacement to prevent leaks.
1. Remove the faucet handle
Start by removing the handle with a screwdriver. This will give you access to the faucet’s interior parts.
2. Take out the retaining nut
Use a wrench to remove the retaining nut. This is the component that holds the stem in place.
3. Replace the seat washer
Once the stem is exposed, remove the old seat washer and replace it with a new one, ensuring it fits snugly.
4. Reassemble the faucet
Reattach the retaining nut and faucet handle. Turn the water supply back on and test the faucet to ensure no leaks.
For Ball Faucets
Ball faucets are known for their single handle that controls temperature and flow. They have multiple parts, making them more prone to wear and tear.
1. Remove the handle and collar
Begin by unscrewing the handle with an Allen wrench, then remove the collar, which usually has a decorative cap, to access the internal components.
2. Replace O-rings and springs
Carefully remove the cam, ball, and seals. Replace the old O-rings and springs with new ones to ensure a tight, leak-free seal.
3. Consider buying a replacement kit
Given the complexity of ball faucets, it’s often easier to purchase a replacement kit that includes all the necessary parts aligned with the make and model of your faucet.
4. Reassemble the faucet
After replacing worn parts, reassemble the faucet by reversing the disassembly process. Turn the water supply back on and test for any leaks or drips.
For Cartridge Faucets
Cartridge faucets offer precise control over water flow and temperature via a movable cartridge. They are known for their reliability but may need occasional maintenance to stay leak-free.
1. Remove the handle
Use a screwdriver to take off the handle, exposing the inner workings of the faucet.
2. Remove the retaining clip or nut
Carefully remove the retaining clip or nut using pliers or a wrench, which holds the cartridge in place.
3. Pull out the cartridge
Gently pull the old cartridge straight out from the faucet body. You may need pliers for this step if it’s tightly fitted.
4. Replace the O-rings
Inspect the area for worn-out O-rings and replace them with new ones, ensuring a proper seal to prevent leaks.
5. Insert the new cartridge
Position the new cartridge in place, aligning it correctly with the faucet body to secure a proper fit.
6. Reassemble the faucet
Reattach the retaining clip or nut, then reinstall the handle. Turn the water back on and check for proper operation and any leaks.
For Disc Faucets
Disc faucets are durable and feature two ceramic discs that control water flow and temperature. They are less prone to leaks but occasionally require maintenance to ensure peak performance.
1. Pry off the handle
Use a flat-head screwdriver to gently pry off the handle, exposing the internal components of the faucet.
2. Remove the cylinder
Unscrew and lift out the cylinder, which houses the ceramic discs, to access the sealing areas and discs.
3. Clean the neoprene seals
Carefully clean the neoprene seals inside the cylinder to remove any debris or buildup that might impede proper sealing.
4. Inspect the cylinder openings
Inspect the cylinder openings for any signs of wear or damage. Ensure all passages are clear for optimal water flow.
5. Reassemble the faucet
Reassemble the faucet by reversing the disassembly steps. Ensure all parts are aligned and tightened before turning the water back on to test for leaks and proper function.
Finishing Up
The final steps ensure your faucet operates smoothly and leak-free. Follow these essential actions to complete your repair and verify everything works correctly.
- Turning the water supply back on: Gradually turn the water supply back on. This helps to avoid sudden pressure surges, which could damage newly installed components or cause leaks.
- Slowly turn the faucet handle to let the air escape: Gently turn the faucet handle to allow any trapped air to escape from the system. This prevents sputtering and ensures even water flow.
- Checking for leaks: Inspect all the connections and the faucet itself for any signs of leaks. Pay close attention to the areas where you replaced washers, O-rings, or seals.
- Troubleshooting any persisting issues: If you notice any leaks or irregular flow, reassess the assembly. Ensure all parts are properly installed. Consult manufacturer instructions or seek professional advice if needed.
General Tips on How to Fix a Leaky Faucet
Dealing with a leaky faucet can be frustrating, but don’t worry—most leaks are easy to fix with a bit of know-how. Here are some general tips to help you resolve this common plumbing issue.
- Turn Off the Water Supply: Always start by turning off the water supply to the faucet. This prevents any water from flowing while you work on the repair.
- Gather Your Tools: Have essential tools ready, including a wrench, screwdriver, pliers, and replacement parts like washers or O-rings specific to your faucet type.
- Identify the Faucet Type: Determine whether you have a compression cartridge, ball, or disc faucet. This will guide the specific steps you’ll need to follow.
- Disassemble with Care: Carefully disassemble the faucet, taking note of the order of components. Lay them out in the sequence you removed them to make reassembly easier.
- Inspect for Wear and Tear: Examine all parts, especially washers, O-rings, and seals, for signs of wear or damage. Replace any faulty components.
- Clean Components: Clean all parts thoroughly to remove any mineral deposits or debris that could affect the faucet’s performance. A vinegar soak can help dissolve scale buildup.
- Use Plumber’s Grease: Apply a small amount of plumber’s grease to O-rings and other moving parts to ensure smooth operation and a good seal.
- Reassemble the Faucet: Put the faucet back together in the reverse order of disassembly. Ensure all parts are securely in place, but avoid over-tightening.
- Test the Faucet: Turn the water supply back on and test the faucet for leaks. If it still leaks, you may need to revisit the assembly or replace additional parts.
- Consult a Professional if Needed: If the leak persists, it may be time to consult a professional plumber to avoid further damage or complications.
Maintenance Tips
Regular maintenance can extend the life of your faucet and prevent leaks. Follow these maintenance tips to keep your faucet in top shape.
- Regular cleaning of the faucet
- Periodic checking for wear and tear on O-rings and washers
- Avoiding over-tightening of the handle, which can cause leaks
Final Thoughts
Fixing your leaky faucet promptly saves water, reduces utility bills, and prevents damage to fixtures and your home. Addressing issues early extends the faucet’s lifespan and supports a sustainable home. Regular maintenance prevents future leaks and ensures optimal performance.
Knowing when to seek professional help is crucial. Choosing the right expert ensures efficient, long-lasting solutions. Showtime Plumbing LLC, known for its reliability and experience, is your trusted partner for all plumbing needs whether its faucet installation or plumbing repairs. Our years of service and satisfied customers attest to our excellence. Should you have any concerns, don’t hesitate to contact us.
