Quick Fixes for Homeowners: How to Easily Repair a Copper Pipe That Has Burst
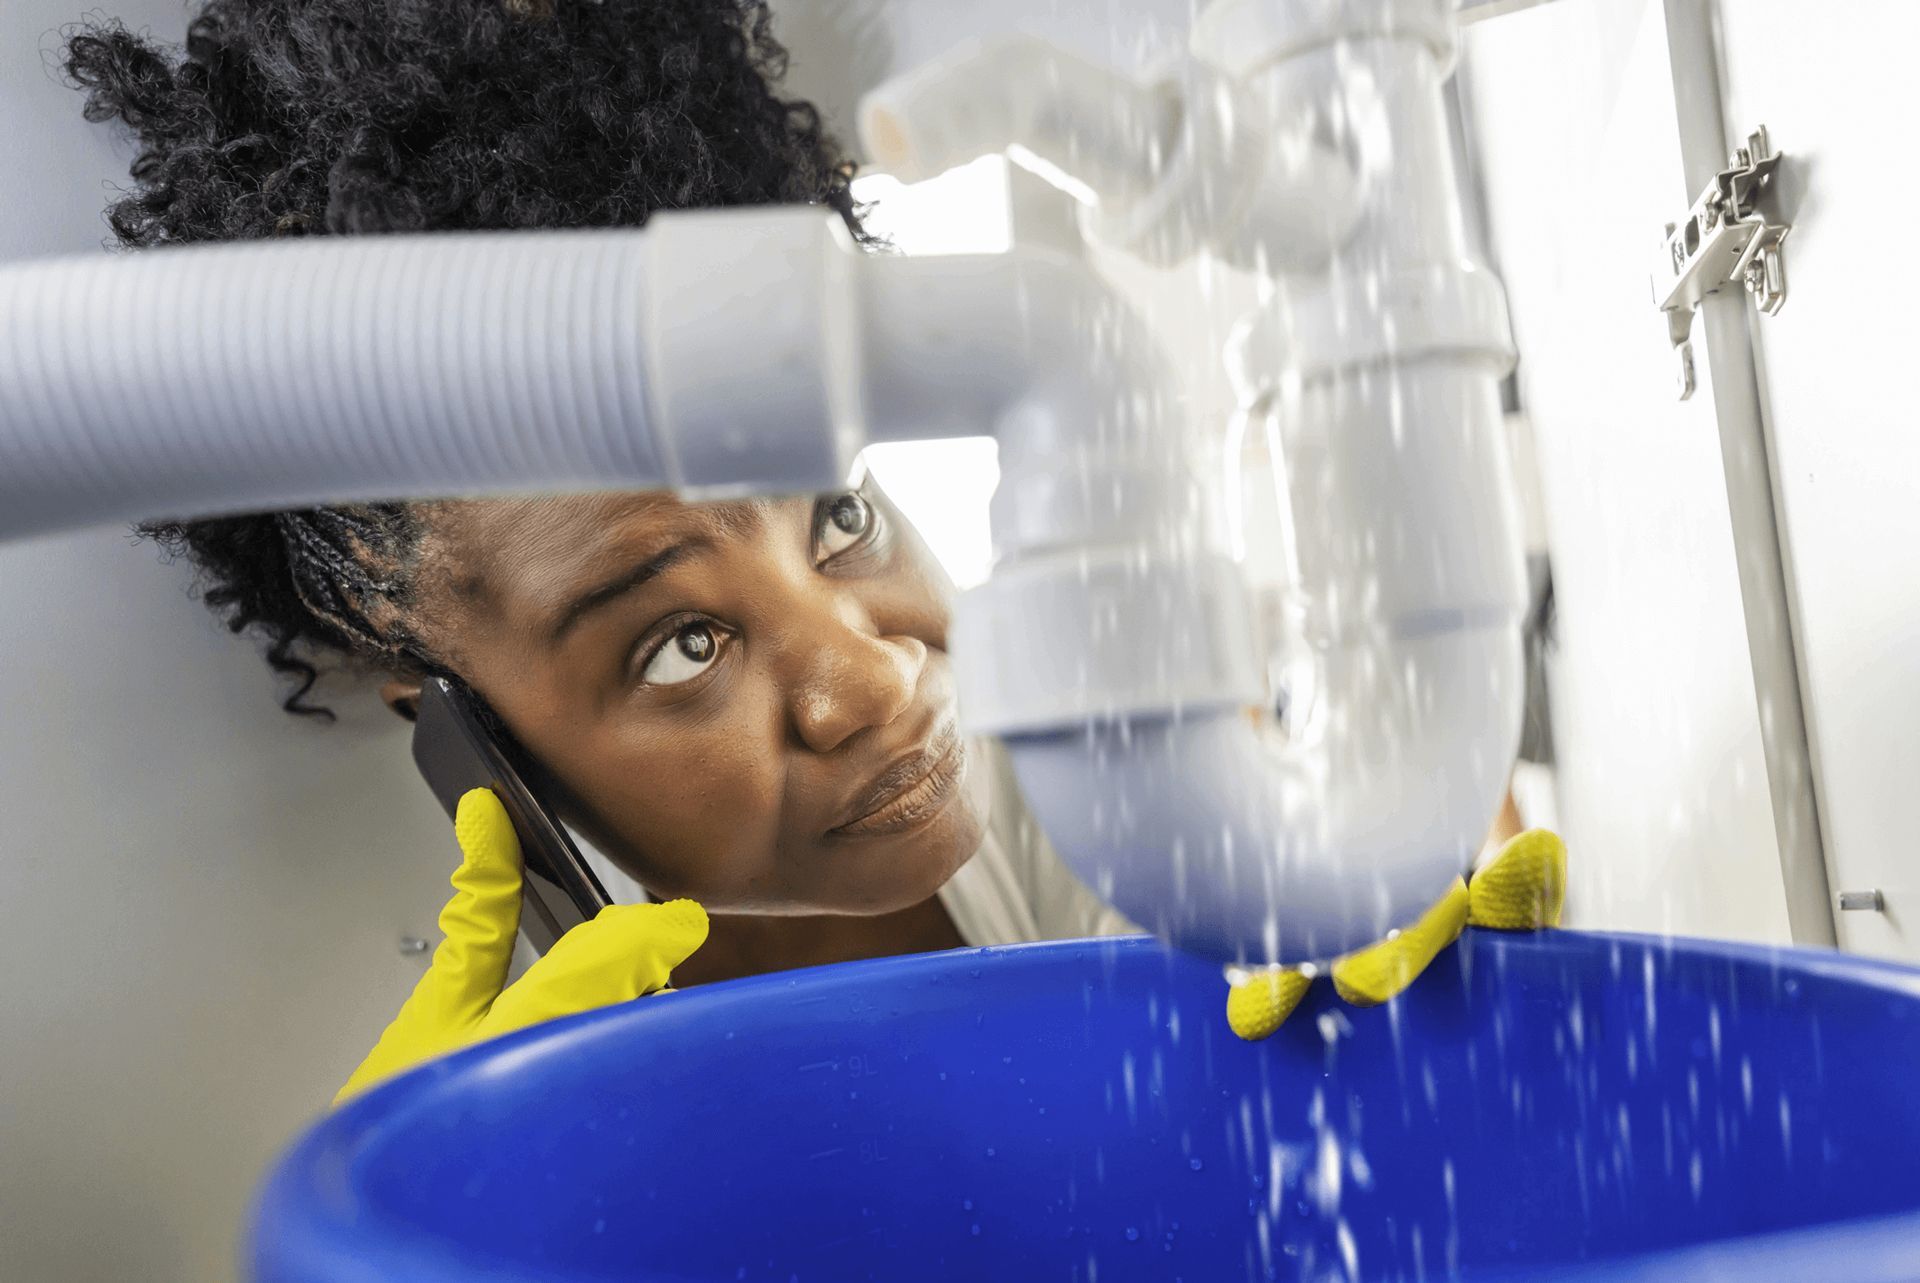
When a copper pipe bursts in your home, the urgency to address the problem promptly cannot be overstressed. Water leaking from a burst pipe can swiftly lead to extensive damage, including structural issues, mold, and destruction of personal property, making quick action essential.
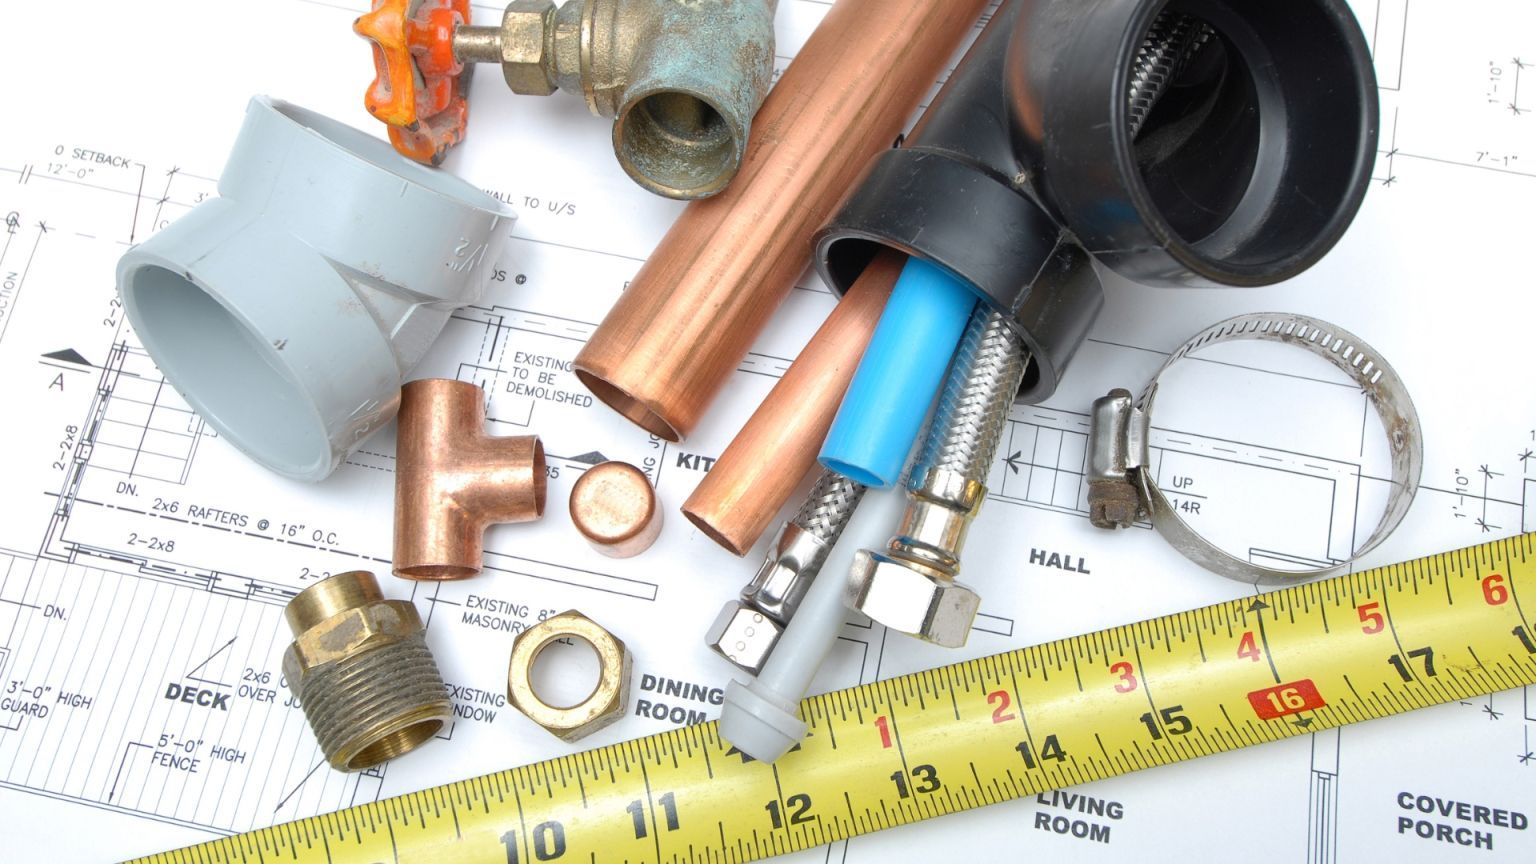
In this guide, we’ll show you how to easily repair a copper pipe that has burst to mitigate further damage. We outline the key tools and materials needed for the repair, including a pipe cutter, soldering tools, replacement copper pipe, flux, solder, emery cloth, and essential safety gear. Having these items ready ensures you can tackle the repair efficiently and effectively.
Preparation and Safety
Before we dive into fixing that burst copper pipe, let’s ensure we’re all set with prep and safety. Tools and protection are essential for a smooth, safe repair.
- Turn off the Water Supply: Find your home’s main valve, usually near the street or basement. It’s essential for controlling your home’s water flow, and knowing its location is key in emergencies, so be familiar with it. Twist the valve clockwise to halt the water supply. This quick action can save you from potential water damage and costly repairs. Remember, righty-tighty stops the flow efficiently and promptly.
- Drain the Affected Pipe: Now, find and gently open any faucets linked to the problem pipe. This step helps drain trapped water, reduce spillage, and aid the repair process. It’s a simple yet vital move.
- Safety Precautions: Before diving into repairs, suit up with gloves and goggles. Protecting your hands and eyes is crucial—it’s not just about comfort; it’s a safety must. Think of this gear as your DIY armor.
Creating a safe work environment is key. Make sure the area is dry to avoid slips and falls. Good lighting is also essential—it helps you work accurately and safely. Let’s lighten up the space!
Assessing the Damage
First, let’s examine the damage. Evaluating what’s broken requires careful attention to tailor the best repair approach.
- Identify the Burst Section: Closely scrutinizing the copper pipe, searching for any signs of a burst, like noticeable splits or bulging. Examine the pipe’s extent, focusing on spots with apparent corrosion or wear, to accurately locate the damaged section for repair.
- Determine the Type of Repair Needed: After spotting the burst, you’ll decide between a quick fix or a permanent repair. Quick fixes are temporary solutions, while permanent repairs address the root issue. Evaluate the damage carefully to choose the right approach for longevity and reliability.
Quick Fixes (Temporary Solutions)
Just need a quick fix for now? We have some temporary solutions that will hold the fort until we can tackle a permanent repair.
1. Epoxy Putty Application
For a swift temp fix, mold some water-resistant epoxy putty around the burst. It’s like patching a bike tire—quick, easy, and buys you time before the big fix.
Materials needed:
- Grab some water-resistant epoxy putty.
- Have a clean cloth on hand
Step-by-step instructions:
- Shut off the water supply, then dry the pipe with your cloth
- Knead the epoxy until it’s a consistent color
- Firmly press the putty over the burst area
- Smooth it out, then wait for it to set solid
2. Repair Clamp
Picking the perfect size clamp for your pipe is like choosing the right bandage for a cut—crucial for a snug fit. Measure the pipe’s diameter; this ensures the clamp fully covers the burst and seals it tightly, stopping the leak with precision.
Detailed instructions on clamping down on the leak:
- First, ensure the water supply is turned off; we aim for a dry workstation.
- Clean the area around the leak with a cloth, ensuring it’s dry and free from dirt.
- Measure the pipe’s diameter where it has burst to select the clamp of the right size.
- Loosen the clamp and carefully wrap it around the damaged pipe section.
- Tighten the clamp bolts evenly on each side; it’s like tightening shoelaces, and both sides must be even for a secure fit.
- Check that the clamp is secure and that the area around the leak is fully covered.
- Finally, turn the water back on and observe the repair, looking for any signs of continued leaking.
3. Rubber and Hose Clamp Fix
Caught off-guard by a burst copper pipe? Don’t worry! A quick DIY using a rubber sheet and hose clamps can be your temporary lifesaver. This method is not just effective but also surprisingly simple and easy to use.
Step-by-step instructions:
Ensuring the area around the burst is completely dry and clean is crucial for a secure repair.
Use the rubber sheet to cut a piece large enough to cover the burst area, extending a couple of inches around it.
Position the rubber sheet tightly over the affected part of the pipe
Place a hose clamp on either end of the rubber sheet, ensuring they are spaced evenly.
Use a screwdriver to evenly tighten the clamps until the rubber sheet is firmly held in place but not damaged by the pressure.
4. Solder the Hole Shut
Encountering a small hole in your copper pipe? No need to fret. Soldering the hole shut is a more permanent yet manageable DIY fix you can undertake. You can achieve a robust and lasting repair with some basic soldering skills.
Step-by-step instructions:
- Open faucets connected to the line to drain the remaining water. Thoroughly dry the area around the hole.
- Use sandpaper or a wire brush to clean around the hole, ensuring the copper is shiny and free of dirt or corrosion.
- Coat the cleaned area with a thin layer of plumbing flux. Flux is essential for helping the solder adhere properly to the copper.
- Using a propane torch, heat the area around the hole evenly. Be careful not to overheat any single spot.
- While the pipe is hot, touch the solder wire to the hole. The solder should melt upon contact and flow into the gap, filling it completely.
- Allow the solder to cool and solidify without touching or moving the pipe.
- Once the solder has cooled, turn the water supply back on and inspect the repair
5. Wrap Pipe Using Adhesive Tape
Got a pesky leak in your copper pipe? Wrapping it up with adhesive tape can be a quick and straightforward fix. This method is especially handy for those small, unexpected leaks and requires minimal tools.
Step-by-step instructions:
- Always start by turning off the water to prevent further leakage.
- Make sure the pipe area around the leak is completely dry. Moisture can prevent the tape from adhering properly.
- Clean any dirt or corrosion from the pipe surface to ensure the tape sticks well.
- Start wrapping the waterproof or plumber’s tape tightly around the pipe, beginning a few inches before the leak area and extending a few inches beyond.
- Overlap each layer of tape by about half the tape’s width for full coverage.
- After wrapping, press down firmly on the tape to ensure a tight seal.
- Turn the water supply back on slowly and inspect for further leaks.
Permanent Repair Solutions
Now, let’s focus on the long haul. I’ll walk you through some solid permanent repair solutions to ensure this issue’s a one-time deal.
1. Solder in a New Piece with a Repair Coupling
When dealing with a burst copper pipe, one reliable and lasting solution is to solder in a new piece using a repair coupling. This method is not only effective but also straightforward and cost-efficient. Let’s walk through the process together and get it done right!
Step-by-Step Instructions:
- Use a pipe cutter to remove the burst section of the pipe.
- Clean the pipe ends with a wire brush and emery cloth to remove the oxide layer.
- Put a generous amount of flux on the pipe ends and the inside of the repair coupling.
- Slide the repair coupling onto the pipe ends.
- Use a torch to heat the area around the coupling, then touch the solder wire to the joint until it melts and flows into the joint.
- Allow the joint to cool, then inspect to ensure the solder fully surrounds the joint.
- Once cooled, turn the water back on and check for leaks.
2. Use a Slip Repair Coupling (or Sharkbite Slip)
If you’ve encountered a burst copper pipe and need a reliable fix, a slip repair coupling (or a Sharkbite slip) can be your best friend. These fittings make the repair process straightforward, even for those with minimal plumbing experience.
Step-by-Step Instructions:
- Start by shutting off the water supply to the affected pipe.
- Use a pipe cutter to remove the burst section, ensuring you make clean, straight cuts.
- Use a deburring tool to clean the rough edges of the cut pipe.
- Slide the slip coupling onto one end of the pipe.
- Extend the coupling to span the gap and connect to the other end of the pipe.
- Make sure the coupling is securely in place by applying even pressure.
3. Opt for Compression Couplings
Compression couplings offer a reliable, long-term solution for repairing burst copper pipes. This method ensures a watertight seal and can be quickly executed without soldering, making it a preferred choice among professional plumbers and DIY enthusiasts alike.
Step-by-Step Instructions:
- Use a pipe cutter to remove the burst section of the pipe.
- Deburr and clean the pipe ends to ensure a smooth surface.
- Slide the compression nuts and rings onto the pipe ends.
- Insert the pipe ends into the compression coupling.
- Use wrenches to tighten the compression nuts until secure.
Preventive Measures and Maintenance Tips
Inspect your pipes bi-annually for a well-maintained system. Look for corrosion, leaks, or irregularities. Check those connections and valves, too. Think of it as a health check-up for your pipes, preventing issues before they arise!
Wrap those pipes like a cozy scarf before winter hits. Insulation sleeves are your best buddies, keeping the chill out and ensuring water flows warmly and freely without any icy surprises.
Tips for maintaining optimal water pressure:
- Keep valves fully open for unobstructed flow.
- Install pressure regulators for a constant, safe pressure.
- Regularly clean faucet aerators and showerheads.
- Schedule descaling if you’ve got hard water. It’s like a spa day for your pipes!
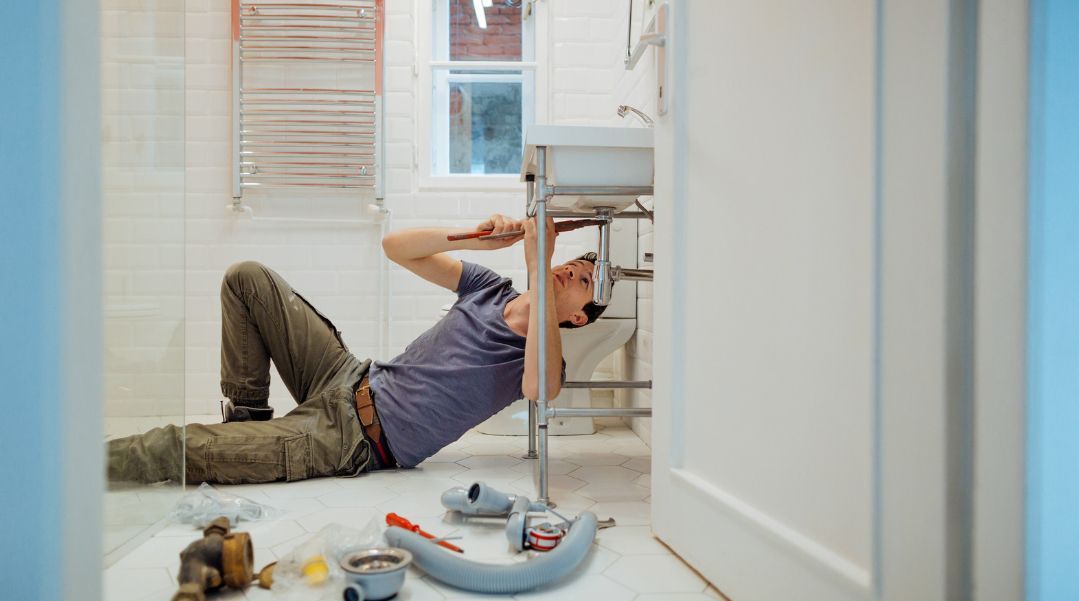
- If the damage seems extensive or beyond a simple DIY fix, it’s time to call a professional plumber. They have the expertise to tackle complicated repairs safely and efficiently, ensuring your home’s integrity.
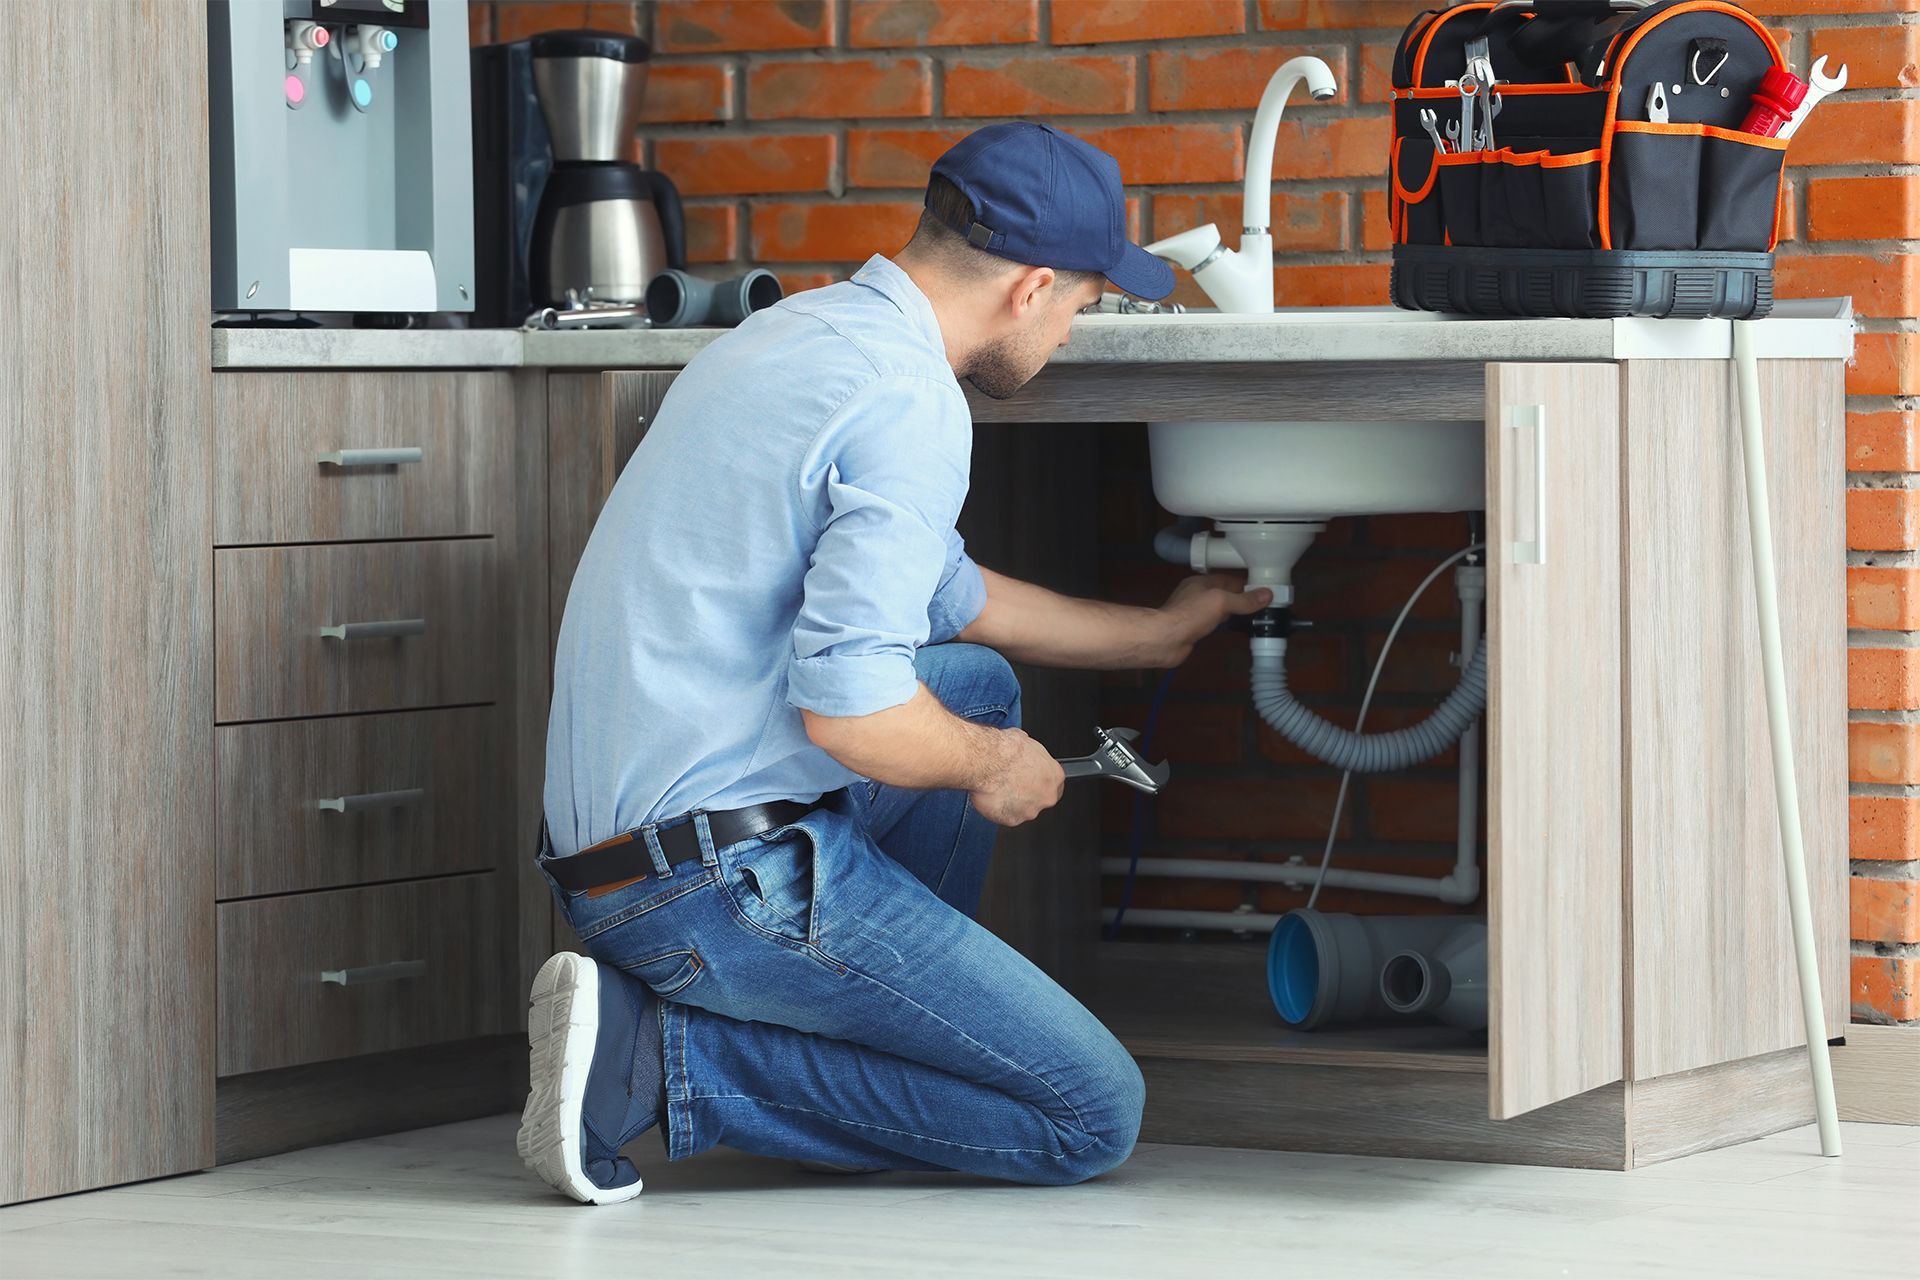
Trust an Experienced Team to Handle your Plumbing Needs
Repairing a burst copper pipe promptly can save you time and money. Always consider the severity of the situation, and do not hesitate to call professionals if the damage is beyond a simple repair. Regular maintenance is key to preventing future bursts and ensuring the longevity of your plumbing system.
Regarding reliability and utmost professionalism, one plumbing company stands out: Showtime Plumbing LLC. Trust their experienced team to handle your plumbing needs with precision and care. Contact Showtime Plumbing LLC today for all your repair and maintenance concerns, and ensure your plumbing system remains in top condition. Call now or visit their website to schedule a consultation.