Guide to Installing an Electric Water Heater at Home
A water heater is essential for a comfortable and efficient home, providing hot water for showers, dishes, and laundry. Electric water heaters, in particular, offer benefits such as consistency in temperature control and energy efficiency, making them a popular choice for homeowners.
When installing an electric water heater, it’s crucial to prioritize safety by adhering to local codes and regulations. Proper installation and maintenance not only ensure safety but also enhance the heater’s performance and longevity, securing your investment in home comfort.
Necessary Tools and Materials
Before diving into any project, having the right tools at your side is crucial. So, let’s gear up with the essentials needed to install your electric water heater:
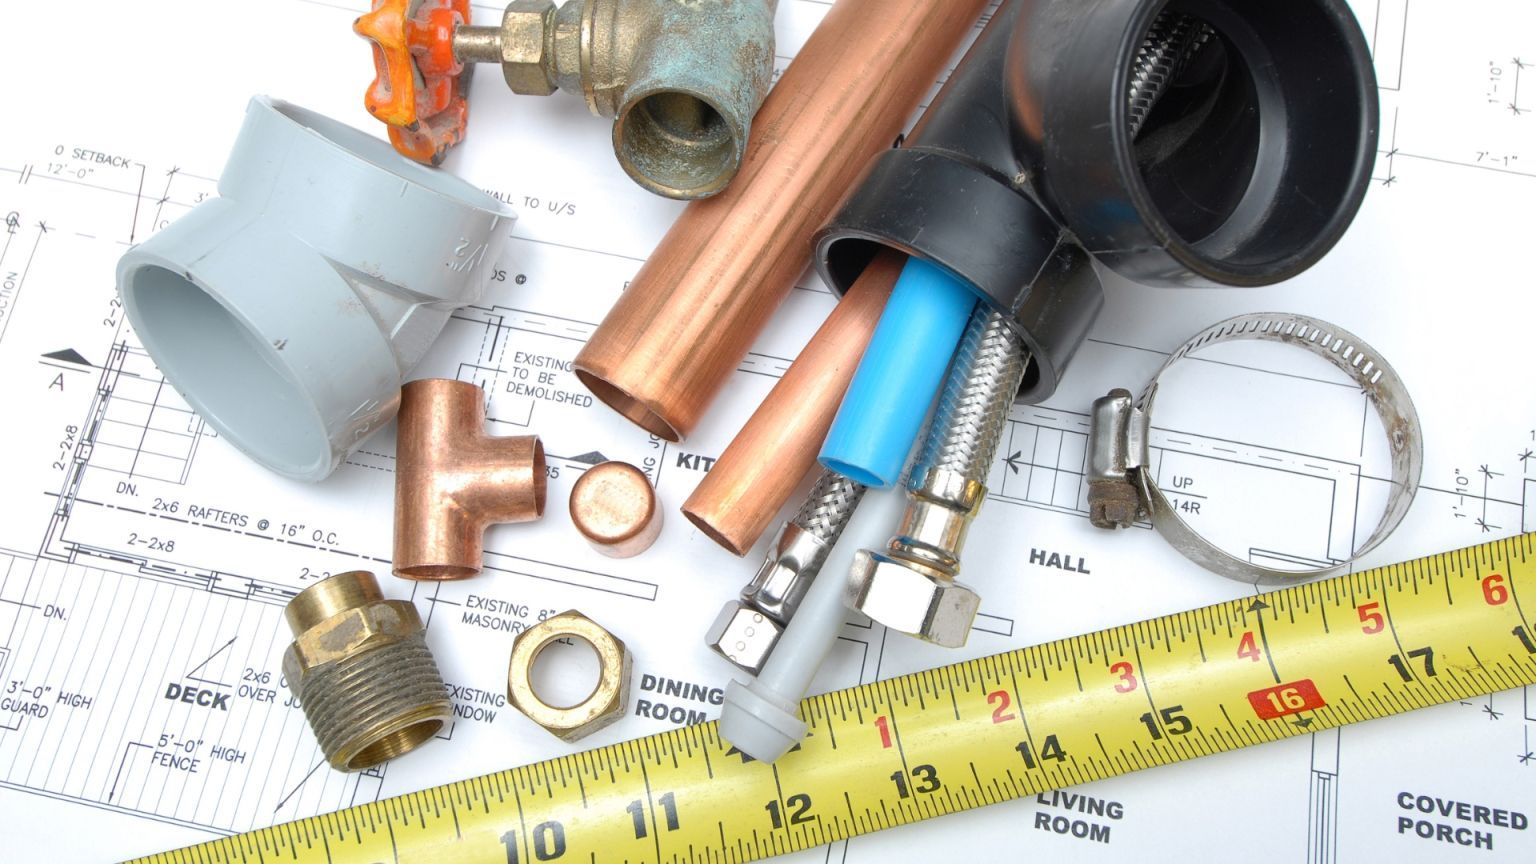
- Adjustable wrenches
- Screwdrivers (Phillips and flat-head)
- Tape measure
- Pipe wrench
- Tubing cutter
- Soldering iron
- Teflon tape
Now that we’re tooled up, it’s time to gather our materials. With these at hand, your new water heater will be ready to heat things in no time:
- Electric water heater unit
- Supply lines (copper or flex)
- Temperature and pressure (T&P) relief valve
- Discharge pipe for T&P valve
- Fittings (according to your plumbing setup)
Safety is our top priority—no compromises. Make sure to protect yourself with the following safety gear:
- Safety goggles
- Heavy-duty gloves
- Work boots (preferably with steel toes)
- Ear protection (if using loud tools)
- Dust mask (for insulation work)
Preparation Steps
Before starting the installation, prepare your workspace by ensuring safety and clearing the area.
1. Shut off Electricity
First things first, let’s cut the power. Head to your circuit breaker and flip the switch for the area you’ll be working in. It’s like hitting pause on a game—ensuring everything’s safe before diving into the real action.
2. Drain the Old Water Heater
Got an old water heater? It’s draining time. Connect a hose to the drain valve, lead it to a safe spot, then open the valve. Think of it as letting the tank take one last big gulp before retirement. Patience is key—it might take a while.
3. Disconnecting Electricity and Plumbing
Now, let’s disconnect the old champ. Carefully disconnect the electrical wires, treating them with respect—they’ve served you well. Then, tackle the plumbing. Use those tools you gathered to disconnect the water lines. You’re set with a little twist here and a little turn there.
4. Remove the Old Water Heater
Time to say goodbye. Removing the old water heater might require a buddy—these tanks aren’t exactly featherweights. Work together, keeping a steady pace, and maneuver it out of its nook. Think of it as a moving day, but just for your heater.
Step-by-Step Guide to Installing an Electric Water Heater at Home
Before we dive into setting up your shiny new electric water heater, it’s important to get the stage ready by prepping the area and safely removing the old unit. Follow this step-by-step guide to ensure everything is primed for a seamless transition.
Step 1: Unpack and Inspect the New Heater
Carefully unbox the new electric water heater, removing all packaging materials. Examine the unit thoroughly for any visible damages or defects, such as dents or cracks, to ensure integrity and functionality.
Once inspected, position the water heater in its designated location. Ensure it is level and stable, with adequate clearance around it for maintenance and proper ventilation if required. This step is crucial for the safety and efficiency of the installation process.
Step 2: Install the Temperature and Pressure Relief Valve
The Temperature and Pressure Relief (T&P) valve is critical for safety and is designed to release water if temperature or pressure exceeds safe limits, preventing potential tank explosions.
For installation, wrap Teflon tape clockwise around the T&P valve’s threads. Insert it into the designated port on the water heater, ensuring a snug fit. Use a wrench to secure the valve, but avoid over-tightening to prevent damage. Proper installation of the T&P valve is paramount for operational safety and regulatory compliance.
Step 3: Prepare Electric Supply
Electric water heaters require a dedicated 240-volt circuit. The correct wire gauge must match the heater’s amperage: typically, a 30-amp breaker with 10-2 non-metallic cables.
First, to prepare the supply, ensure that the power is off at the breaker. Run the proper gauge cable from the breaker box to the heater location. Connect wires to the heater’s junction box per the manufacturer’s diagram, then attach them to the dedicated breaker. Always adhere to local codes and safety standards.
Step 4: Connect the Water Supply
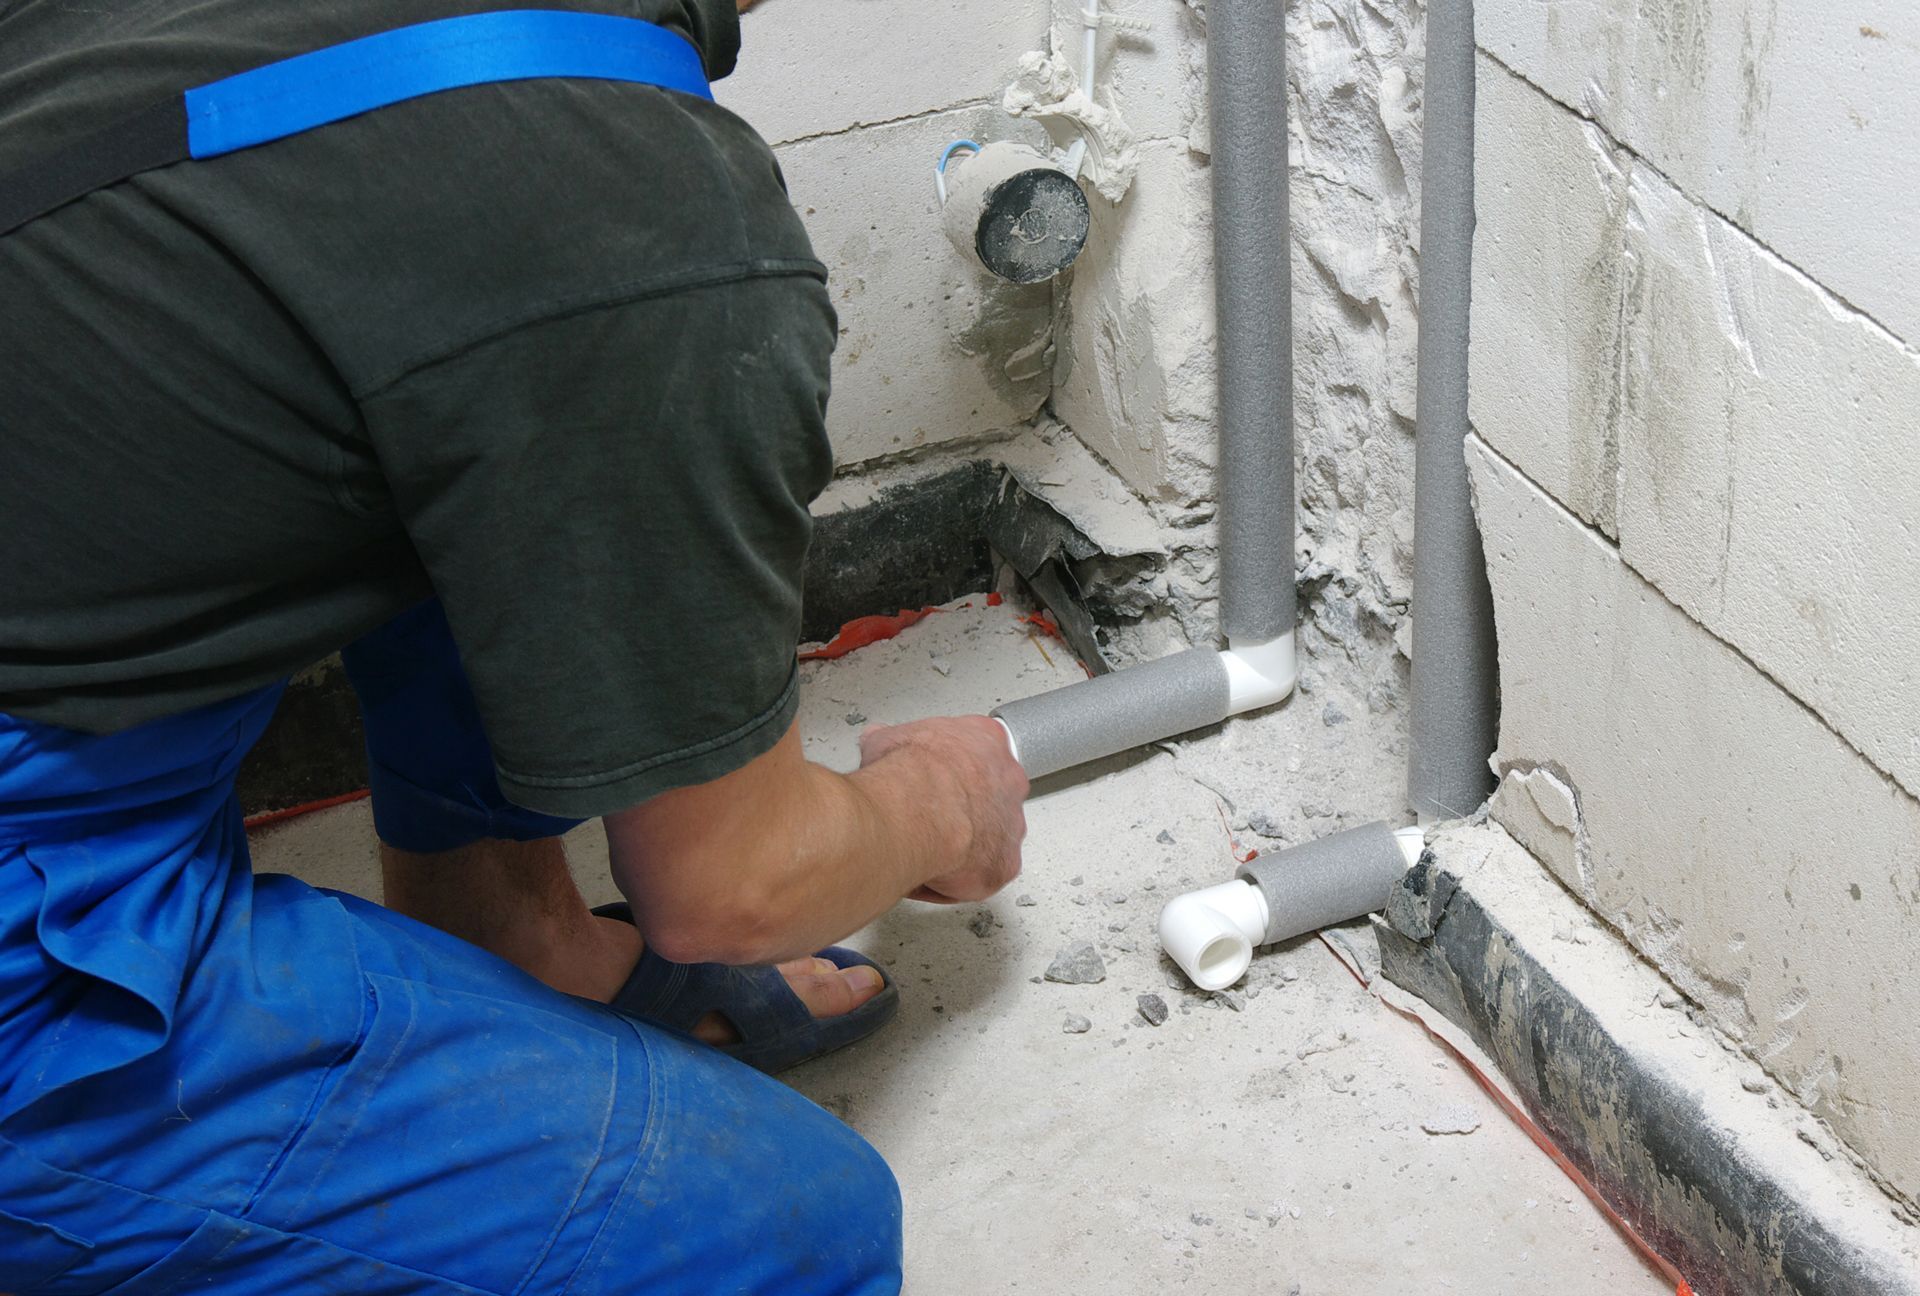
Attach the cold water inlet to the dip tube and the hot water outlet to the tank, employing flexible hoses for easy connection.
If dissimilar metals are present, use dielectric nipples to prevent corrosion. Ensure all connections are tight to prevent leaks.
For copper piping, use flux and lead-free solder to secure joints. Always apply heat to the pipe, not the fitting, for a solid, leak-free bond. Remember to check and follow all local plumbing codes for compliance.
Step 5: Install the Discharge Pipe
The discharge pipe safely diverts water away from the heater if the T&P valve activates, preventing potential injury or damage.
To install, attach a pipe to the T&P valve, ensuring it’s made of an appropriate material like copper or CPVC. Guide the pipe downwards to about 6 inches from the floor or an appropriate drain if local codes demand. Avoid any unnecessary bends or kinks that could restrict flow. Secure the pipe firmly, but do not obstruct the valve operation.
Step 6: Fill the Water Heater Tank
To fill the tank, open the cold water supply valve, allowing the water to enter. Open nearby hot water faucets to release trapped air. When a steady stream flows, all air is purged.
Never power the heater before it’s fully filled; dry-firing can damage the elements. Once fully purged and confirmed by the steady water flow at the faucets, the tank is safe for electrical power-up and heating.
Step 7: Electrical Connections
Before starting, confirm the power is off at the breaker. Remove the heater’s access panel to expose electrical terminals. Connect the supply wires to the heater’s terminals, matching the wire colors correctly—black to black, white to white, and ground to the green screw.
Wire the heating elements by attaching the electrical circuit’s wires directly to their terminals, ensuring a secure fit. Double-check tightness and correct positioning.
Always verify that the power remains off throughout this process to avoid electrical hazards. Safety first; use a voltage tester to ensure no current is present before beginning work.
Step 8: Set Thermostat
Adjust the thermostat to your preferred temperature by locating the dial or digital interface. For a balance of safety and efficiency, setting it to 120°F is recommended.
There are two main types of thermostats: dial and digital. Consider a programmable thermostat for energy savings by lowering the temperature during periods of little to no use. Additionally, insulating your hot water pipes and tank can further reduce energy consumption and costs.
Step 9: Turn on the Power
Before turning on the power, double-check that all electrical connections are tightened and the cover panel is securely replaced. Confirm again that the water tank is full to prevent damage.
Flip the circuit breaker specifically designated for the water heater to the “on” position to restore electricity.
Check system functionality by allowing the water to heat for a period of time, then testing the temperature at various faucets. Listen for any unusual noises and ensure consistent and adequate hot water flow.
Final Inspection and Troubleshooting
After installation, inspect for any leaks at connections or valves. Run your system to verify proper operation – hot water should be readily available at all taps. If anything seems amiss, like drips or inconsistent temperatures, address it promptly to prevent damage or inefficiency.
Encounter no hot water or a lackluster supply? Check the power supply, ensure the thermostat is correctly set, and verify the heating element’s functionality. Most issues are solvable with a bit of troubleshooting. Remember, regular maintenance can head off many common problems, keeping your system in top shape year-round.
Need Professional Support In Installing A New Water Heater?
Installing your electric water heater involves preparation, setup, electrical connections, and a thorough inspection to ensure a successful operation. This process, from removing the old heater to energizing the new one, requires attention to detail but is achievable with clear steps.
For continued efficiency and longevity, regular maintenance checks are important. If advanced issues arise or you need professional support, don’t hesitate to reach out. Showtime Plumbing LLC offers the expertise needed to keep your water heater in optimal condition. Contact us at (562) 822-5734.
