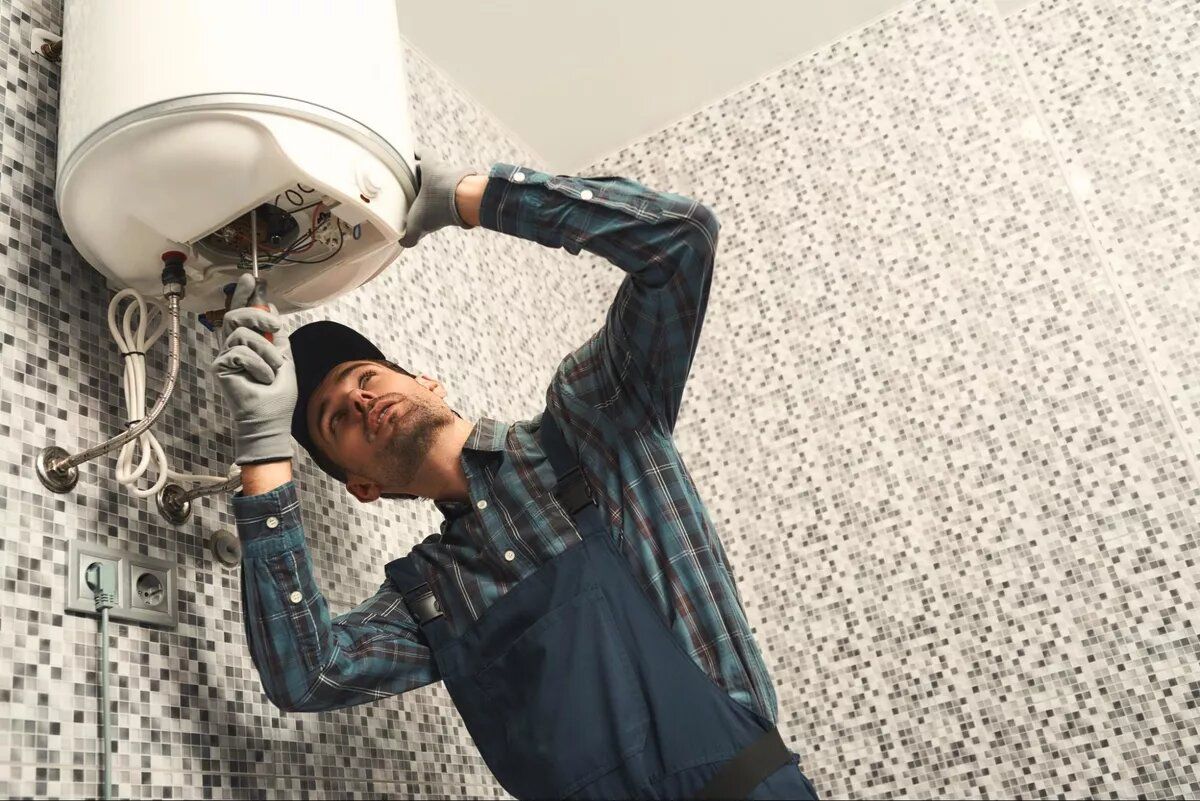
Save Money with a Self-Managed Garbage Disposal Installation
A garbage disposal unit is invaluable for maintaining a clean, hygienic kitchen by efficiently managing waste and minimizing odors. Beyond convenience, installing garbage disposal yourself offers substantial cost savings by eliminating labor fees.
Though the task may seem daunting, with the right guidance, most homeowners can install garbage disposals successfully. This guide will equip you with the steps to confidently and safely install garbage disposal.
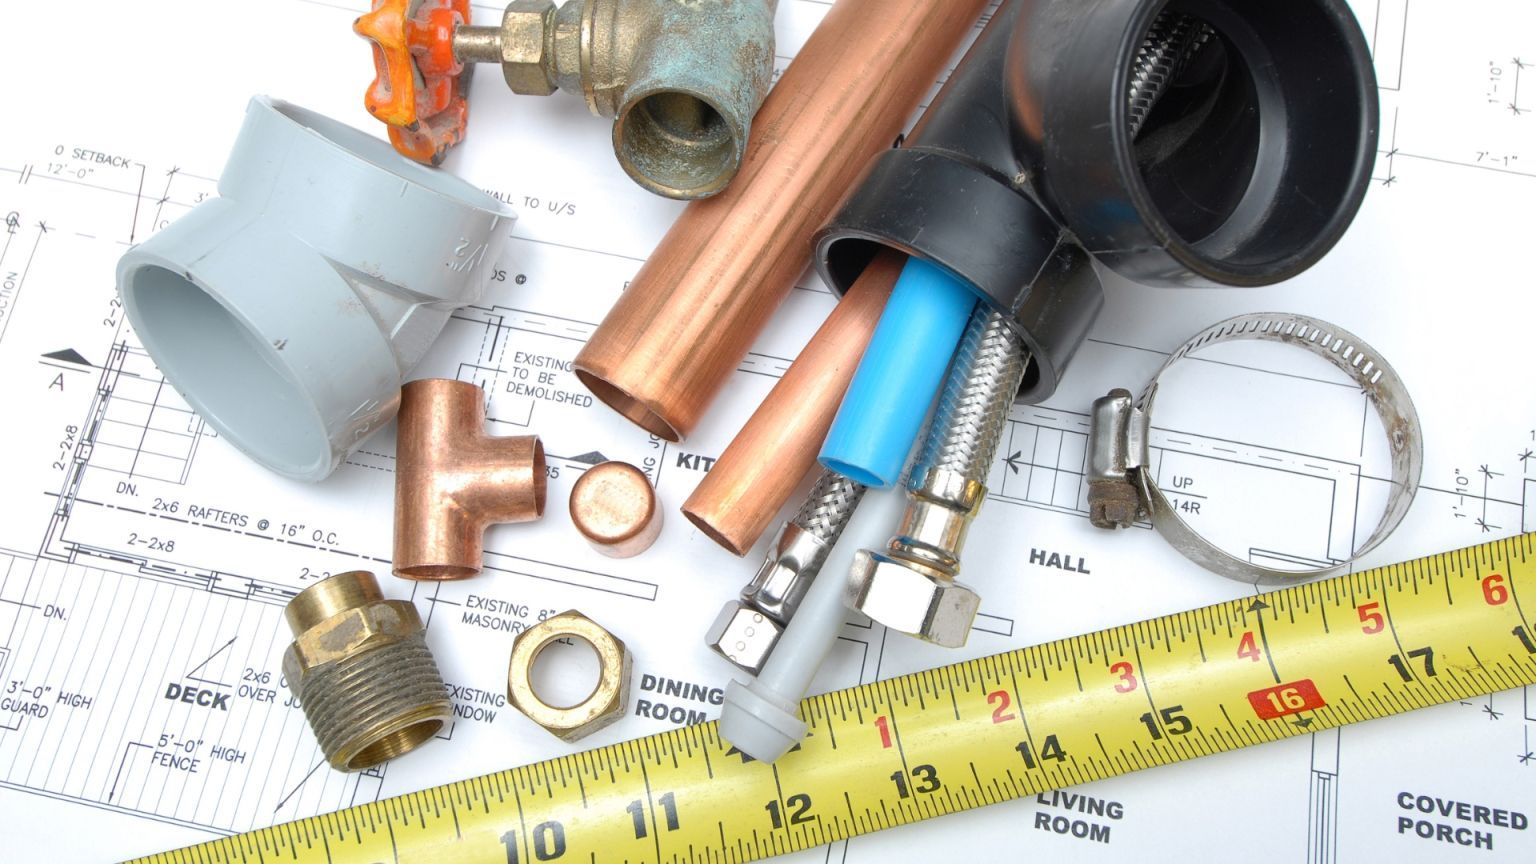
Tools and Materials Needed
Tools:
- Screwdriver sets
- Pipe wrench or adjustable wrench
- Plumber’s putty
- Hammer
- Pliers
- Electrical supplies (wire stripper, electrical tape, etc., if needed)
- Flashlight or headlamp
Materials:
- Garbage disposal unit
- Sink flange
- Discharge tube
- Rubber gasket or seal
- Hose clamp
- Drain elbow
- Electrical cable (if not already pre-installed)
Preparation for Garbage Disposal Installation
Before diving in, let’s make sure we have all the necessary tools and materials ready. This will ensure a smooth and efficient plumbing job ahead. Safety first!
Safety Precautions
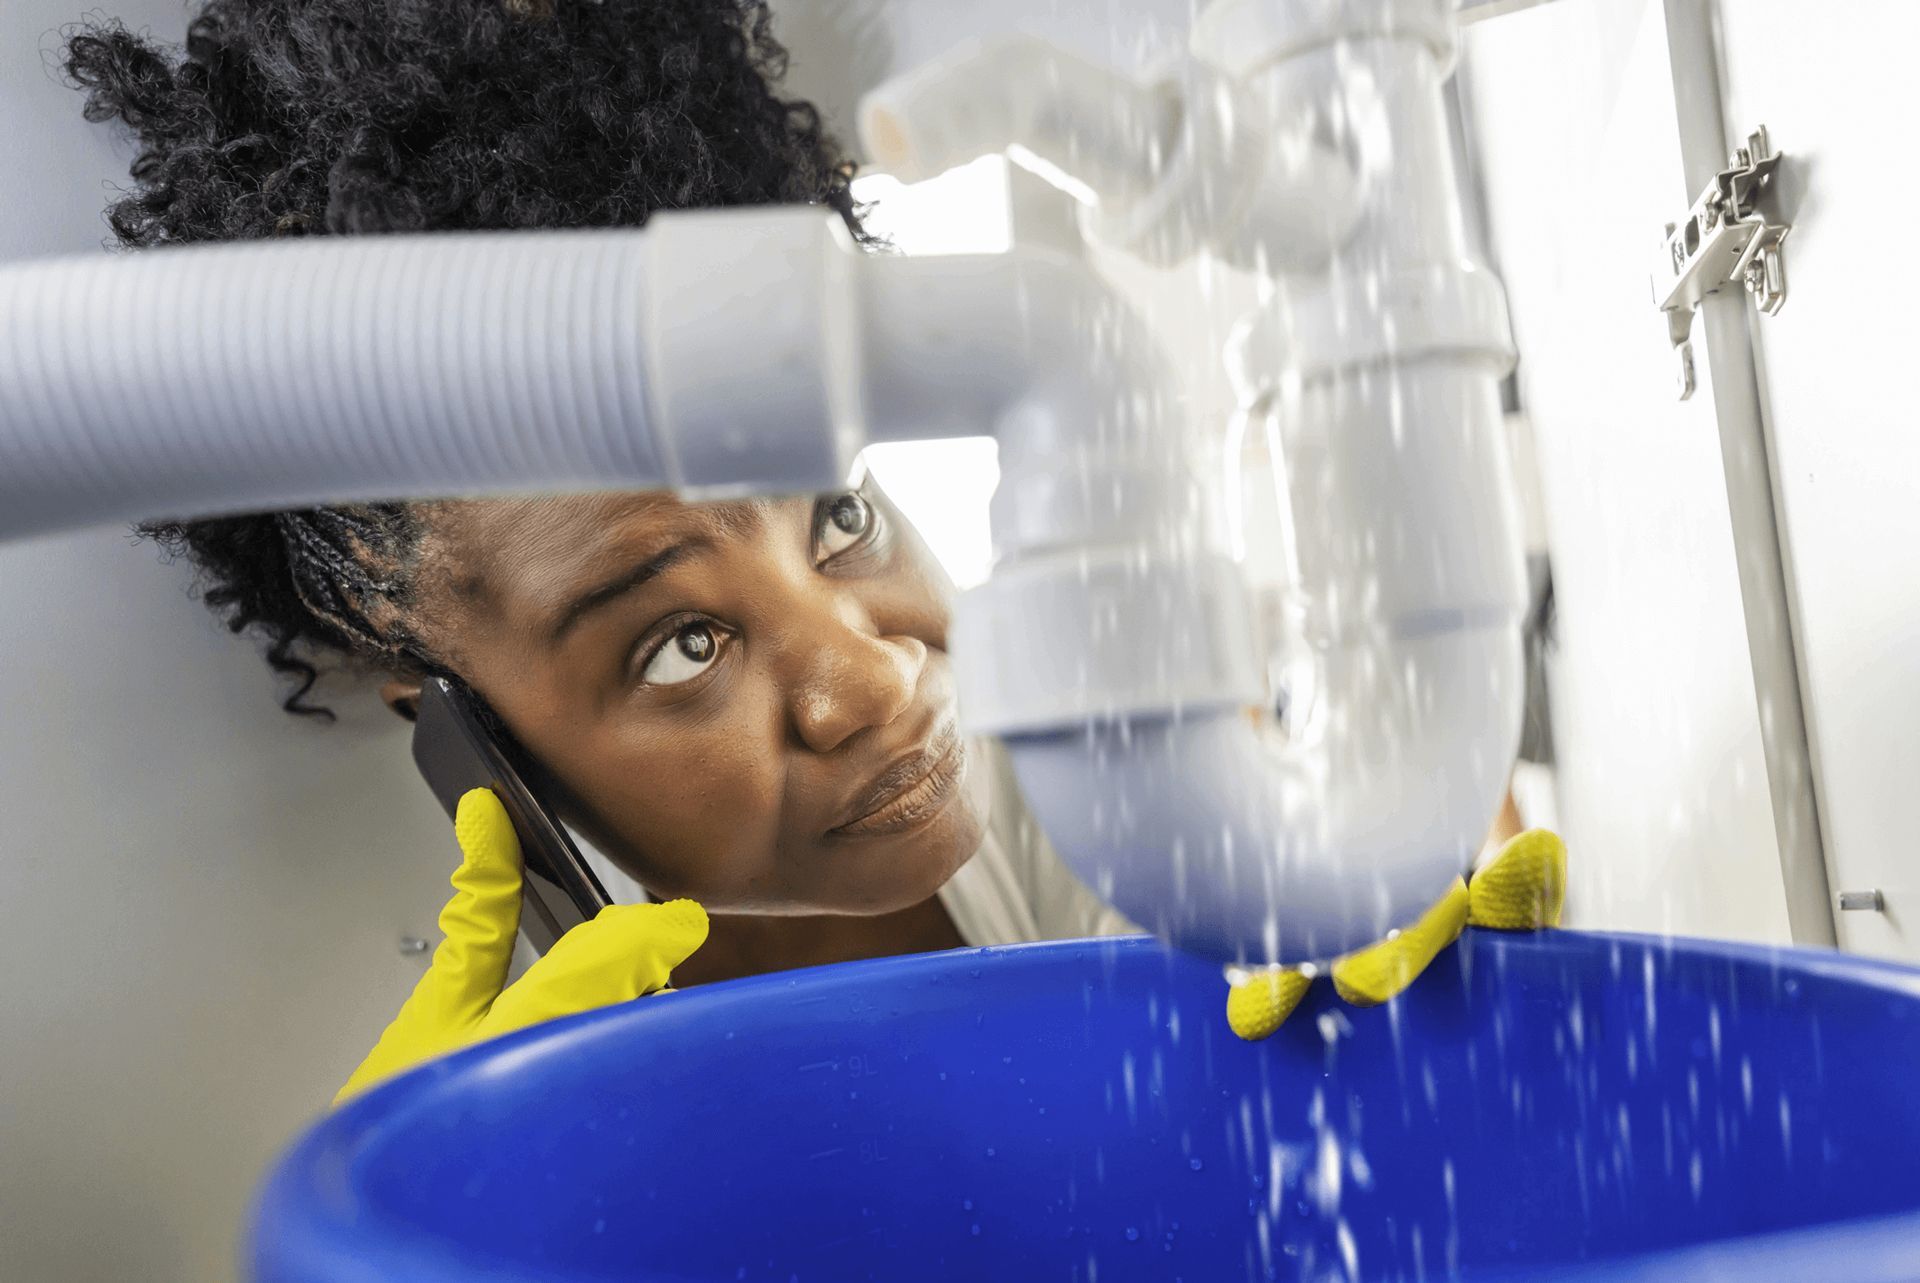
To ensure your safety, make sure to turn off the electrical power at the breaker. This will prevent any accidental electrical shocks while working on the installation.
Switch off the water supply to avoid any potential leaks or flooding. This step is crucial to keeping your workspace dry and safe during the project.
Take the time to read the manufacturer’s instructions completely. Familiarizing yourself with the specific guidelines and requirements will help you avoid errors and ensure a smooth installation process.
Work Area Setup
Before you start, it is essential to remove all items stored under the sink. This will give you ample space to work comfortably and avoid obstructions during installation.
Place protective sheets or towels under the sink area. This will help safeguard your cabinets and flooring from potential spills, debris, or scratches while you work on the installation.
Gather Necessary Documents
Ensure you have the product manual readily available. This document is crucial for understanding the specific requirements and steps for installing your garbage disposal unit.
Familiarize yourself with local electrical and plumbing codes and regulations. Adhering to these standards ensures that your installation is safe, legal, and compliant with local building codes.
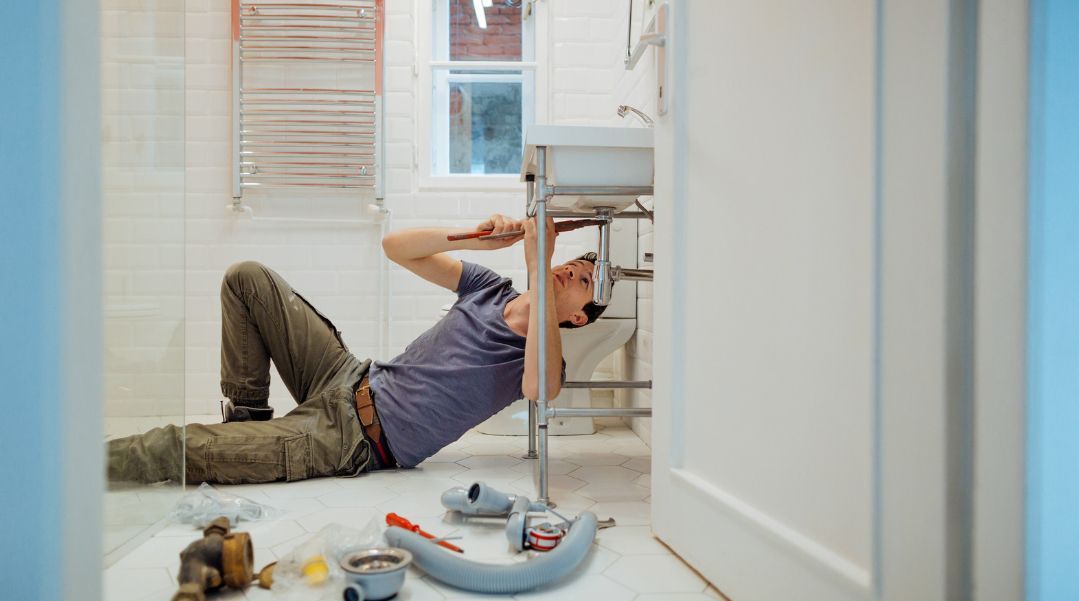
Removing the Existing Garbage Disposal
If there’s an old garbage disposal, we’ll carefully disconnect and remove it first. Let’s clear the way for the new installation, step by step.
1. Disconnect the Electrical Wiring
First, locate the electrical connections underneath the sink. Carefully unscrew the wiring cover and disconnect the wires by loosening the nuts. Make sure the power is off to prevent any electrical hazards.
2. Detach the Disposal from the Sink
Use a screwdriver or a wrench to loosen the screws on the mounting assembly. This will release the garbage disposal unit from the sink, making it easier to remove.
Once the mounting assembly is loosened, carefully lift the garbage disposal unit off the mounting hardware. Ensure you have a firm grip to prevent dropping and potential damage.
3. Clean the Area
Using a putty knife or similar tool, scrape away any old plumber’s putty from the mounting area. Wipe the area clean with a damp cloth to ensure a smooth, debris-free surface for the new installation.
Garbage Disposal Installation
Now that we have a clean slate, it’s time to install the new garbage disposal. Let’s gather our tools and get ready for a smooth setup!
1. Install the Sink Flange
Roll a bead of plumber’s putty in your hands and apply it evenly around the underside of the sink flange. This creates a watertight seal when you press the flange into the sink.
From underneath the sink, slide the rubber gasket and mounting ring over the sink flange. Secure them tightly to ensure the garbage disposal is firmly mounted and sealed properly.
2. Mounting the Disposal Unit
Fit the mounting bracket onto the sink flange and align the mounting assembly. Tighten the screws securely, ensuring the bracket is stable enough to support the garbage disposal unit.
Align the disposal unit with the mounting assembly and twist it into place. Ensure it’s firmly attached by rotating it until it locks, providing a secure and stable installation.
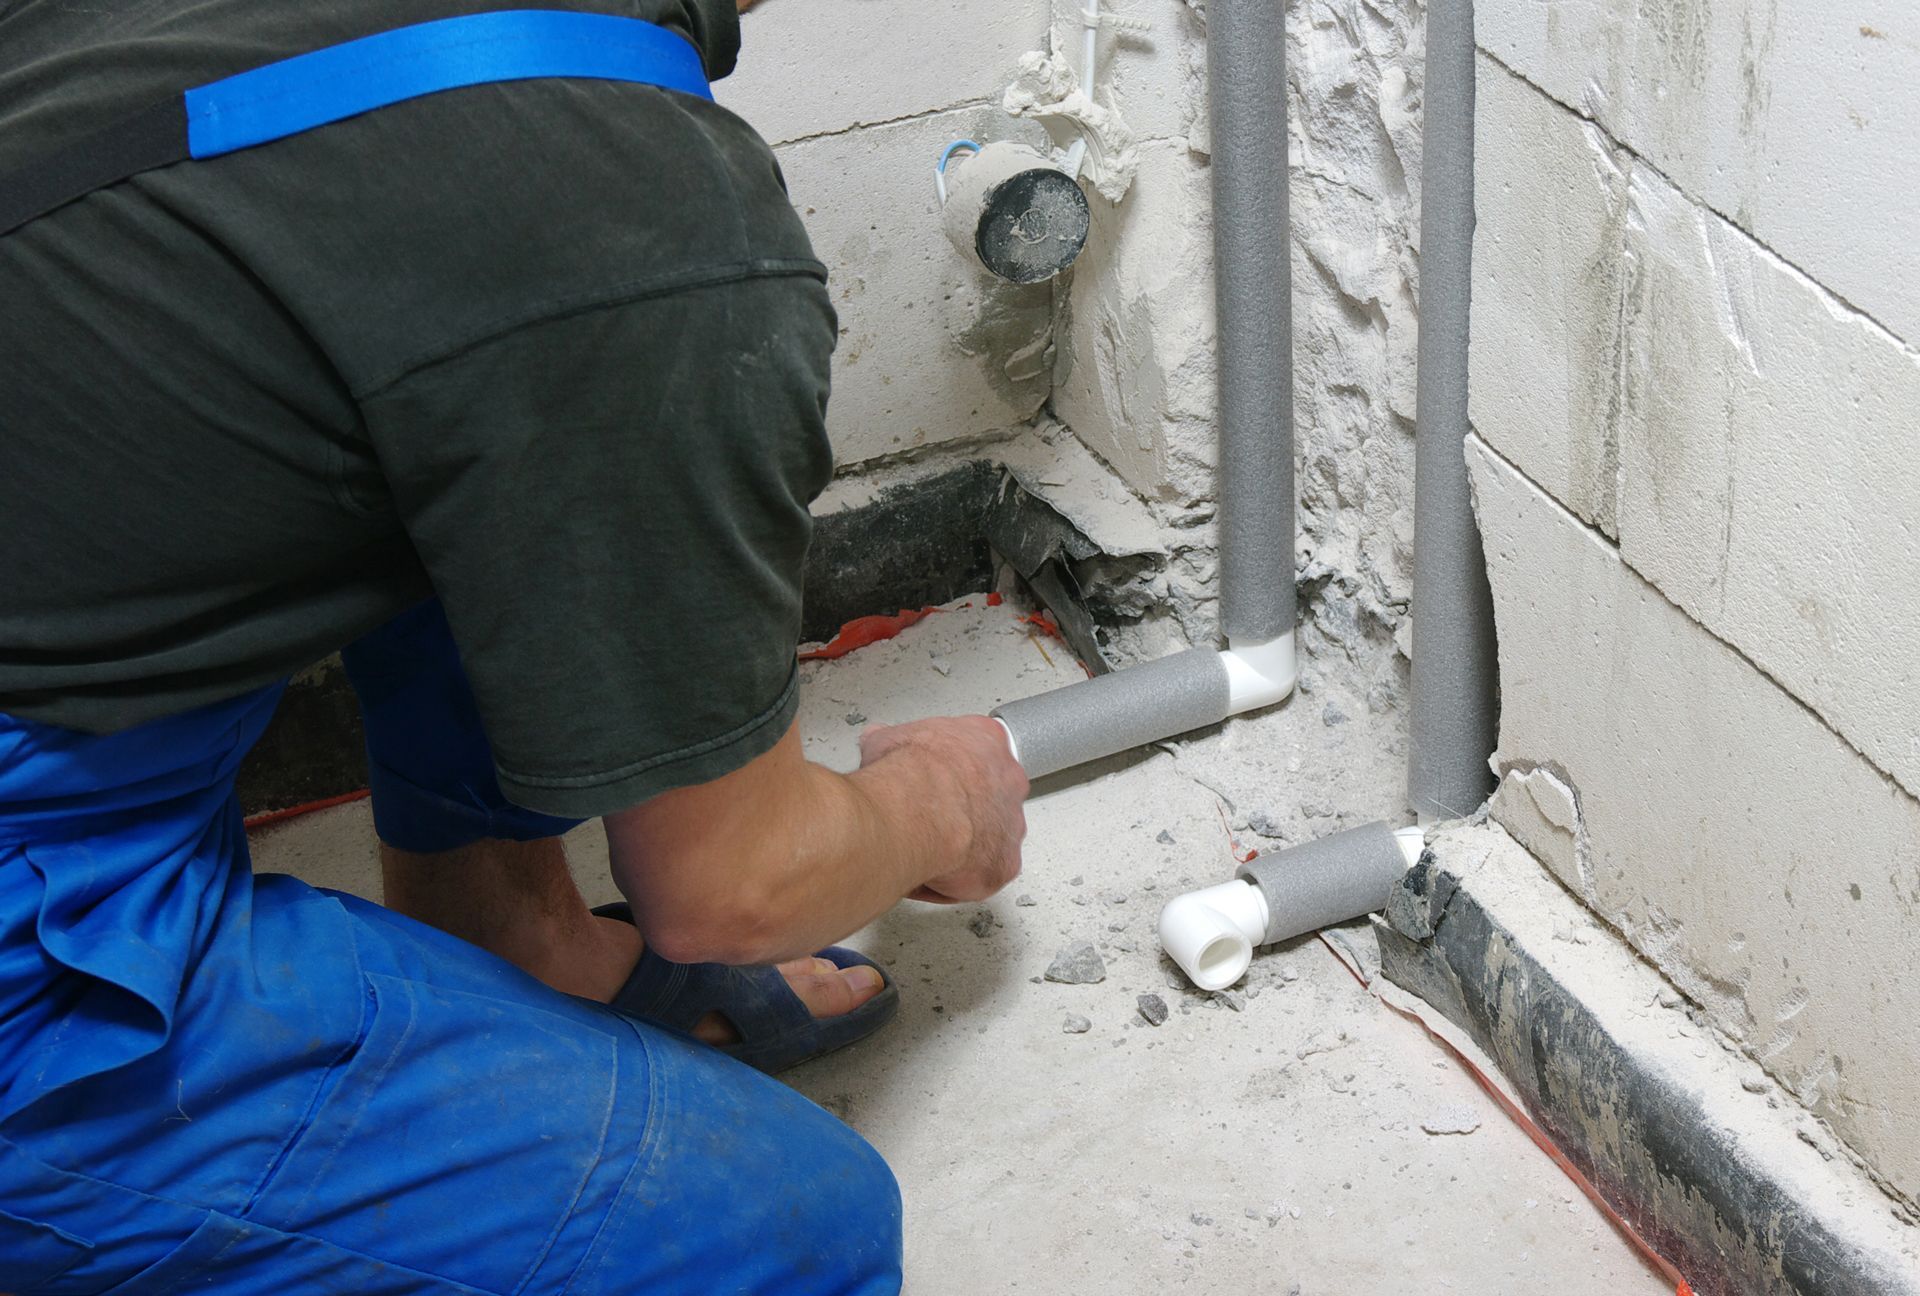
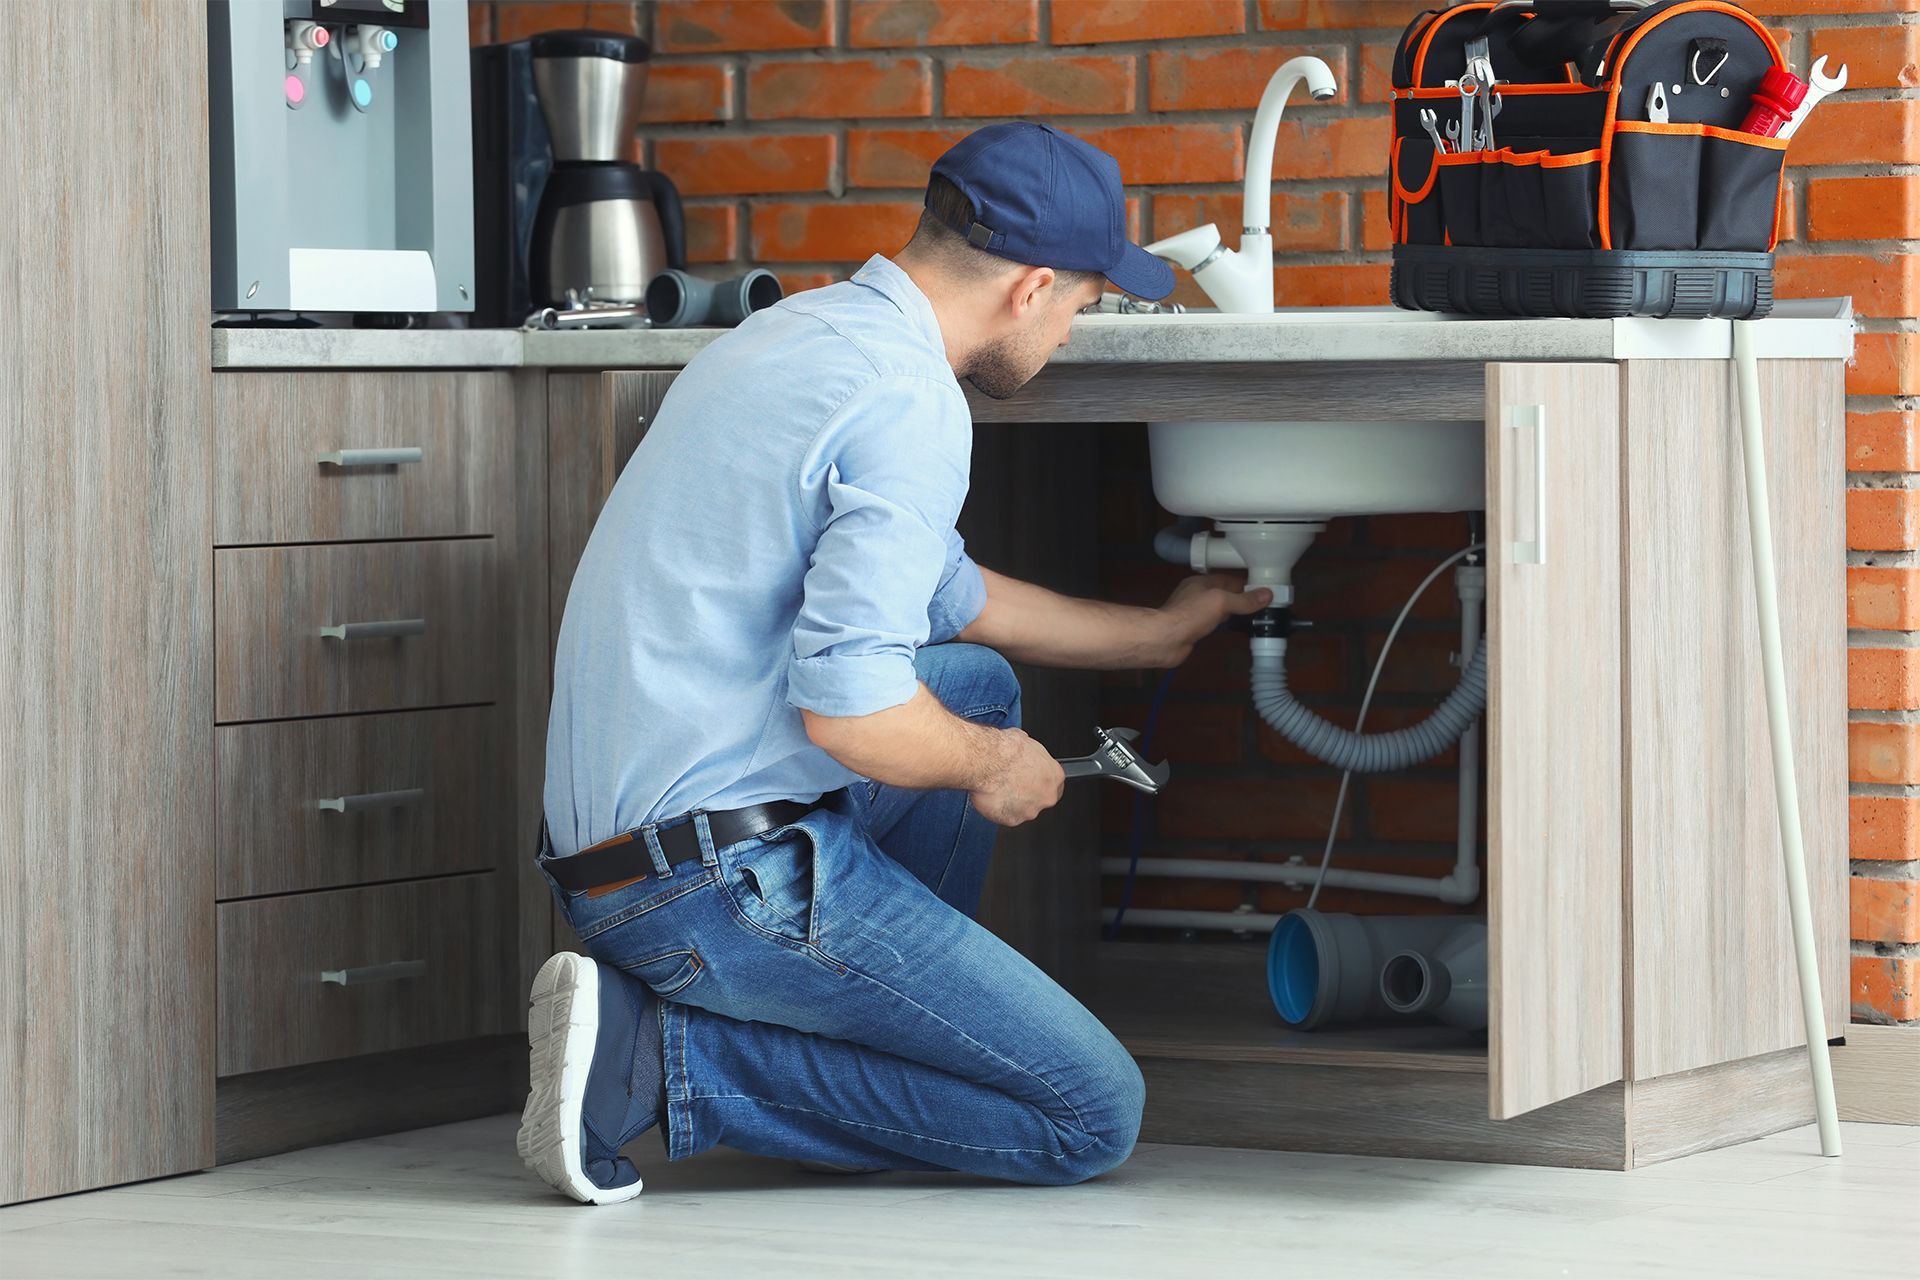
3. Plumbing Connections
Attach the discharge tube to the garbage disposal’s outlet and align it with your kitchen sink’s drain pipe. Use the provided gasket and flange to ensure a proper fit.
Tighten all connections, including the discharge tube and mounting system, using a wrench. Double-check for leaks or loose parts, ensuring everything is securely fastened and watertight.
4. Electrical Connections
Carefully strip the insulation from the electrical wires and connect them according to the manufacturer’s guidelines. Make sure to match the wire colors accurately for a proper connection.
Use wire nuts and electrical tape to seal the wire connections securely. Double-check to verify that all connections are safe and secure and conform to local electrical codes.
Testing the Installation
Time to test it out and make sure it works flawlessly. Fingers crossed for no leaks or surprises. Here we go!
Leak Check
Turn on the faucet and let the water run through the disposal system. Carefully inspect all connections and joints for any signs of water leakage.
If you notice any drips, use a wrench to carefully tighten the leaking connections. Ensure all fittings are snug to prevent leaks and maintain a watertight seal.
Operational Test
Reconnect the garbage disposal to the electrical power supply. Ensure all safety precautions before turning on the circuit breaker or plugging the unit.
Turn on the faucet and run the garbage disposal. Listen for unusual sounds and watch for smooth operation, confirming the unit grinds waste effectively and water flows freely.
Maintenance Tips
Regular Cleaning
Clean your garbage disposal’s blades with ice cubes and salt.
- Drop a handful of ice cubes and a tablespoon of salt into the disposal.
- Run cold water and turn on the disposal.
- The combination helps remove debris and sharpens the blades, giving your unit a thorough clean.
Harsh chemicals can do more harm than good to your garbage disposal. Instead:
- Use natural cleaners like vinegar and baking soda.
- Pour half a cup of baking soda, followed by a cup of vinegar, into the disposal.
- Let the mixture fizz for a while, then rinse with boiling water. This method effectively cleans and deodorizes without damaging any components.
Proper Usage
Running cold water while operating your garbage disposal is essential for its longevity:
- Always turn on the cold water before you activate the disposal.
- Continue running the water for a few seconds after turning it off.
- Cold water helps solidify fats or grease, making it easier to grind and flush away.
To prevent clogs and extend the life of your garbage disposal, avoid overloading it:
- Feed waste gradually rather than all at once.
- Break up large items into smaller pieces before disposing of them.
- Proper feeding helps maintain efficient operation and reduces the risk of jams or mechanical failures.
Routine Checks
Keep your garbage disposal in top shape by checking for leaks and unusual noises regularly:
- Once a month, inspect the area under your sink for any signs of moisture.
- Listen for grinding or rattling sounds when the disposal is in use.
- Identifying issues early can help you avoid more significant problems down the line.
Regular inspection of your garbage disposal’s electrical connections ensures safe operation:
- Turn off the power at the breaker before inspecting the unit.
- Check that all wires are securely connected and look for signs of wear or damage.
- Regular maintenance of the electrical components can prevent malfunction and extend the lifespan of your disposal.
Final Thoughts
Installing and maintaining your garbage disposal can lead to significant savings. The process is straightforward and brings a great sense of accomplishment once completed. Ensure all connections are secure before using, and always follow the manufacturer’s guidelines for maintenance and usage to keep your unit running smoothly.
When professional intervention is needed, trust Showtime Plumbing LLC to solve all your plumbing needs. We have years of experience, ensuring you receive top-notch service. We are just one call away, ready to provide you with the exceptional service you deserve. Contact us at 626-612-2030 for assistance.