Showtime Plumbing LLC Blog
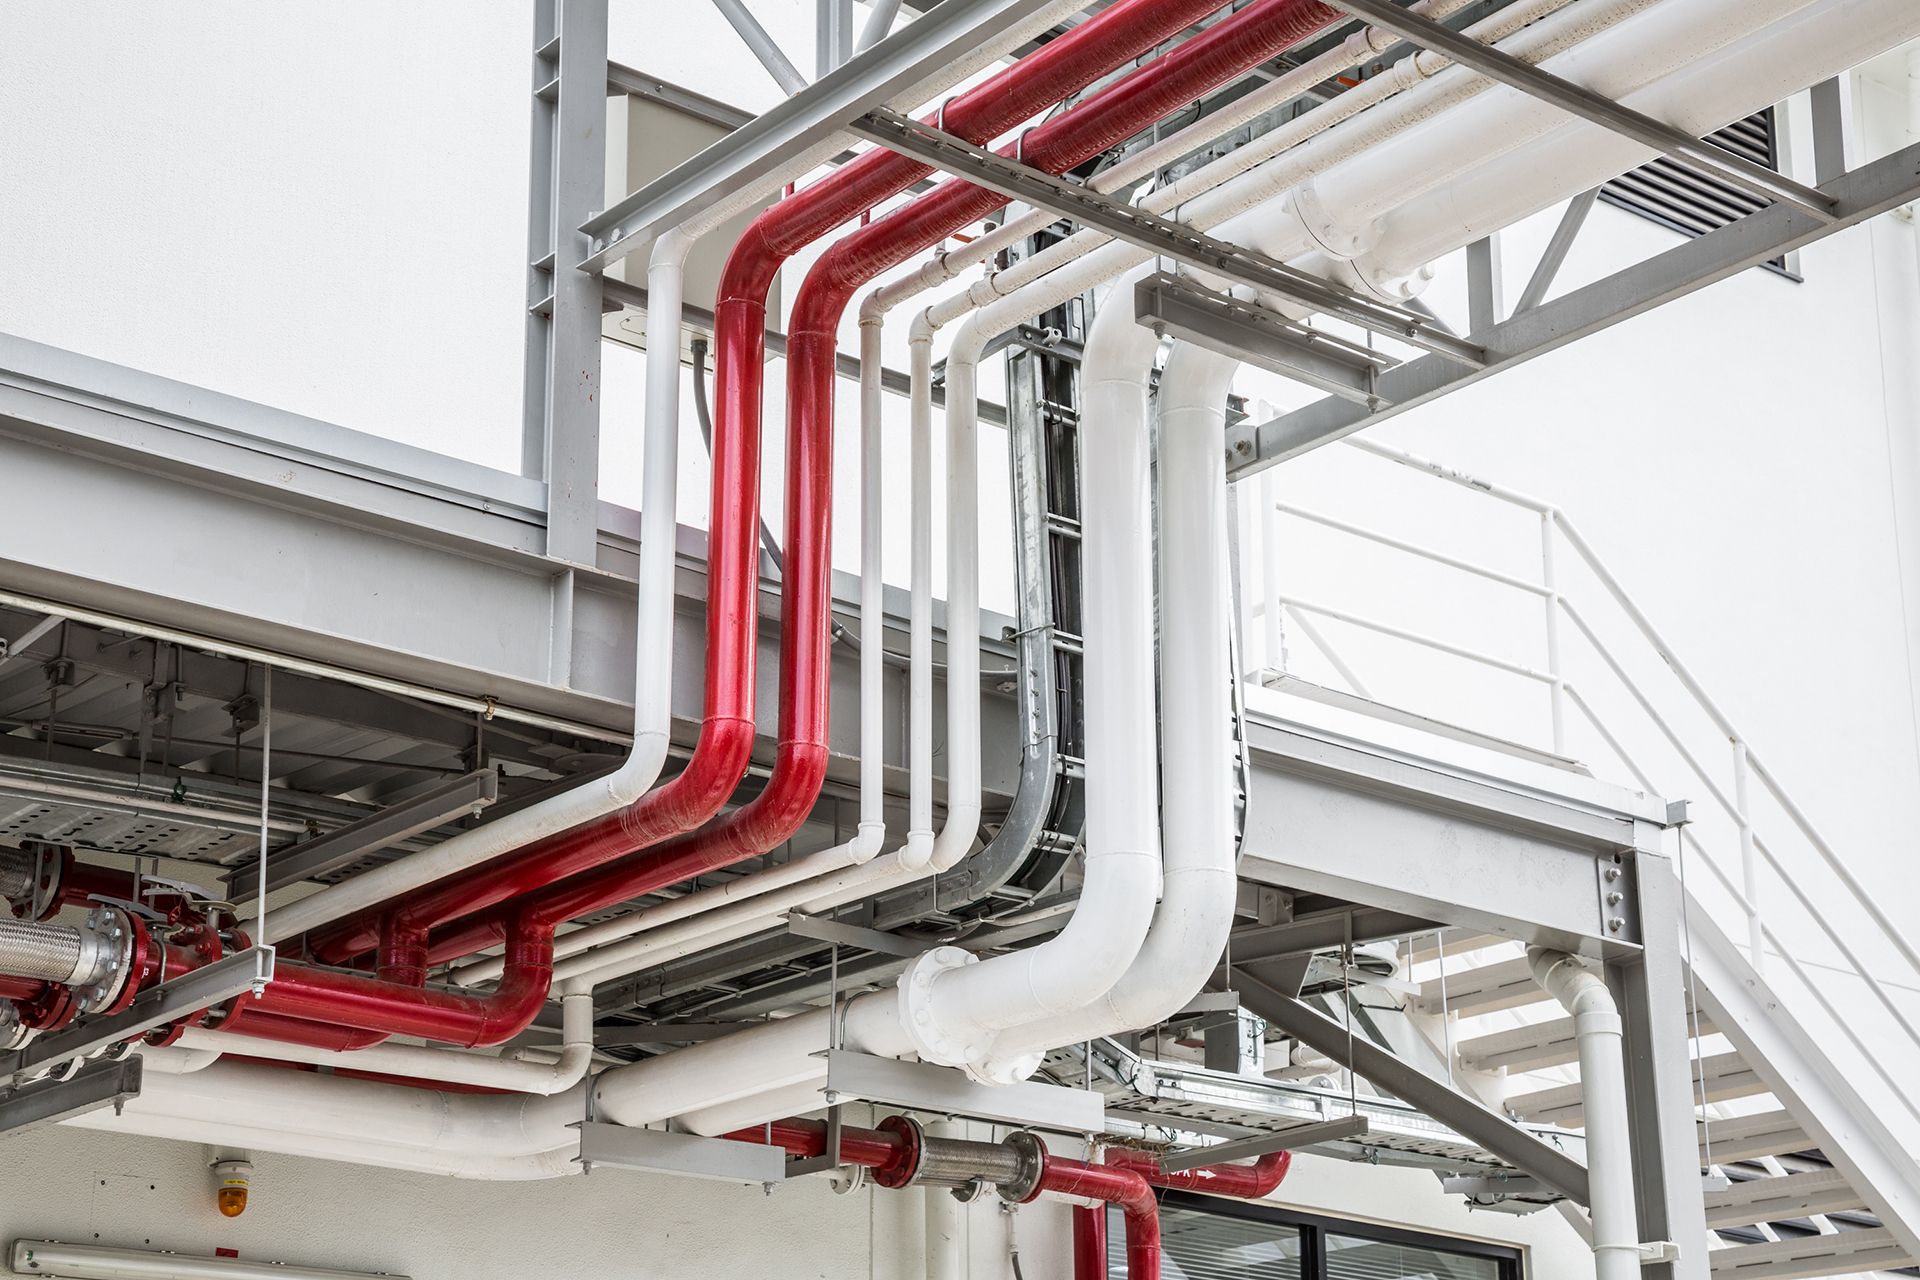
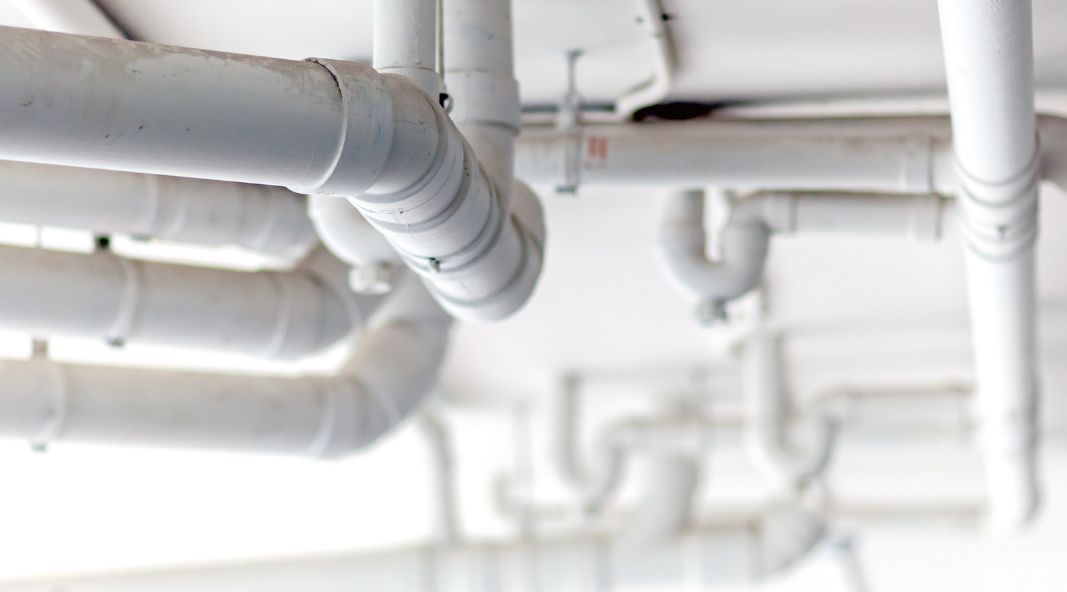
Industrial plumbing focuses on large-scale systems in facilities like factories and power plants, handling complex networks for water supply and waste management. It’s distinct from residential plumbing, catering to the rigorous demands of industrial operations. The essence of industrial plumbing lies in its role in ensuring efficient industrial operations, worker safety, and environmental compliance. This article will unpack the basics, highlight its differences from household plumbing, and emphasize its importance in the industrial sector.
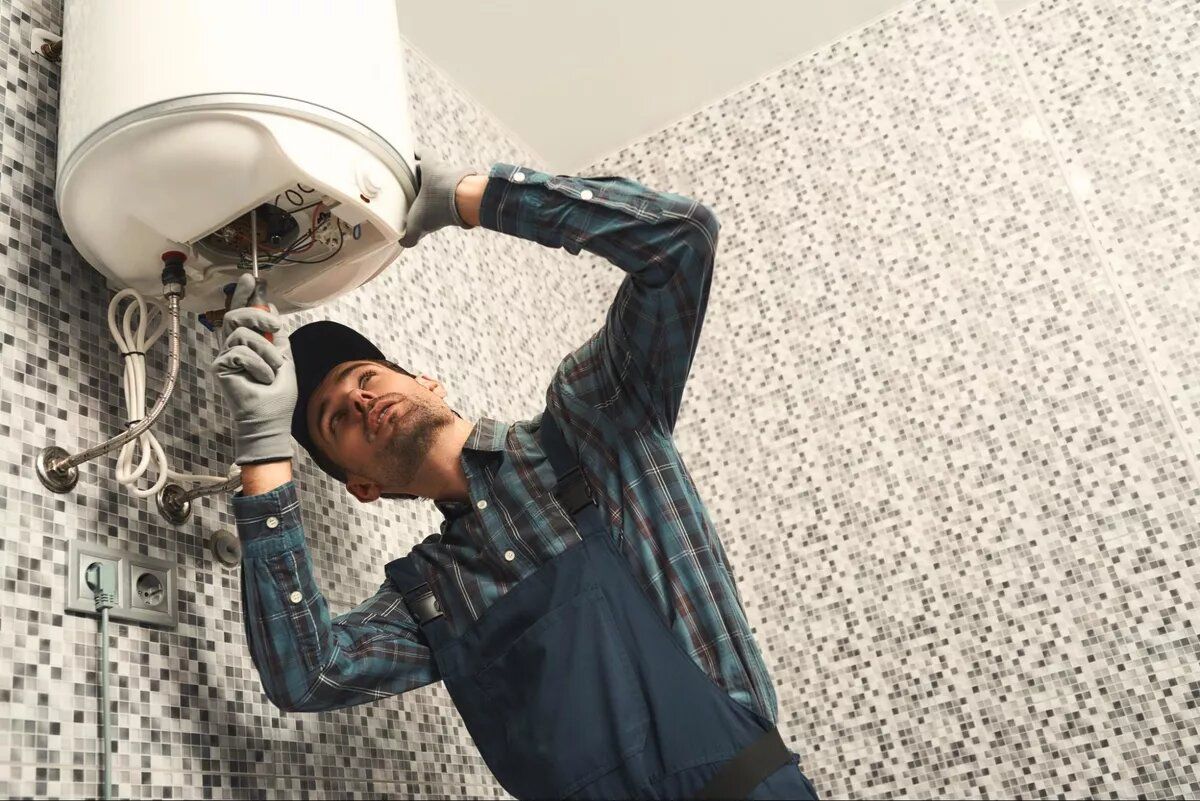
A water heater is essential for a comfortable and efficient home, providing hot water for showers, dishes, and laundry. Electric water heaters, in particular, offer benefits such as consistency in temperature control and energy efficiency, making them a popular choice for homeowners. When installing an electric water heater, it’s crucial to prioritize safety by adhering to local codes and regulations. Proper installation and maintenance not only ensure safety but also enhance the heater’s performance and longevity, securing your investment in home comfort.
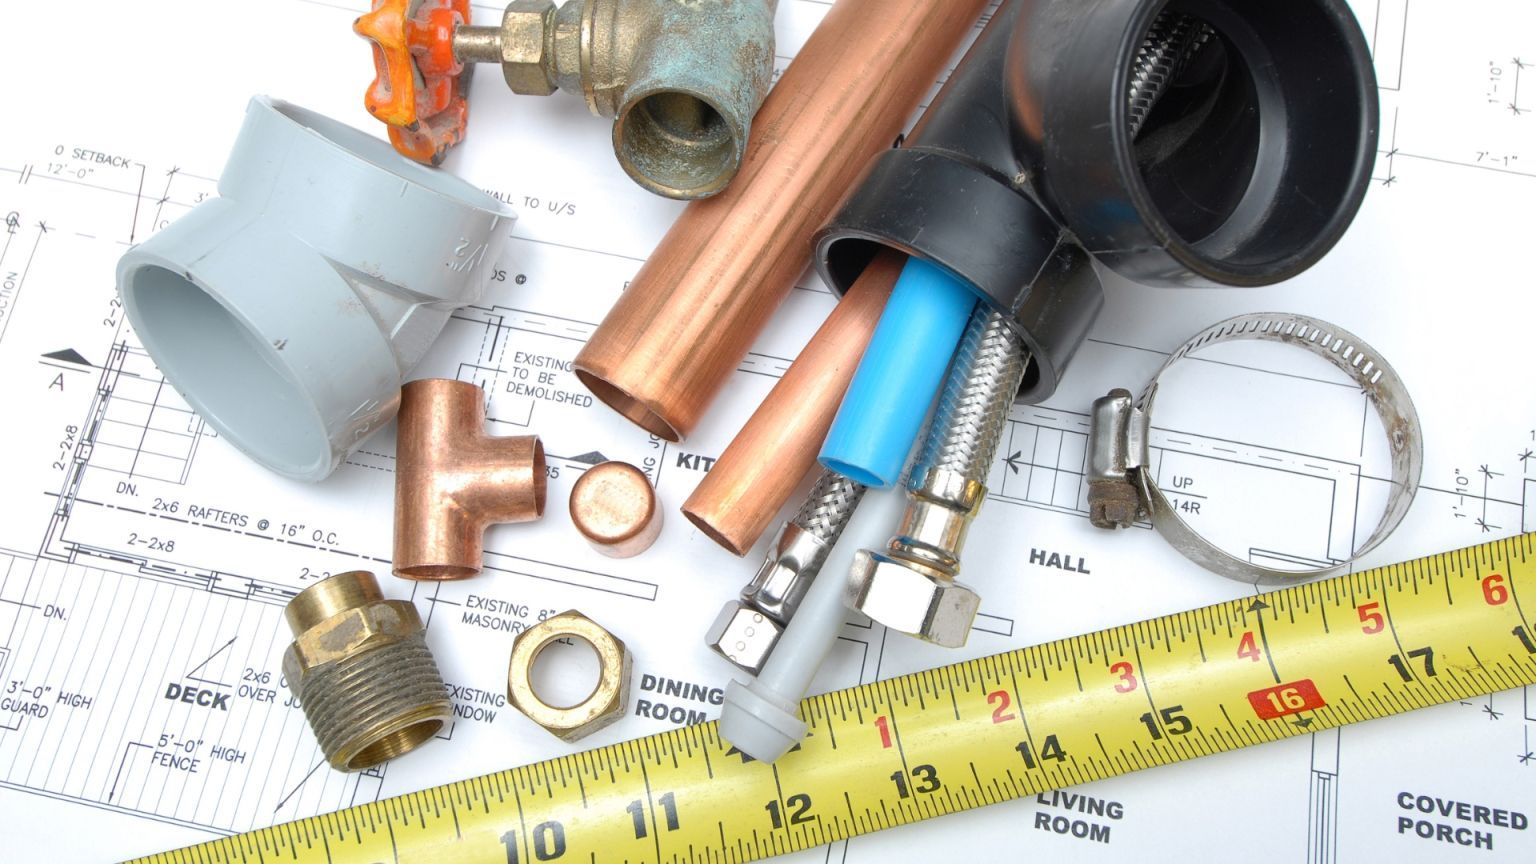
Tackling DIY plumbing tasks successfully requires the right tools. Precision and efficiency in handling fixtures and pipes distinguish between a fail and flawless repair. For DIY enthusiasts, equipping oneself with professional-grade tools isn’t just helpful; it’s transformative, ensuring smoother project outcomes and less frustration. Professional plumbers rely on specific tools for their work—professional plumbing tools that could also benefit DIYers. These essential items can elevate ordinary plumbing work into an expert operation, from high-quality pipe wrenches to efficient tube cutters. Explore the essential professional plumbing tools that can transform your DIY plumbing toolkit.
Picking the right types of plumbing pipes for your plumbing isn’t just about ticking off a checklist; it’s key to keeping your home safe and everything flowing just right. Think of it as choosing the best ingredients for your favorite recipe — it’s all about quality and making sure everything works together perfectly, which is exactly what this article aims to help you do. Plus, this isn’t just about avoiding leaks. It’s about the health of your family, too. Safe pipes mean clean water and air, free from nasties like lead or mold. So, by choosing wisely and following the guidance in this article, you’re not just fixing up your home; you’re looking out for your family’s well-being.
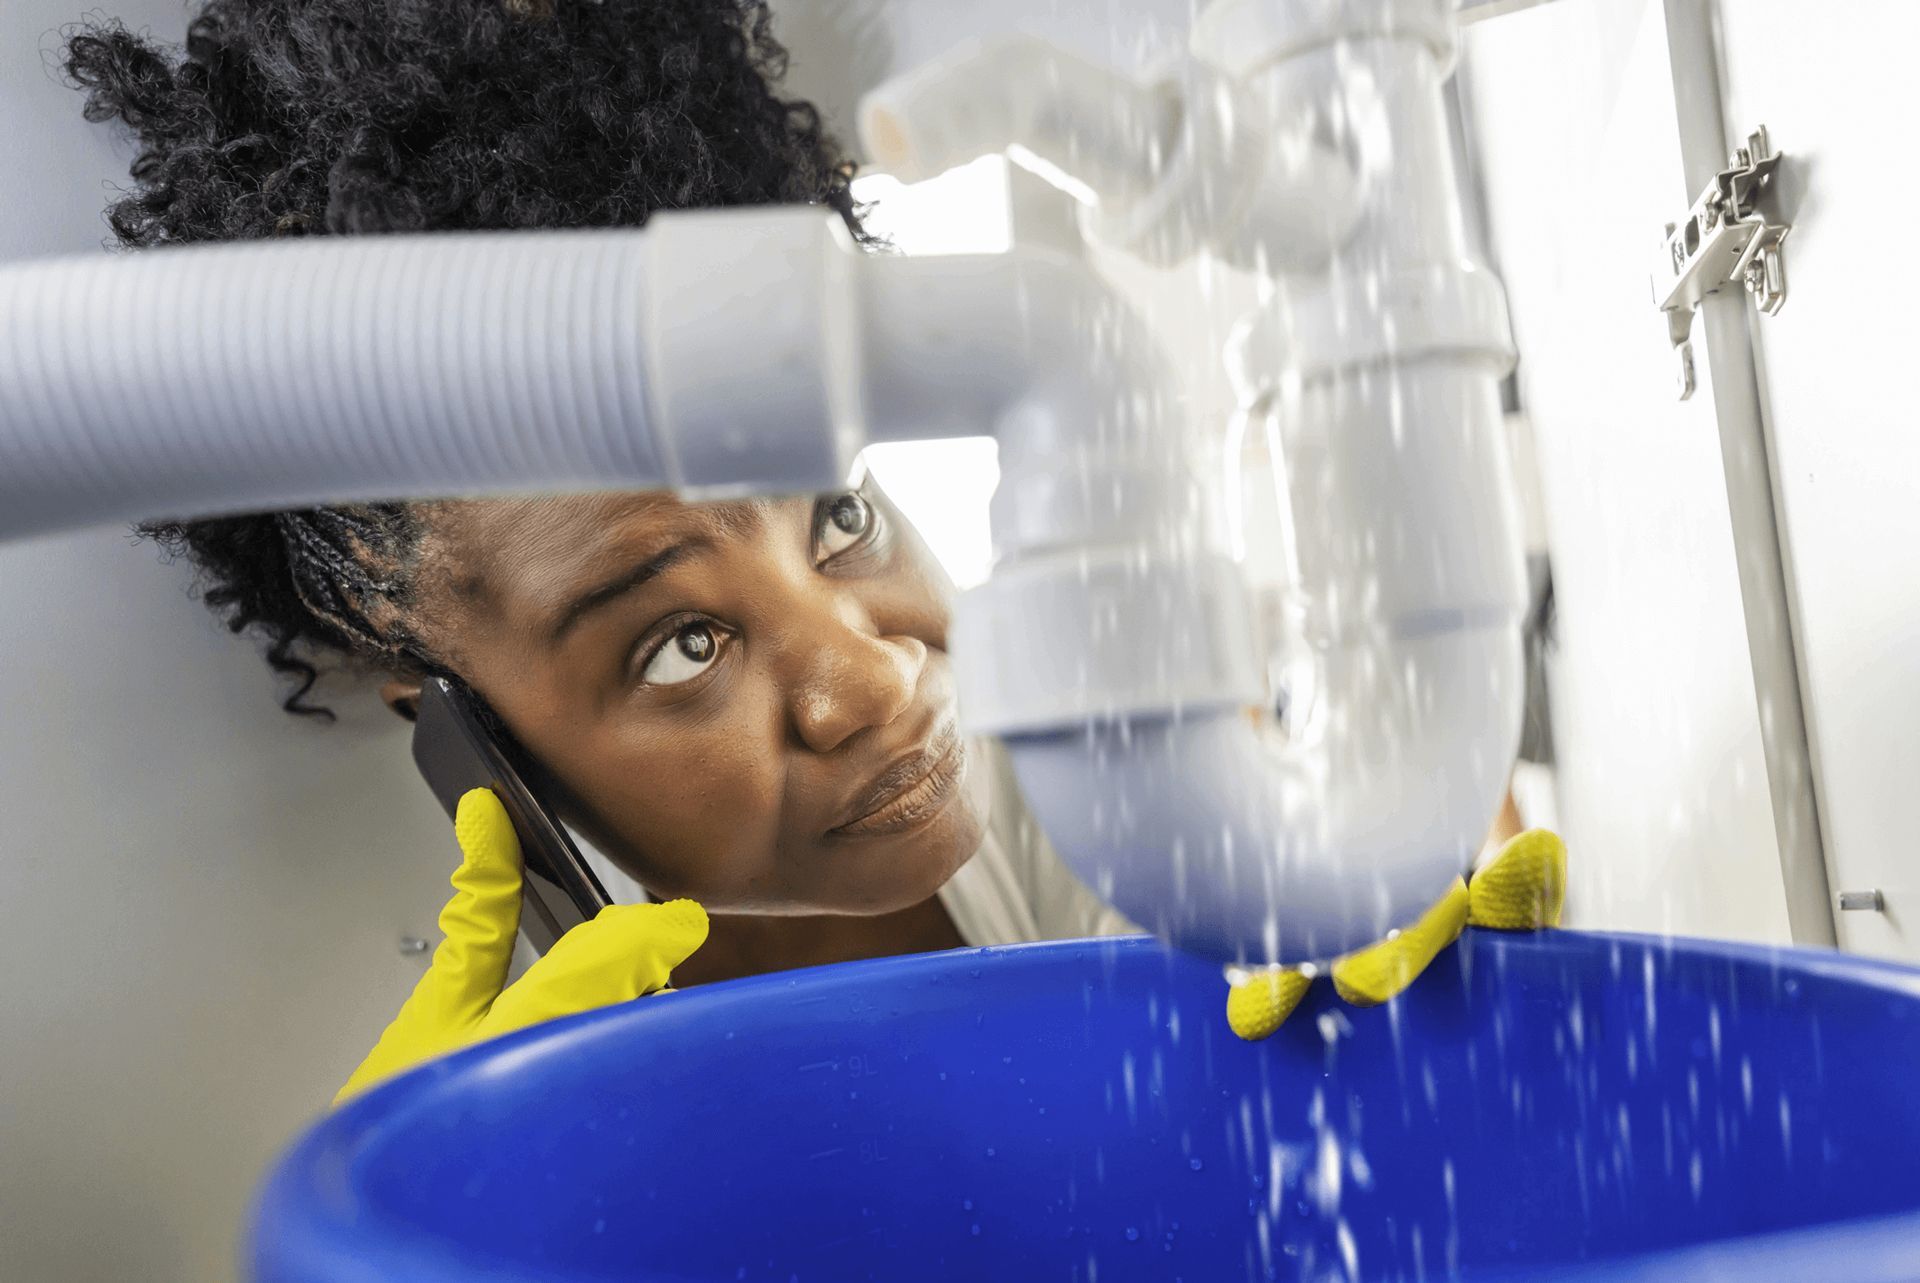
Detecting a pipe burst promptly is essential to avoid severe damage to your home. Knowing how to know if a pipe bursts can be crucial because if a pipe bursts and goes unnoticed, it can cause extensive harm, from structural damage to fostering mold growth, which poses health risks. Additionally, undetected leaks can lead to shockingly high water bills, sometimes running into thousands of dollars. This article educates homeowners on the critical signs indicating a pipe has burst. By being aware of these signs, you can act swiftly to mitigate damage, manage repair costs effectively, and ensure the safety and integrity of your home. Let’s dive into the key indicators of a pipe burst so you can be prepared to protect your property.
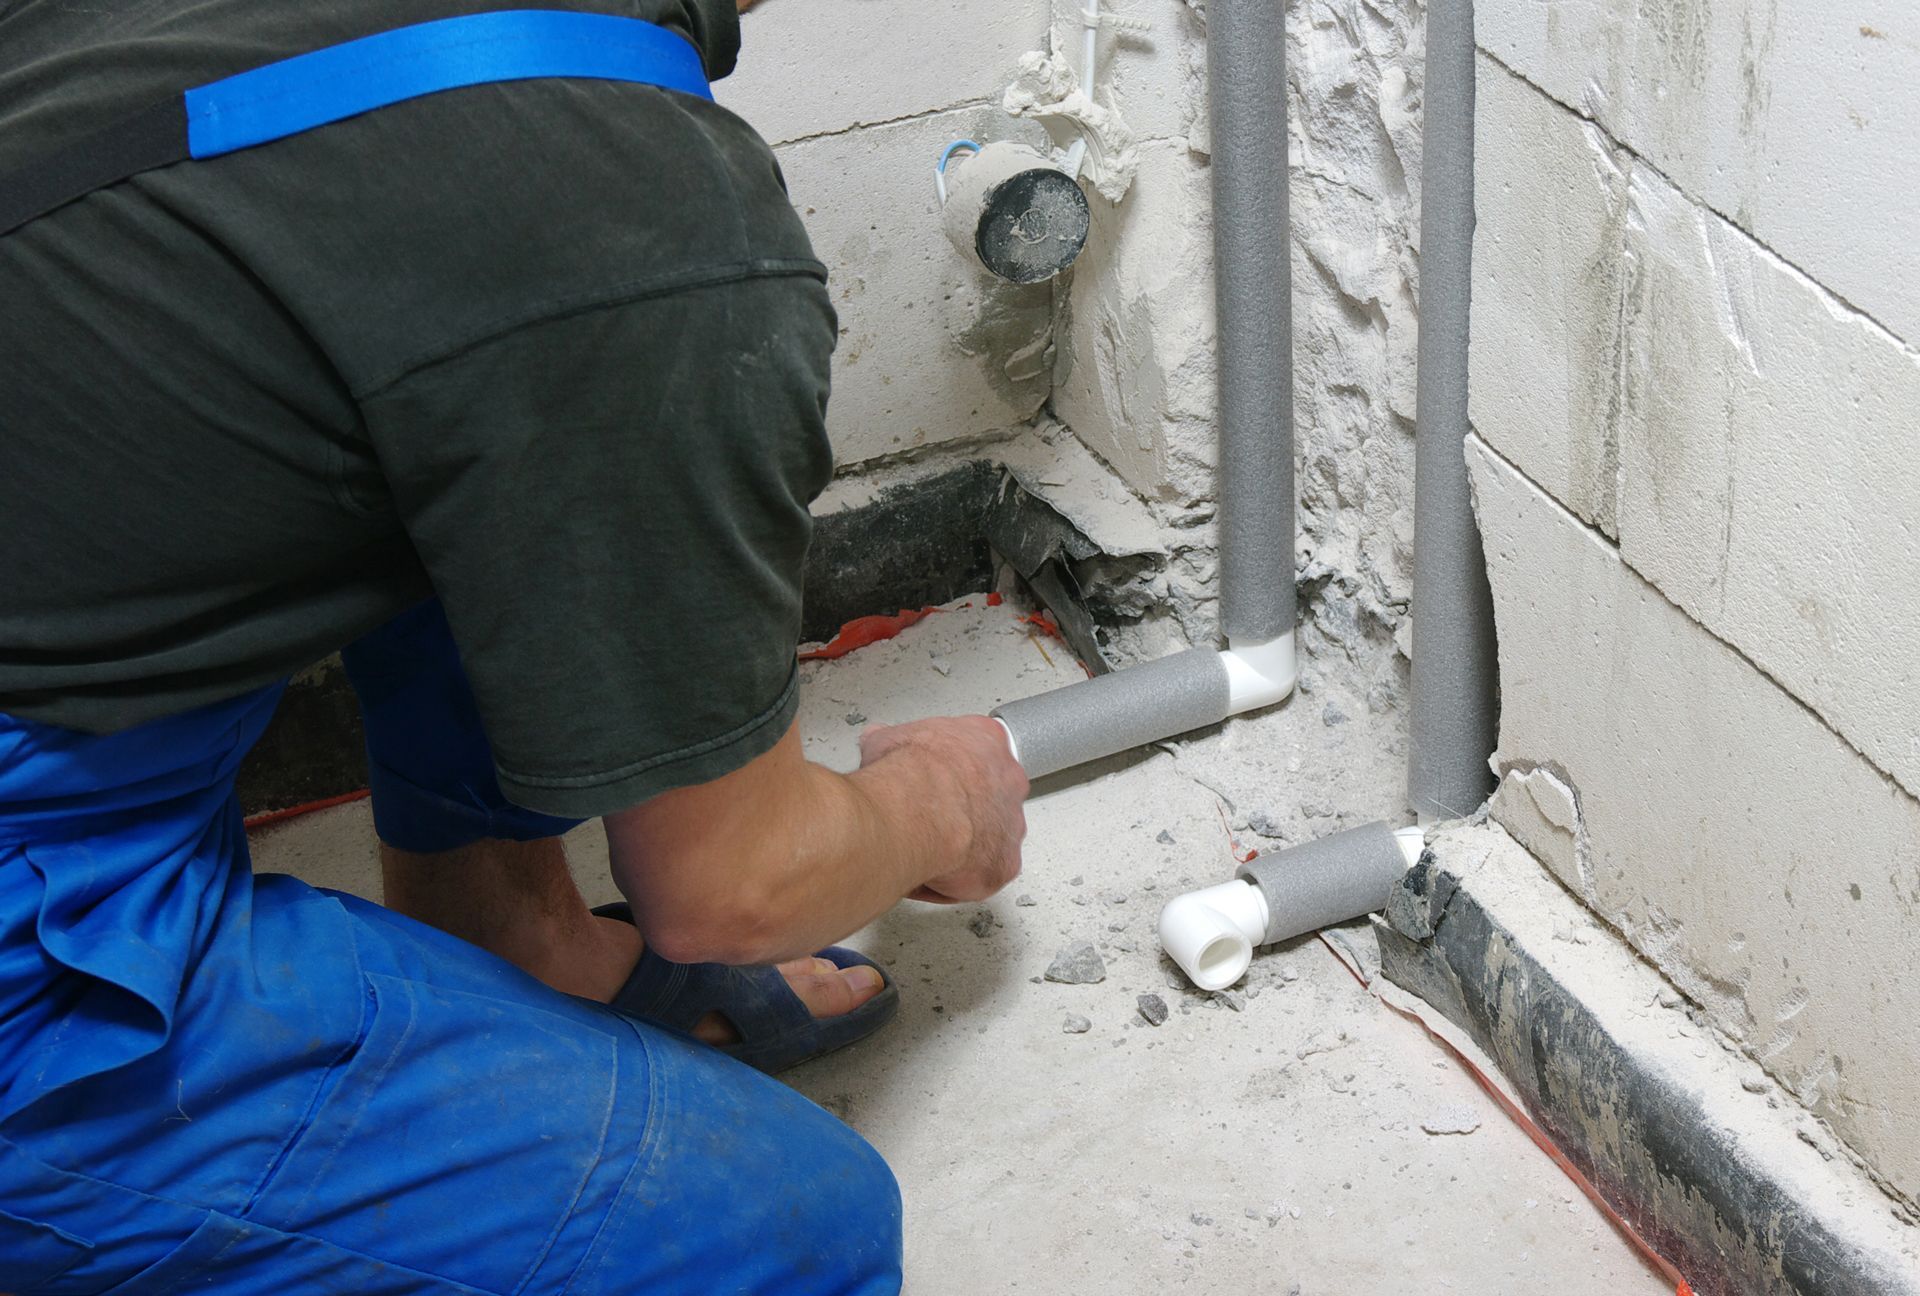
Repipe plumbing is updating a home’s water piping system and removing old, corroded, or otherwise ineffective pipes. This renovation ensures clean, consistent water flow and avoids common plumbing issues that can plague older systems. This article emphasizes the significance of repiping in maintaining a home’s plumbing infrastructure. Through repiping, homeowners safeguard against water damage and inefficiencies, underlining the procedure’s role in preserving a home’s integrity and value, as detailed herein.

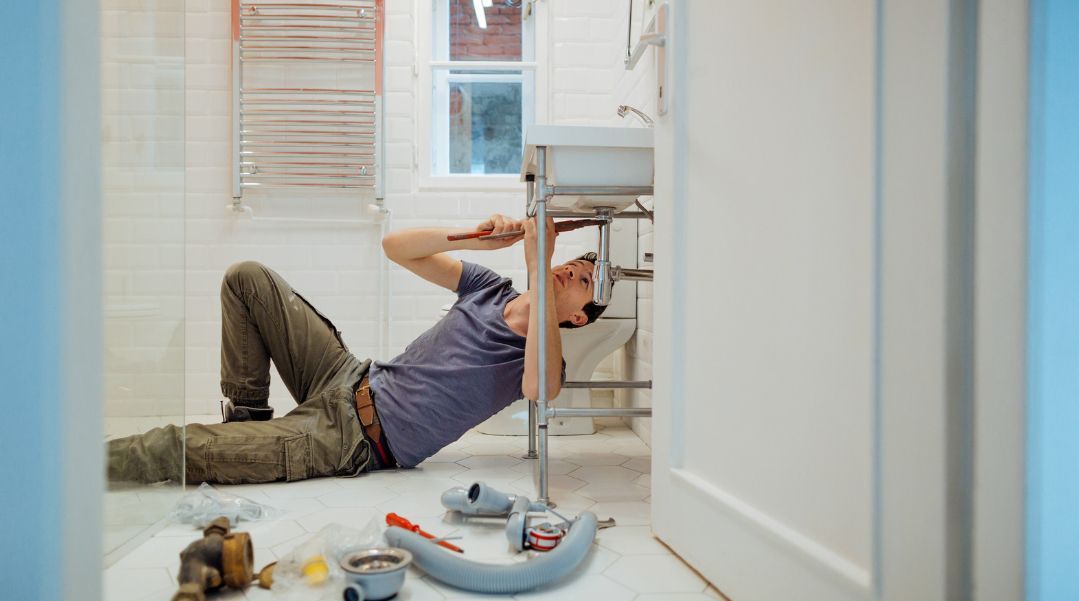
When a copper pipe bursts in your home, the urgency to address the problem promptly cannot be overstressed. Water leaking from a burst pipe can swiftly lead to extensive damage, including structural issues, mold, and destruction of personal property, making quick action essential. In this guide, we’ll show you how to easily repair a copper pipe that has burst to mitigate further damage. We outline the key tools and materials needed for the repair, including a pipe cutter, soldering tools, replacement copper pipe, flux, solder, emery cloth, and essential safety gear. Having these items ready ensures you can tackle the repair efficiently and effectively.
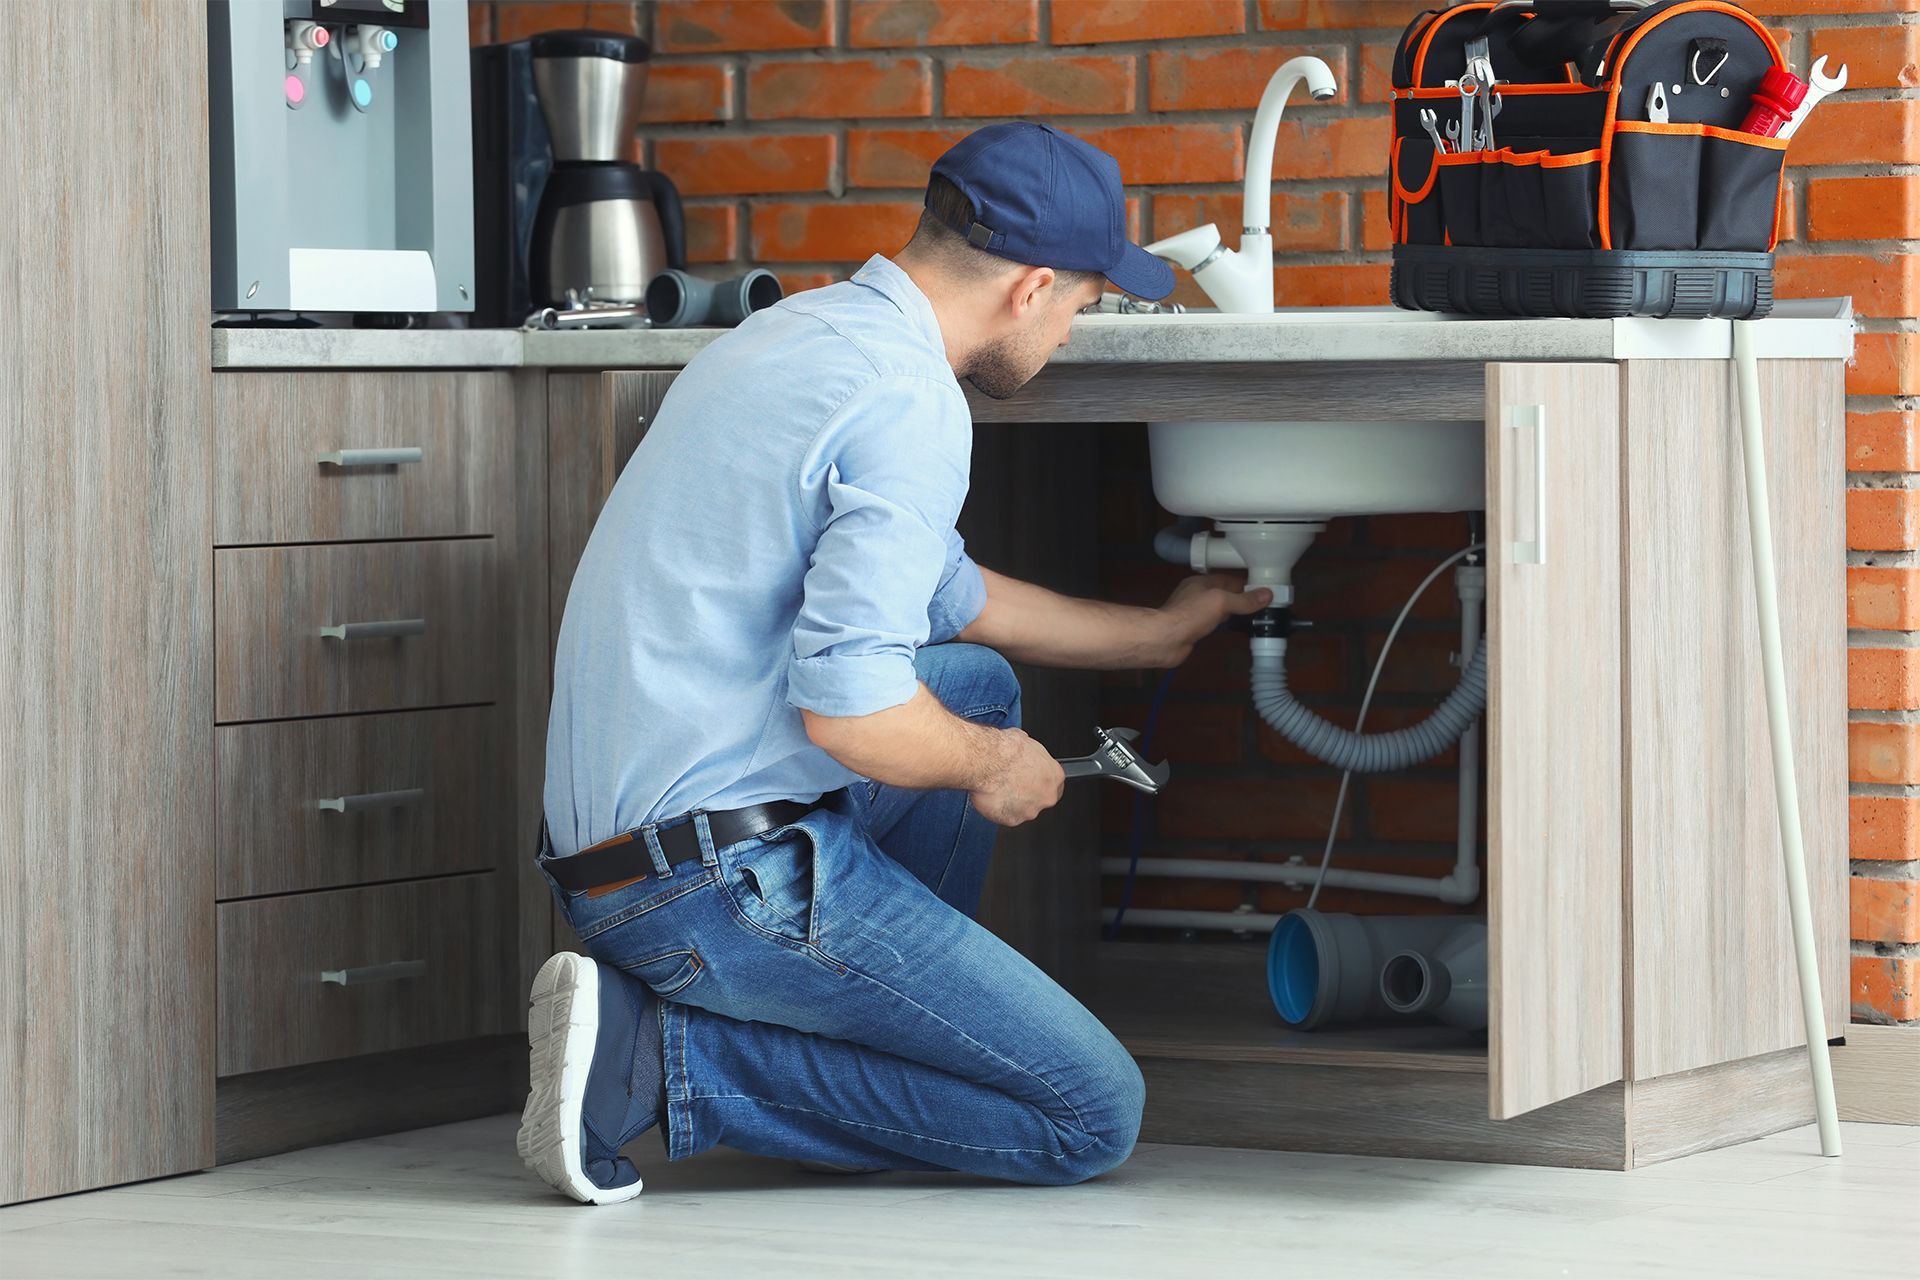
Maintaining the plumbing system in your home is crucial for a comfortable and healthy living environment. Reliable residential plumbing services ensure that everything from your kitchen sink to your hot water heater functions smoothly. When small issues are left unaddressed, they can develop into major problems, leading to significant damage and costly repairs. Whether routine maintenance or emergency repairs, professional residential plumbing services are essential for homeowners. Skilled plumbers use advanced tools and techniques to diagnose and resolve issues efficiently. This comprehensive approach not only fixes immediate problems but also extends the lifespan of your plumbing system, ensuring peace of mind for years to come.
Plumber putty is a soft, moldable compound used in plumbing to create watertight seals. It is typically made from a mixture of clay and oils, making it easy to apply and highly effective. Creating a watertight seal is essential to prevent leaks and water damage. This article will explore how plumber putty is commonly used for sealing sinks, faucets, and drains, ensuring the durability and reliability of plumbing fixtures.

Descaling cast iron pipes is essential for maintaining water flow efficiency and preventing damage and corrosion. By regularly addressing scale build-up, homeowners can ensure their plumbing systems operate smoothly, ultimately extending the lifespan of their pipes and saving on long-term repair costs. On the flip side, neglecting scale removal can lead to reduced water pressure and frequent blockages, resulting in backups. Over time, this can cause significant leaks and corrosion, posing serious risks to your entire plumbing infrastructure.
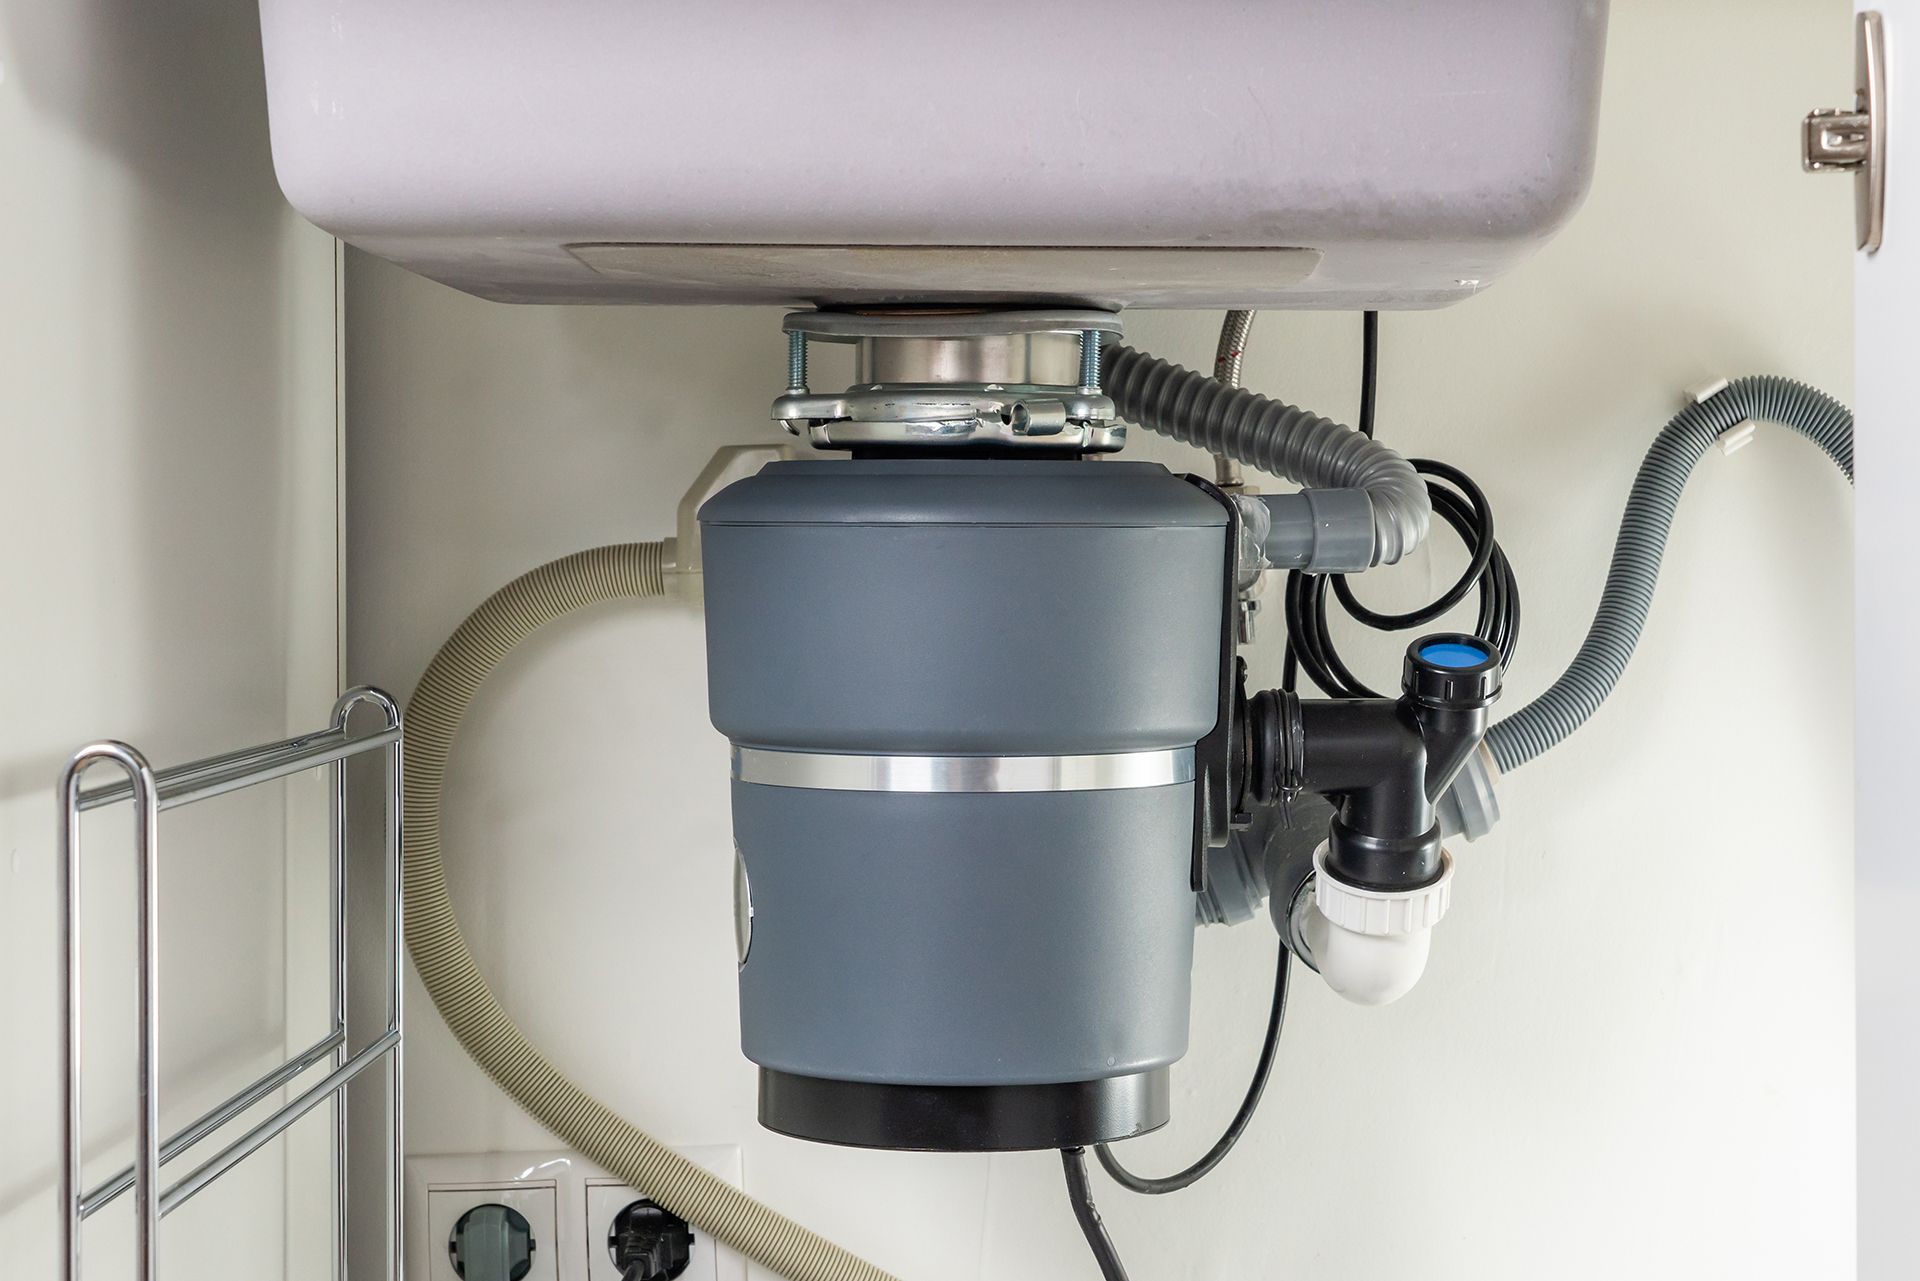
A garbage disposal unit is invaluable for maintaining a clean, hygienic kitchen by efficiently managing waste and minimizing odors. Beyond convenience, installing garbage disposal yourself offers substantial cost savings by eliminating labor fees. Though the task may seem daunting, with the right guidance, most homeowners can install garbage disposals successfully. This guide will equip you with the steps to confidently and safely install garbage disposal.
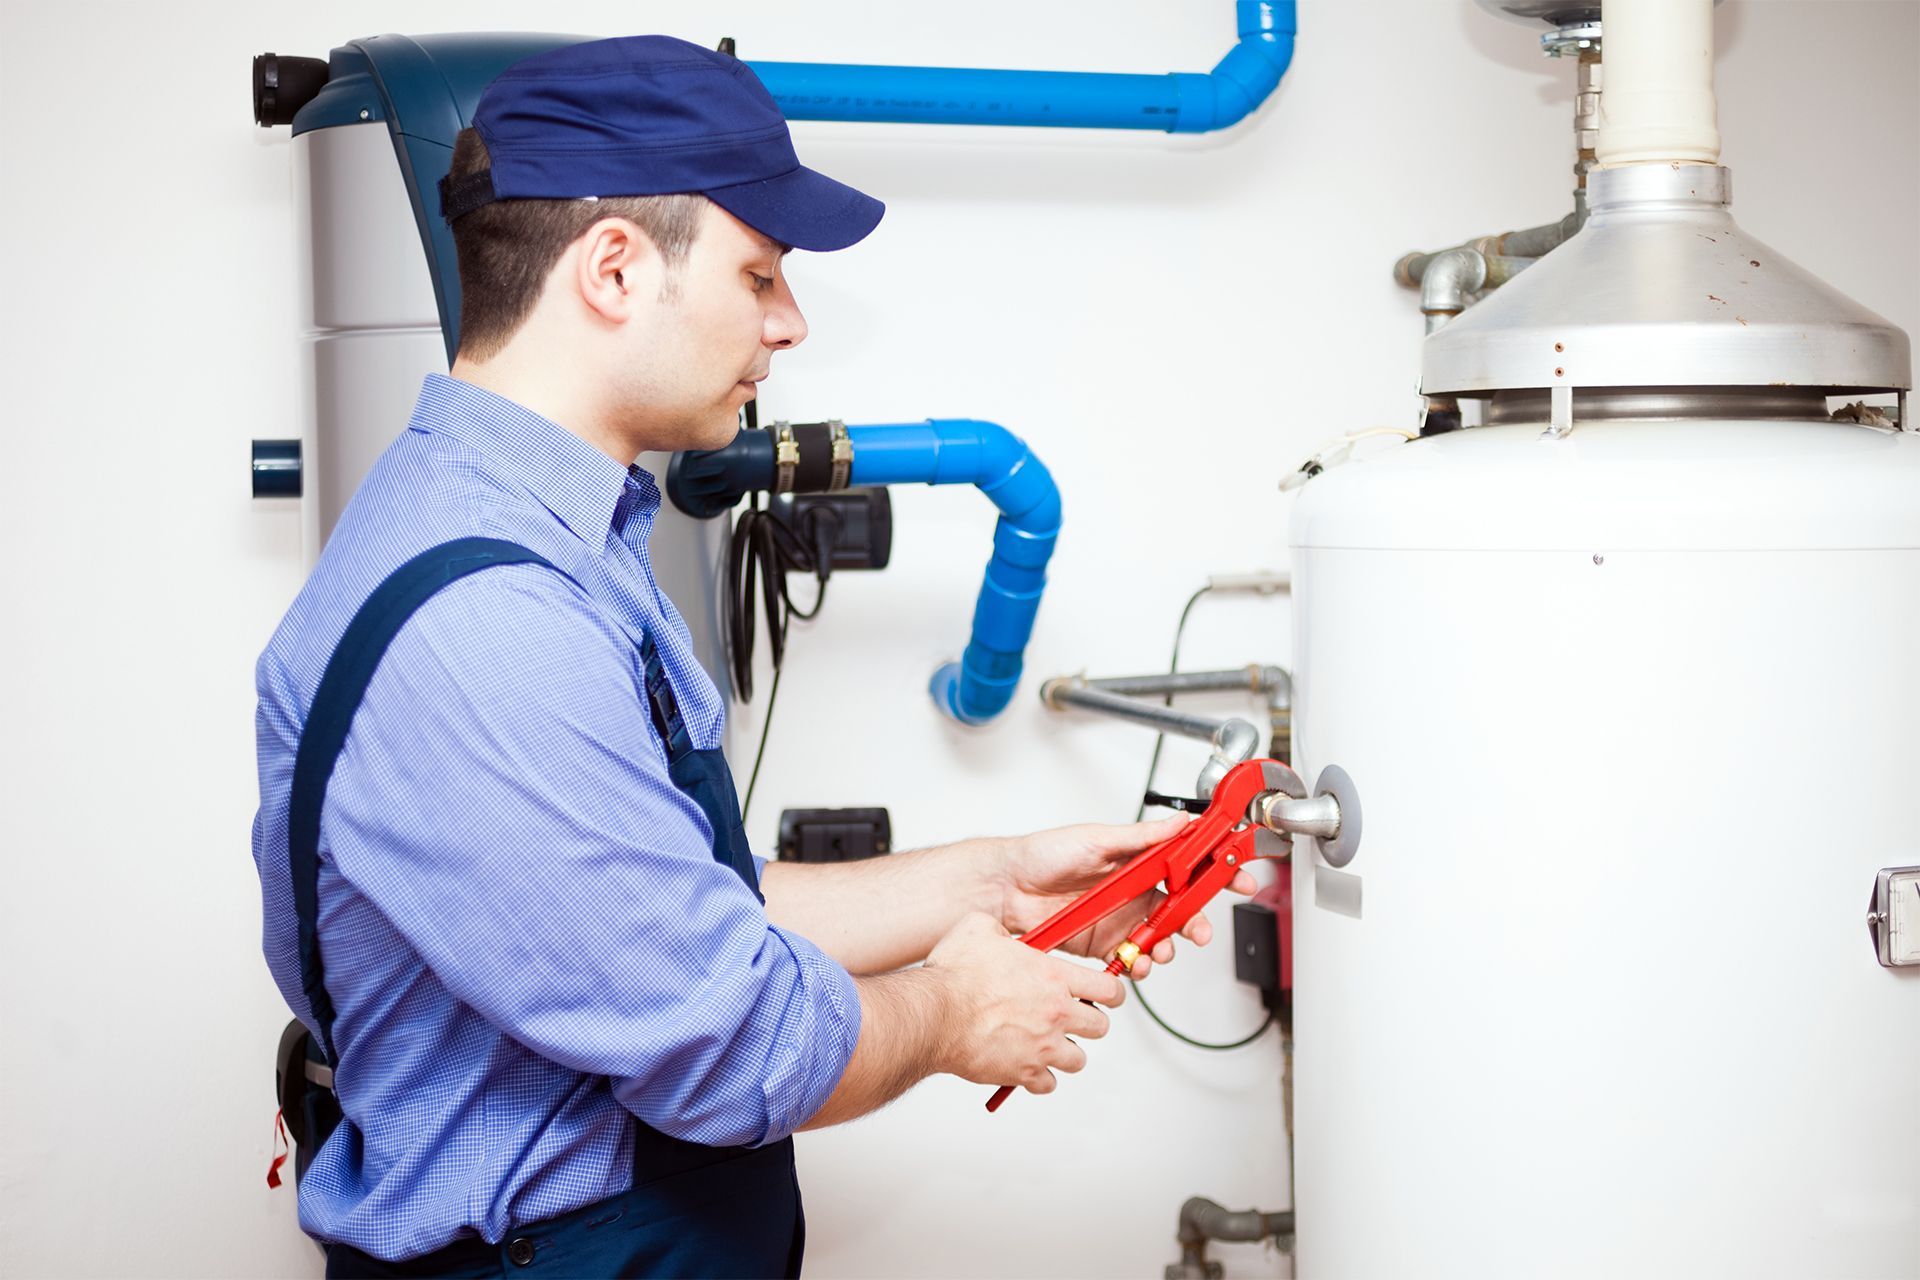
Did you know that ignoring routine maintenance of your water heating system can cause it to lose efficiency and potentially become a safety risk? One crucial maintenance aspect is flushing water heater, which helps avert sediment buildup that can hamper your unit’s performance and lead to expensive repair or replacement costs. Regularly flushing your water heater ensures it operates efficiently and extends its lifespan. This guide will delve into the significance of flushing water heater and supply you with detailed, easy-to-follow instructions to perform this essential maintenance task on your own. By adhering to these steps, you can keep your water heater in top condition and enjoy consistent, reliable hot water in your home.