Showtime Plumbing LLC

1070799

License Number

La Puente, CA 91746

Visit Us Here

24 Hour Service

7 Days a Week

DIY Plumbing: Simple Fixes and When to Call a Professional

diy plumbing

Plumbing, a crucial yet often overlooked aspect of household maintenance, seamlessly integrates into daily life, providing essential services such as clean water delivery and waste disposal. Regular maintenance and prompt repairs ensure the longevity of your plumbing system and prevent minor issues from escalating into costly emergencies. While many plumbing tasks are well within the reach of the avid DIY enthusiast equipped with the right tools and knowledge, it’s vital to understand the limits of DIY efforts. Recognizing when to call in a professional can save time and money, safeguarding the efficiency and reliability of your home’s plumbing infrastructure.

Understanding Your Plumbing System

The home plumbing system is intricate but primarily consists of three key components — supply, drainage, and vent systems. Your supply system brings in water through pressure, while the drainage system relies on gravity to remove wastewater. Both systems work harmoniously, driven by water pressure and gravity, to maintain high functionality.

Understanding common plumbing materials is crucial:

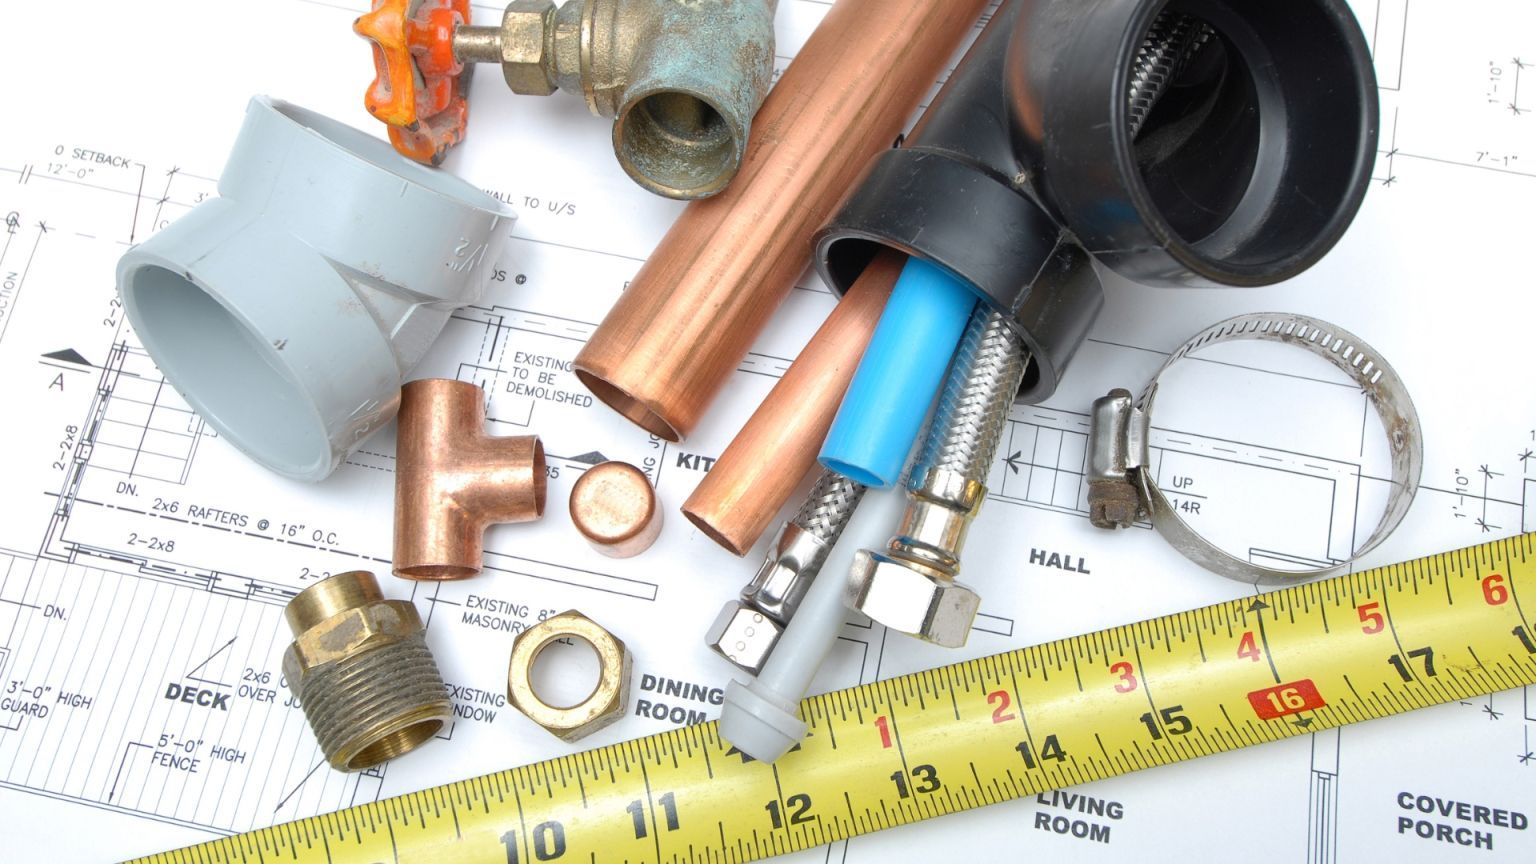
  • PVC (Polyvinyl Chloride): Used for drain, waste, and vent pipes.
  • Copper: Durable, often used for water supply lines.
  • PEX (Cross-linked Polyethylene): Flexible, increasingly popular for water supply lines due to ease of installation.

Safety precautions and tools in mind:

  • Permanently shut off the water source before starting work.
  • Protect your eyes by wearing safety goggles.
  • Handy tools include a wrench, plunger, pipe cutter, and plumber’s tape.

 DIY Plumbing: Simple Fixes You Can Do

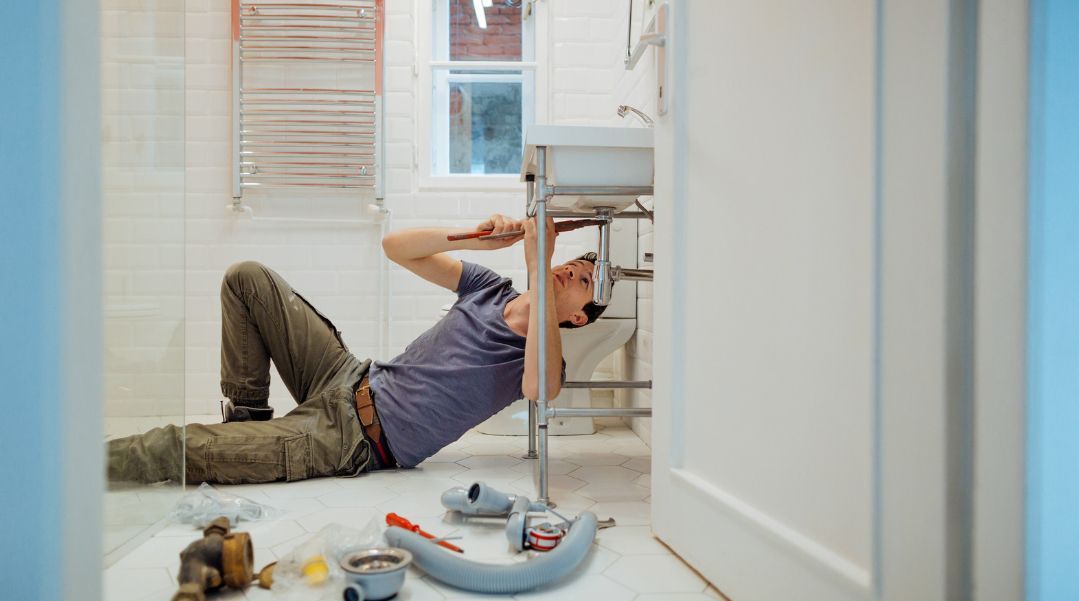
a woman doing minor fix on a pipe

The world of DIY plumbing is more manageable than it seems. With some knowledge and courage, a homeowner can handle frequent minor issues and avoid the expense of professional services. This chapter focuses on several simple fixes you can do yourself, saving time and money.

1. Unclogging Drains and Toilets

Clogged pipes can interrupt the calm of your household, but they don’t have to. With tools like plungers, plumber’s snakes, and eco-friendly cleaners, you can conquer common blockages in your plumbing system.

Preventing clogs with regular maintenance:

A little diligence goes a long way in keeping your drains clear and functional.

  • Regular flushing: Pour hot water down your drains weekly to maintain flow and prevent buildup.
  • Use screens: Install drain screens to catch hair and other debris in sinks and showers.
  • Natural solutions: Monthly, treat your drains with homemade concoctions such as baking soda and vinegar to discourage clogs.

When to try chemical cleaners and when to avoid them:

Choosing the right tool for the job is critical, especially regarding chemical cleaners.

  • Assess the blockage: Opt for enzyme-based cleaners before chemicals for organic materials like hair and grease.
  • Consider the pipes’ age: Harsh chemicals may damage older pipes. In these cases, use gentler methods.
  • Weigh the risks: Chemical cleaners should be used sparingly; they’re effective against severe clogs but can wear down pipes over time.

2. Fixing Dripping Faucets

fixing dripping faucets

A dripping faucet increases your water bill and indicates a minor problem that can often be fixed with simple tools. Identifying the faucet type and replacing worn components can stop the drip.

Identifying the type of faucet:

Faucets come in various types, each with a unique mechanism. Compression faucets use rubber washers to seal the valve seat, which often wear out and cause drips. Cartridge, ball, and disc faucets are washerless, utilizing O-rings and seals that can degrade. Knowing your faucet’s design helps you understand how to approach repairs. For instance, compression faucets typically require new washers, while others might need new O-rings or specialized parts.

Step-by-step guide to replacing washers and O-rings:

Fixing a leak often means dealing with worn washers and O-rings.

  • Identify your faucet type
  • Turn off the water supply
  • Disassemble the faucet
  • Locate and replace the faulty part
  • Reassemble and test

When it’s a simple fix and when it could be a symptom of a more significant issue:

A dripping faucet can often be resolved with new washers or O-rings, making it a simple DIY fix. However, if new components don’t stop the leak or the faucet body, supply line, or valve seat is damaged, it might indicate a more severe issue requiring professional assessment. Structural problems in your plumbing can manifest as faucet leaks, and addressing them early can prevent more extensive damage.

3. Repairing Running Toilets

A running toilet can waste gallons of water daily, impacting the environment and your utility bill. Fortunately, diagnosing and fixing common issues like flapper problems, float maladjustment, or chain length is often straightforward.

Diagnosing the cause:

The constant running of a toilet usually boils down to a few culprits: a faulty flapper, an improperly set float, or a misadjusted chain. A deteriorating flapper can’t form a proper seal, allowing water to leak from the tank to the bowl. Water continuously flows into the overflow tube if the float is too high. A too-short or too-long chain can prevent the flapper from sealing correctly or opening fully during a flush.

Step-by-step guide to replacing toilet components:

When components wear out, replacing them is a reliable fix.

  • Shut off the water to the toilet at the supply valve.
  • Flush the toilet to drain the tank.
  • For flapper replacement:
  • Unhook the old flapper from the overflow tube and chain.
  • Attach the new flapper and reconnect the chain without tension.
  • For float adjustment:
  • – Adjust the float mechanism according to the manufacturer’s instructions to ensure the correct water level.
  • – Test and readjust as necessary.
  • For chain adjustment:
  • – Disconnect the chain and adjust the length.
  • – Ensure there is a slight slack when the flapper is closed.
  • Turn the water supply back on and test the flush, observing the new water level and flapper function.

Adjusting the water level in the tank:

Proper water level is crucial for a toilet’s efficient operation.

  • Locate the float adjustment screw on the fill valve and turn it to raise or lower the float.
  • For ball floats, bending the float arm up reduces water flow into the tank, and down increases it.
  • Aim for the optimal water level to be approximately 1 inch below the overflow tube.
  • Flush will test the adjustment and recheck the water level, adjusting again if necessary.

4. Patching Minor Leaks in Pipes

Minor pipe leaks seem insignificant but can lead to significant damage over time. Identifying and patching these leaks can save both water and prevent potential property damage.

Identifying the type of leak:

Pipe leaks commonly occur in pinhole, joint, and fissure leaks. Pinhole leaks are tiny holes caused by corrosion from within the pipe, often caused by acidic water or long-term wear. Joint leaks happen where two pipes connect, usually due to loosening over time or poor initial installation. Fissure leaks are small cracks in the pipe material, primarily caused by frozen water expansion, sudden impact, or material wear.

Temporary fixes with epoxy putty or clamps:

Quick, temporary solutions can contain a leak until a more permanent fix is implemented.

  • Shut off the water supply to the affected pipe.
  • Clean and dry the area around the leak thoroughly.
  • For epoxy putty:
  • – Knead the epoxy until it’s mixed well.
  • – Apply over the leak, ensuring it’s fully covered.
  • – Wait for the epoxy to cure as recommended.
  • For clamp fixes:
  • – Select a clamp of a suitable size.
  • – Wrap rubber or suitable material around the leak as a gasket.
  • – Put the clamp over the gasket and tighten it according to the manufacturer’s instructions.
  • Turn the water back on and check for continuing leaks.

How to replace small sections of pipe:

Replacing a pipe section can be a more permanent solution.

  • Start by shutting off the water supply.
  • Use a pipe cutter to remove the damaged section.
  • Measure and cut a new piece of pipe to match the removed section.
  • Apply joint compound or tape to the new pipe ends.
  • Install the new section using couplings to join with the existing pipe.
  • Tighten all connections and turn the water back on to test the repair.

Seasonal Maintenance

plumber uses a plunger for immediate solution

Seasonal changes can significantly affect your plumbing system. Each season brings unique challenges, from winter’s freezing temperatures to summer’s dry heat. This chapter will guide you through essential maintenance tasks to prevent seasonal damage and ensure your plumbing remains in top condition throughout the year.

1. Preventing Frozen Pipes

The risk of pipes freezing — and possibly bursting — increases during cold weather, leading to potentially significant damage and costly repairs.

Insulating pipes:

  • Identify pipes most vulnerable to freezing, including those in unheated areas like basements, attics, and garages.
  • Use foam pipe insulation sleeves or wrap them in heating tape for protection.
  • Consider installing thermostatically controlled heat cables for frigid climates that automatically turn on when needed.

Keeping a trickle of water flowing:

  • During severe cold snaps, allow a small trickle of water to flow through faucets connected to vulnerable pipes. The continuous movement helps prevent water from freezing inside the pipes.
  • Keep cabinet doors under sinks open to allow warmer air to circulate the plumbing, especially if the pipes are on an exterior wall.

2. Preparing for the Dry Season

Dry seasons can introduce issues, from decreased water availability to increased demand for specific plumbing components.

Checking for leaks:

  • Conduct a thorough inspection of all visible pipes, faucets, and hose bibs for signs of drips or leaks. Addressing leaks quickly can save water and reduce your utility bill.
  • Utilize your water meter to check for hidden leaks by observing if they change when all water is turned off.

Maintaining sump pumps:

  • Test your sump pump by pouring water into the sump pit. The pump should activate, remove the water, and then turn off automatically.
  • Clear debris from the sump pit and check the discharge pipe to ensure it’s free of blocks or damage.
  • Consider a backup power source for your sump pump to prevent failure during power outages.

Cleaning out aerators and showerheads:

  • Unscrew aerators from faucets and showerheads and soak them in vinegar to dissolve mineral buildup, improving water flow and efficiency.
  • Use a small brush to clean away any remaining debris before reattaching.

Upgrades and Installations

one man installing a new pipe while the other assisting him

In any home, there comes a time when plumbing fixtures need to be replaced or upgraded. Successful installation can increase efficiency, enhance appearance, and add value to your property. This chapter guides you through the process of selecting and installing new plumbing fixtures, as well as upgrading to more efficient models.

A. Installing New Fixtures

Bringing in new fixtures is an excellent way to refresh your home’s look and improve the functionality of your plumbing system.

Toilets, sinks, faucets, and showerheads:

  • Choose fixtures that complement your home style and meet your efficiency requirements.
  • Verify compatibility with your existing plumbing to ensure a smooth installation process.

Step-by-step guide for each fixture:

Toilets:
  • Turn off the water supply and drain the old toilet.
  • Disconnect and remove the old fixture.
  • Set the new toilet on a flange and secure it with bolts.
  • Reconnect the water supply and seal with caulking.
Sinks:
  • Shut off the water valves under the sink.
  • Disconnect the water supply lines and remove the old sink.
  • Apply the plumber’s putty or silicone under the new sink’s edge and set it in place.
  • Attach mounting clips and reconnect the water supply.
Faucets:
  • Remove the old faucet, taking care not to damage the sink.
  • Clean the area where the new faucet will sit.
  • Install the new faucet according to the manufacturer’s instructions.
  • Connect to the water supply and check for leaks.
Showerheads:
  • Unscrew the old showerhead.
  • Apply Teflon tape to the threads of the shower arm for sealing.
  • Screw on the new showerhead and hand-tighten.

Tips for ensuring proper sealing and alignment:

  • Use thread sealant or plumber’s tape to prevent leaks at connections.
  • Always follow manufacturer instructions for specific sealing requirements.
  • Check for alignment, particularly for faucets and toilets, to ensure they are level and fit correctly before final tightening.
  • After installations, test each fixture thoroughly for leaks or malfunctions.

B. Upgrading to More Efficient Models

Swapping out older fixtures for newer, more efficient models saves water and money, benefiting the environment and your wallet.

Benefits of low-flow toilets and showerheads:

  • They use significantly less water per flush or minute compared to traditional models.
  • You can save thousands of gallons of water annually, reflecting positively on your water bill.
  • Low-flow models have improved design and flushing power, providing efficiency without sacrificing performance.

Considerations for tankless water heaters:

  • Provide hot water on demand, meaning no standby energy losses associated with storage water heaters.
  • Typically, it is more compact and can be mounted on a wall, saving space.
  • More significant upfront cost but can be offset by long-term energy savings.

The role of water softeners and filters:

 In areas with hard water, a water softener can be a game-changer. It removes minerals like calcium and magnesium, which can cause buildup in pipes and appliances, leading to inefficiency and damage over time. Meanwhile, water filters are vital for ensuring the water quality in your home, removing contaminants and improving taste. Both upgrades enhance the longevity and efficiency of your plumbing system and contribute to your family’s health.

When to Call a Professional

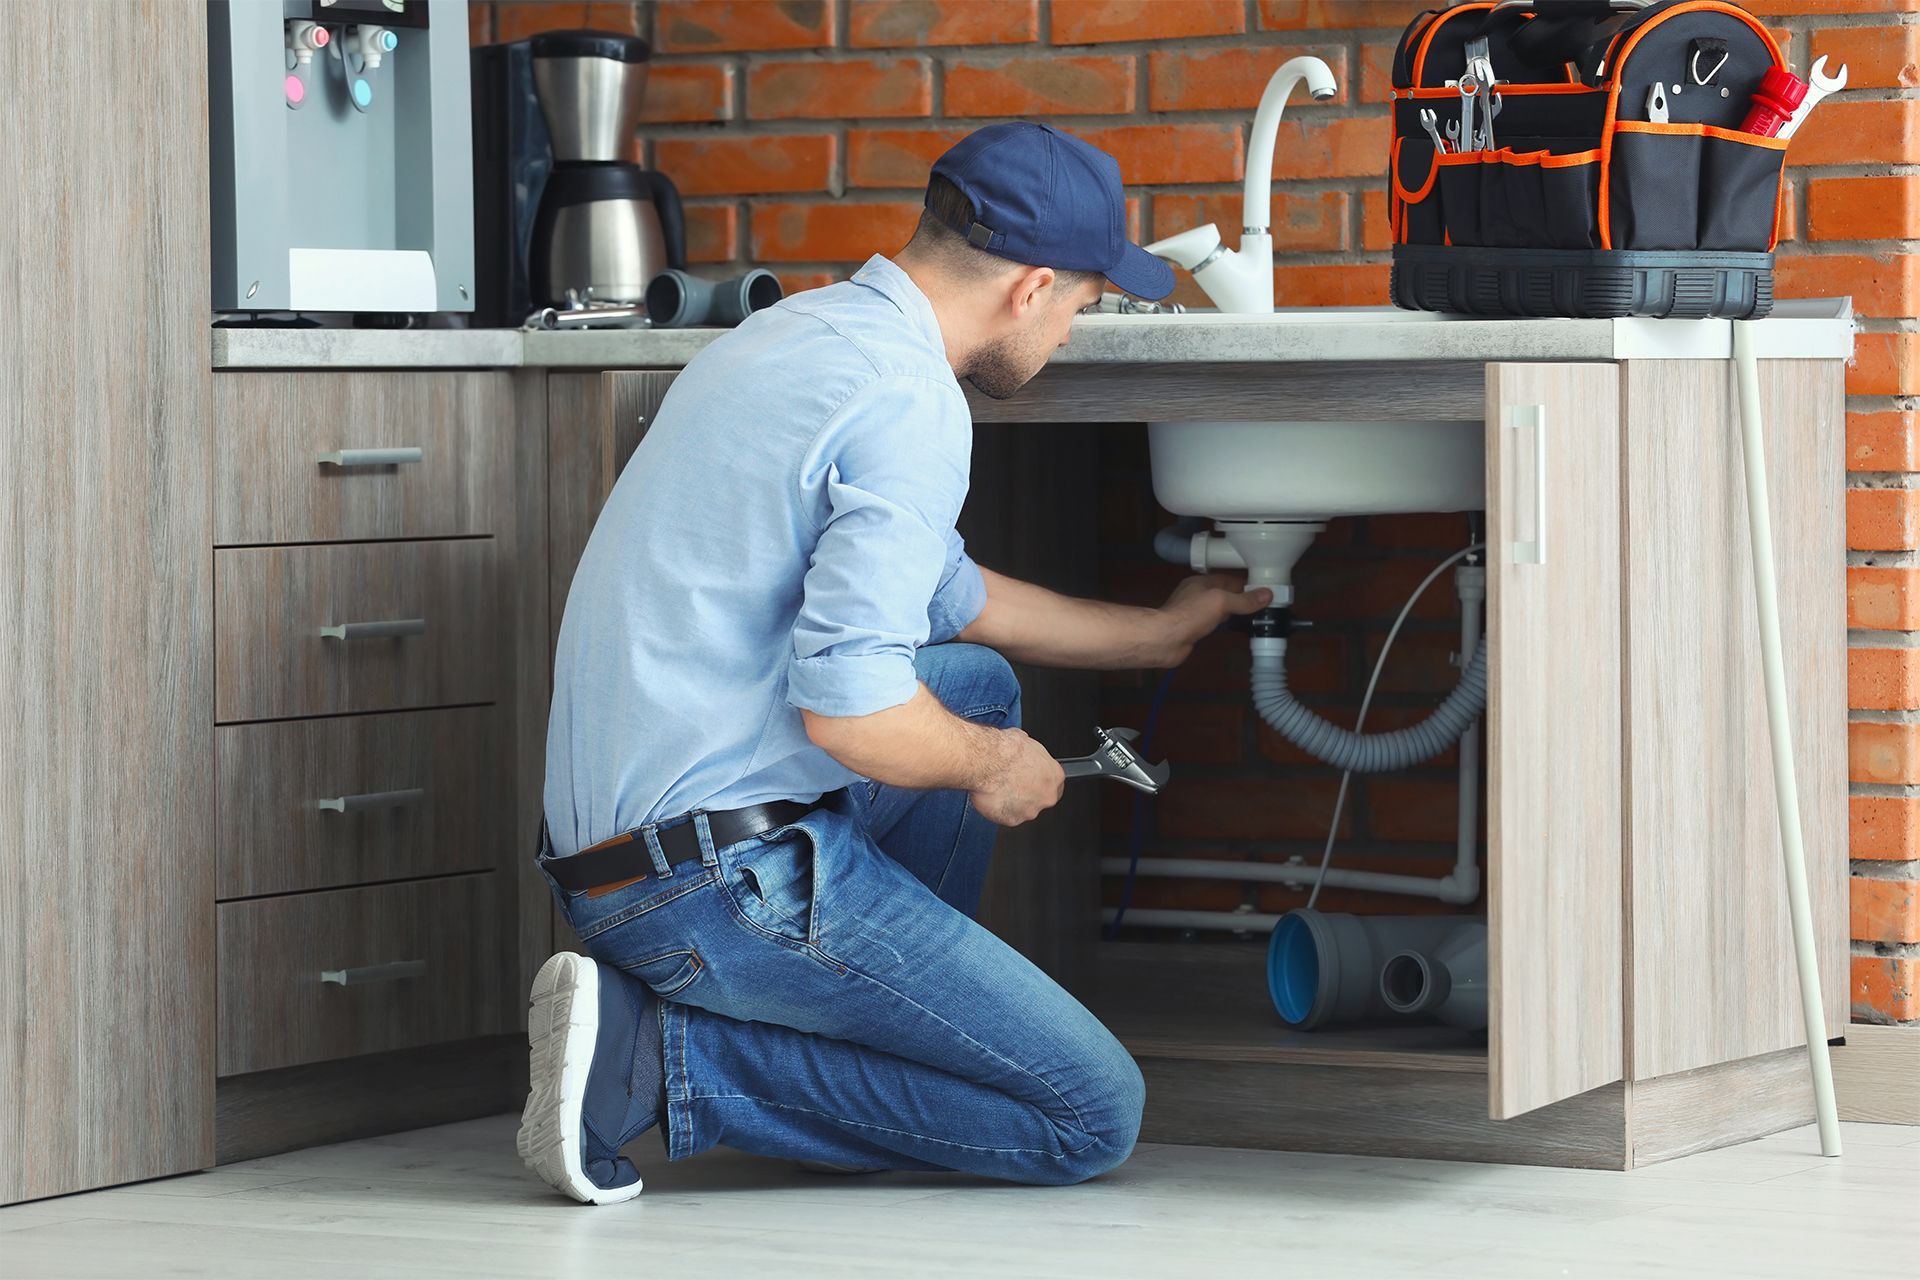
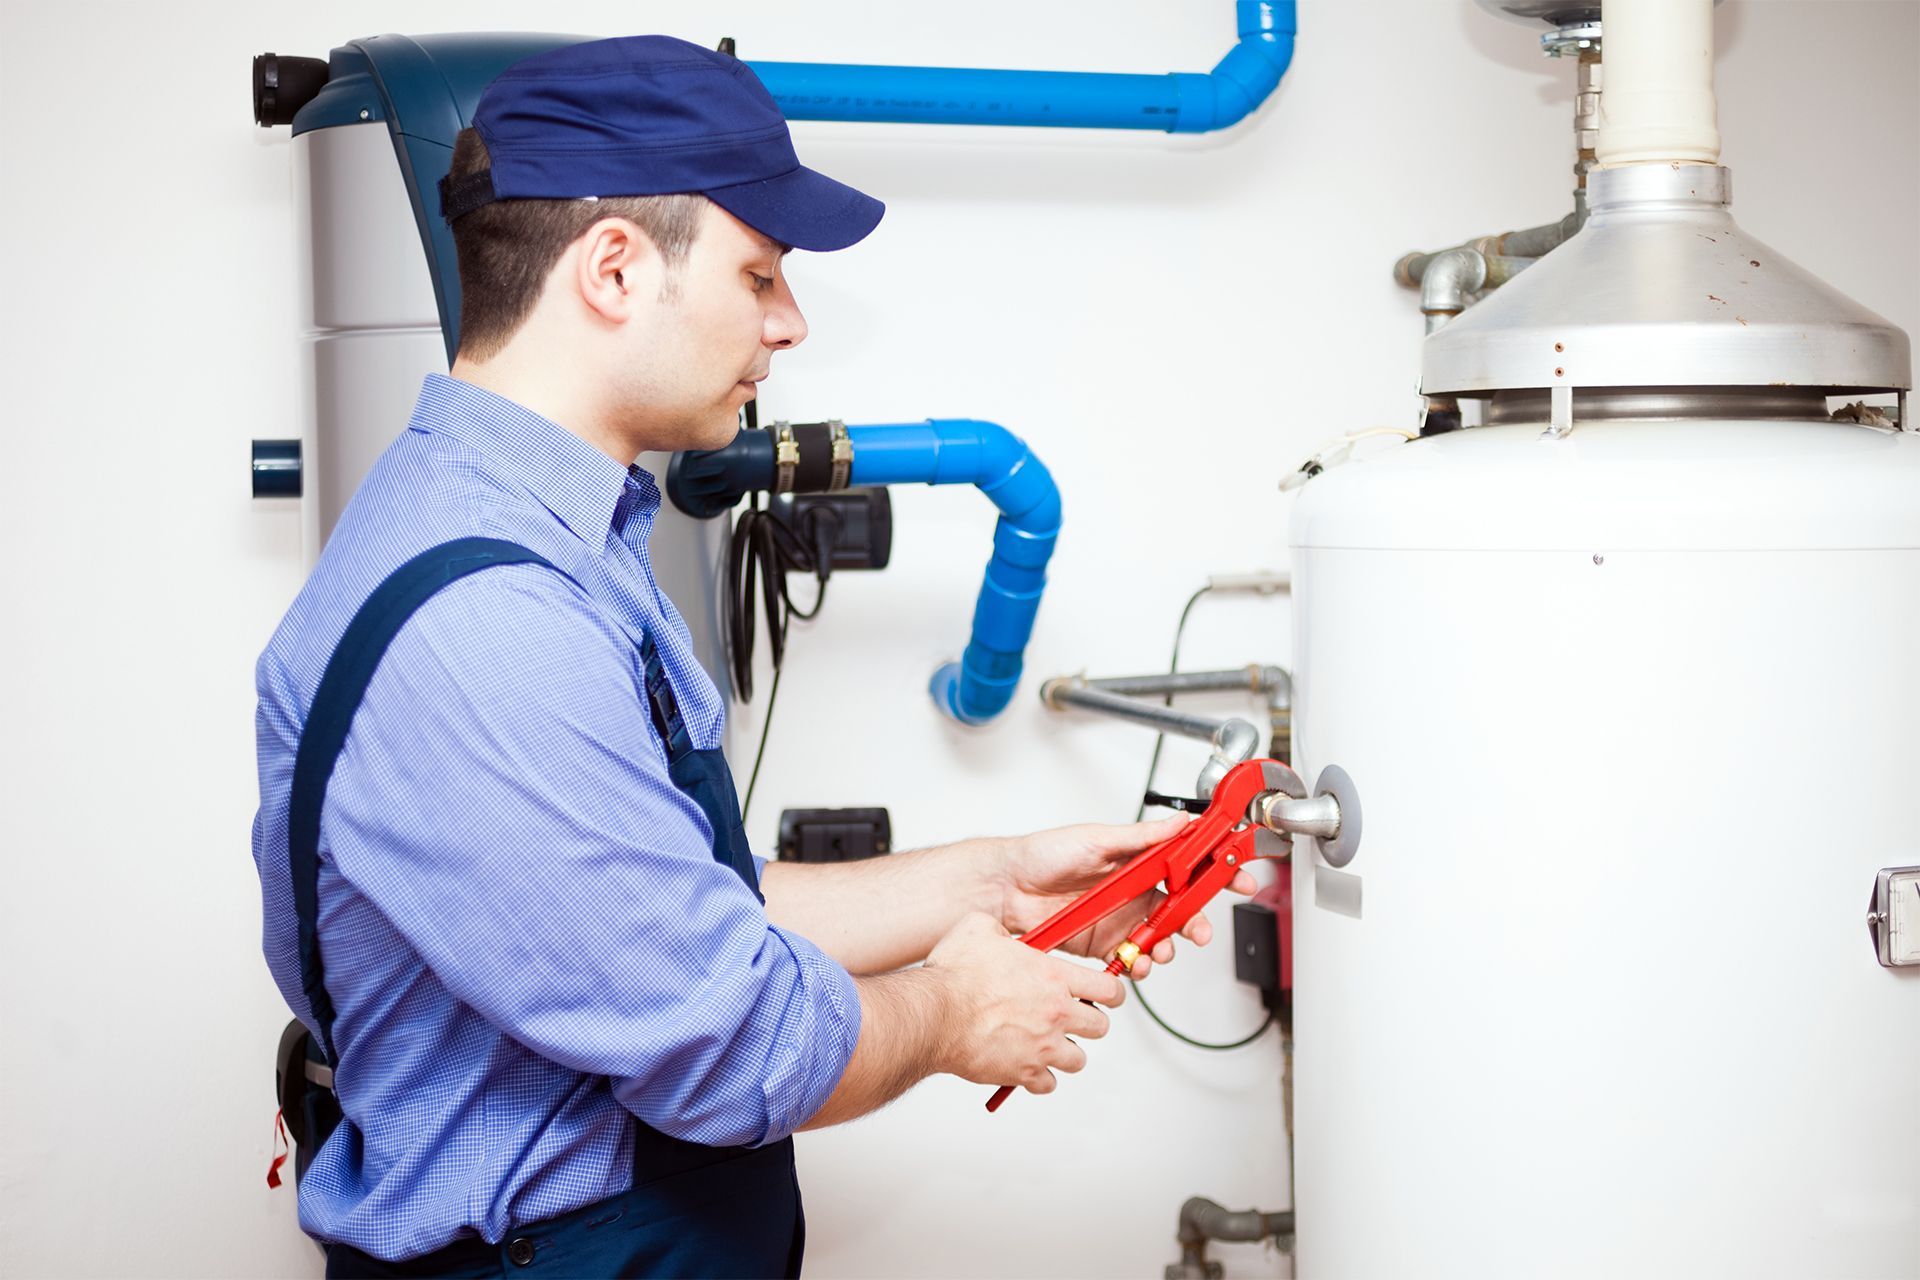
professional plumber checking his work

While DIY plumbing can be both rewarding and cost-effective, certain situations demand the expertise of a professional plumber. This chapter outlines vital scenarios where enlisting professional help is advisable and necessary.

A. Recognizing the Signs of Major Plumbing Issues

Sometimes, plumbing problems are beyond simple fixes and require a professional’s touch.

Warning signs of sewer backups:

  • Multiple drains in the home are clogged simultaneously.
  • Water backs up in other drains when using plumbing fixtures.
  • Gurgling sounds emanating from your toilet or drains.

Indications of compromised water lines:

  • Unexplained soggy patches or a significant increase in the water bill.
  • Discoloured water or a drop in water pressure.
  • Regularly wet areas in the yard when it hasn’t rained.

Symptoms of significant blockages:

  • Persistent clogs that don’t respond to plunging or drain cleaners.
  • Foul odors coming from drains.
  • Water pooling around floor drains.

B. The Importance of Professional Diagnostics

Specific plumbing problems require advanced diagnostic tools and knowledge beyond the reach of most homeowners. Recognizing when to call in a professional can save time and money and prevent potential hazards. Professionals possess tools and expertise to quickly diagnose and resolve issues more efficiently than the average DIYer.

Tools and techniques beyond the DIY scope:

  • Utilization of camera inspection to visually inspect sewer and drain lines.
  • Hydrojetting is used to remove severe blockages that conventional methods can’t clear.

Safety and liability when dealing with gas lines or main water shut-off:

  • The risk of dealing with gas lines should always be considered; incorrect handling can result in leaks and explosions.
  • Mismanaging the main water shut-off can cause flooding and water damage.

C. The Cost-Benefit Analysis

Choosing between a DIY fix and hiring a professional involves considering various factors beyond the immediate cost.

Long-term costs of DIY mistakes:

  • Incorrect fixes can lead to recurring problems, more significant issues, and ultimately higher costs.

Warranties and guarantees associated with professional work:

  • Professional plumbers often offer guarantees on their work, providing peace of mind and protection against future issues.

When insurance requires licensed professionals:

  • Many home insurance policies have specific stipulations requiring licensed professionals for certain types of work, failing which may void coverage on claims related to the work performed.

Emergency Planning

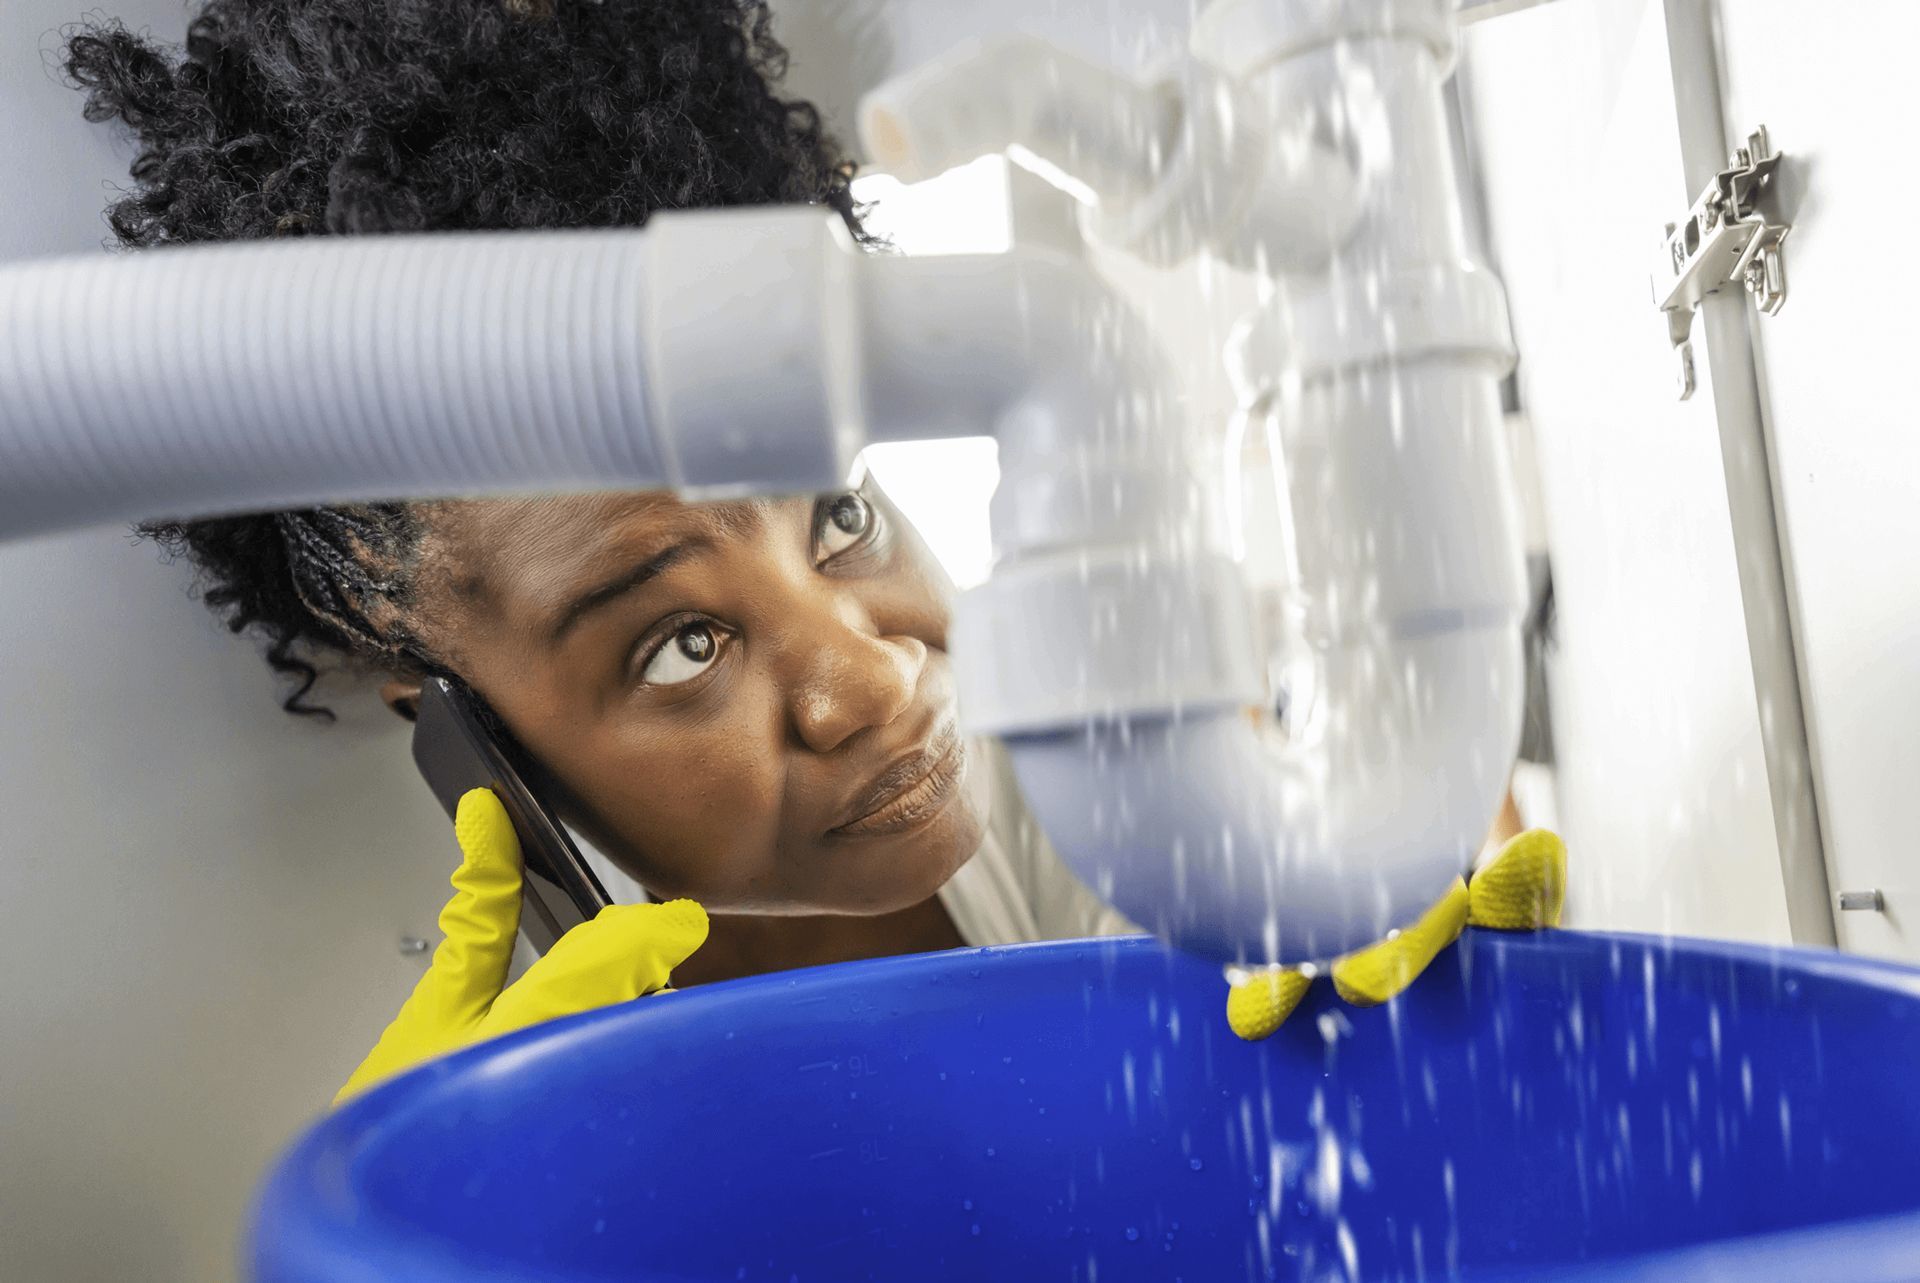
A woman is concerned seeing the amount of water leaking from the pipe.

Plumbing emergencies can happen at any time, often without warning. Being prepared can significantly reduce the risk of property damage and ensure that these emergencies are handled as smoothly as possible.

1. How to Handle a Plumbing Emergency

The initial response in a plumbing emergency can significantly minimize damage and control the situation until help arrives.

Steps to minimize damage:

  • Know the location of the main water shut-off valve and turn it off immediately to stop the water flow.
  • Open faucets to drain the remaining water in the pipes and relieve built-up pressure.

Temporary measures to manage leaks or bursts:

  • Use plumber’s tape or epoxy putty to seal small leaks temporarily.
  • Place a bucket or container under leaks to catch water for more significant issues.

        Turn off the electricity in areas affected by leaks to prevent electrical hazards.

2. Creating a Plumbing Emergency Kit

A plumbing emergency kit readily available can empower homeowners to act swiftly and effectively when faced with a plumbing crisis.

Essential tools and supplies:

  • Adjustable wrenches, pliers, and screwdrivers are used to shut off valves and tighten loose fittings.
  • Plumber’s tape, epoxy putty, and rubber patches for temporary leak fixes.
  • A heavy-duty plunger and a handheld drain auger for unclogging drains and toilets.
  • Bucket, rags, and absorbent towels for water clean-up.

Contact information for emergency services and plumbers:

  • Keep a list of emergency contact numbers, including a trusted, licensed plumber who offers 24/7 emergency services.
  • Homeowner’s insurance contact information for quick access in case a claim needs to be filed.

3. Establishing a Relationship with a Local Plumber

Developing a positive relationship with a professional plumber can significantly ease the process of handling plumbing emergencies and maintenance.

Benefits of regular check-ups by a professional:

  • Detects potential problems before they become emergencies.
  • Maintains your plumbing system’s efficiency, potentially saving on utility bills.

How to find and vet a reliable plumbing service:

  • Ask for recommendations from friends, family, or neighbors who have had positive experiences.
  • Research online reviews and testimonials from previous customers.
  • Verify licensing, insurance, and certifications. Ask about their experience with your specific plumbing system or needs.
  • Compare quotes but consider the value of ongoing service and reliability alongside cost.

Wrap Up

A successful balancing act is required regarding DIY plumbing repairs and knowing when to call in a professional. The guide’s key takeaways ensure confidence in tackling simple plumbing issues, minimizing damage during emergencies, and maintaining a well-functioning system. However, remember that the line should be drawn when faced with complex problems to ensure your safety and the longevity of your plumbing system.

Relying on professionals is pivotal when DIY solutions don’t cut it. A trusted plumber brings expertise to handle problems beyond your skill set. Showtime Plumbing LLC is a prime example of a top-tier plumbing service that offers timely, high-quality assistance. Contact us at (562)822-5734) for reliable and efficient plumbing solutions.