How to Clean Garbage Disposal and Increase Its Lifespan
Maintaining a clean garbage disposal is crucial for any modern kitchen. It acts as the frontline defense against food waste and unwanted odors. Regular cleaning ensures efficient disposal operations and prevents the accumulation of harmful bacteria, contributing to a healthier kitchen environment.
Neglecting this vital appliance can lead to unpleasant odors, clogs, and potentially costly repairs, disrupting the harmony of your daily kitchen activities. Fortunately, safe and effective DIY cleaning methods are available. They empower homeowners with the tools and knowledge to keep their garbage disposals in top condition, reduce the likelihood of issues, and maintain freshness and functionality.
How to Clean Garbage Disposal?
Regular garbage disposal maintenance, including a thorough weekly cleaning, prevents food residue and odor buildup. This routine also helps break down potential blockages, maintain the unit’s effectiveness, and ensure efficient waste disposal.
Additionally, incorporating preventative maintenance practices like routinely flushing the disposal with cold water after use and avoiding the disposal of hard-to-break-down substances such as oils, grease, and large food scraps can significantly reduce the frequency of cleanings needed. These measures decrease the risk of clogs and odors, promoting a more efficient and cleaner disposal system.
Signs That Indicate the Need for Cleaning
Regular cleaning is essential to maintain the efficiency and longevity of your garbage disposal. However, if you’re unsure when you should clean it, here are some indicators that it needs cleaning:
- Persistent odors caused by bacteria buildup: If you notice unpleasant odors emanating from your garbage disposal, there’s a high chance that bacteria are thriving inside it due to food residue buildup. Over time, this could lead to foul smells and pose a health risk.
- Poor disposal performance: If your garbage disposal becomes slow or cannot break down food properly, it may be due to a clog or wear and tear. A dirty disposal can also contribute to this problem.
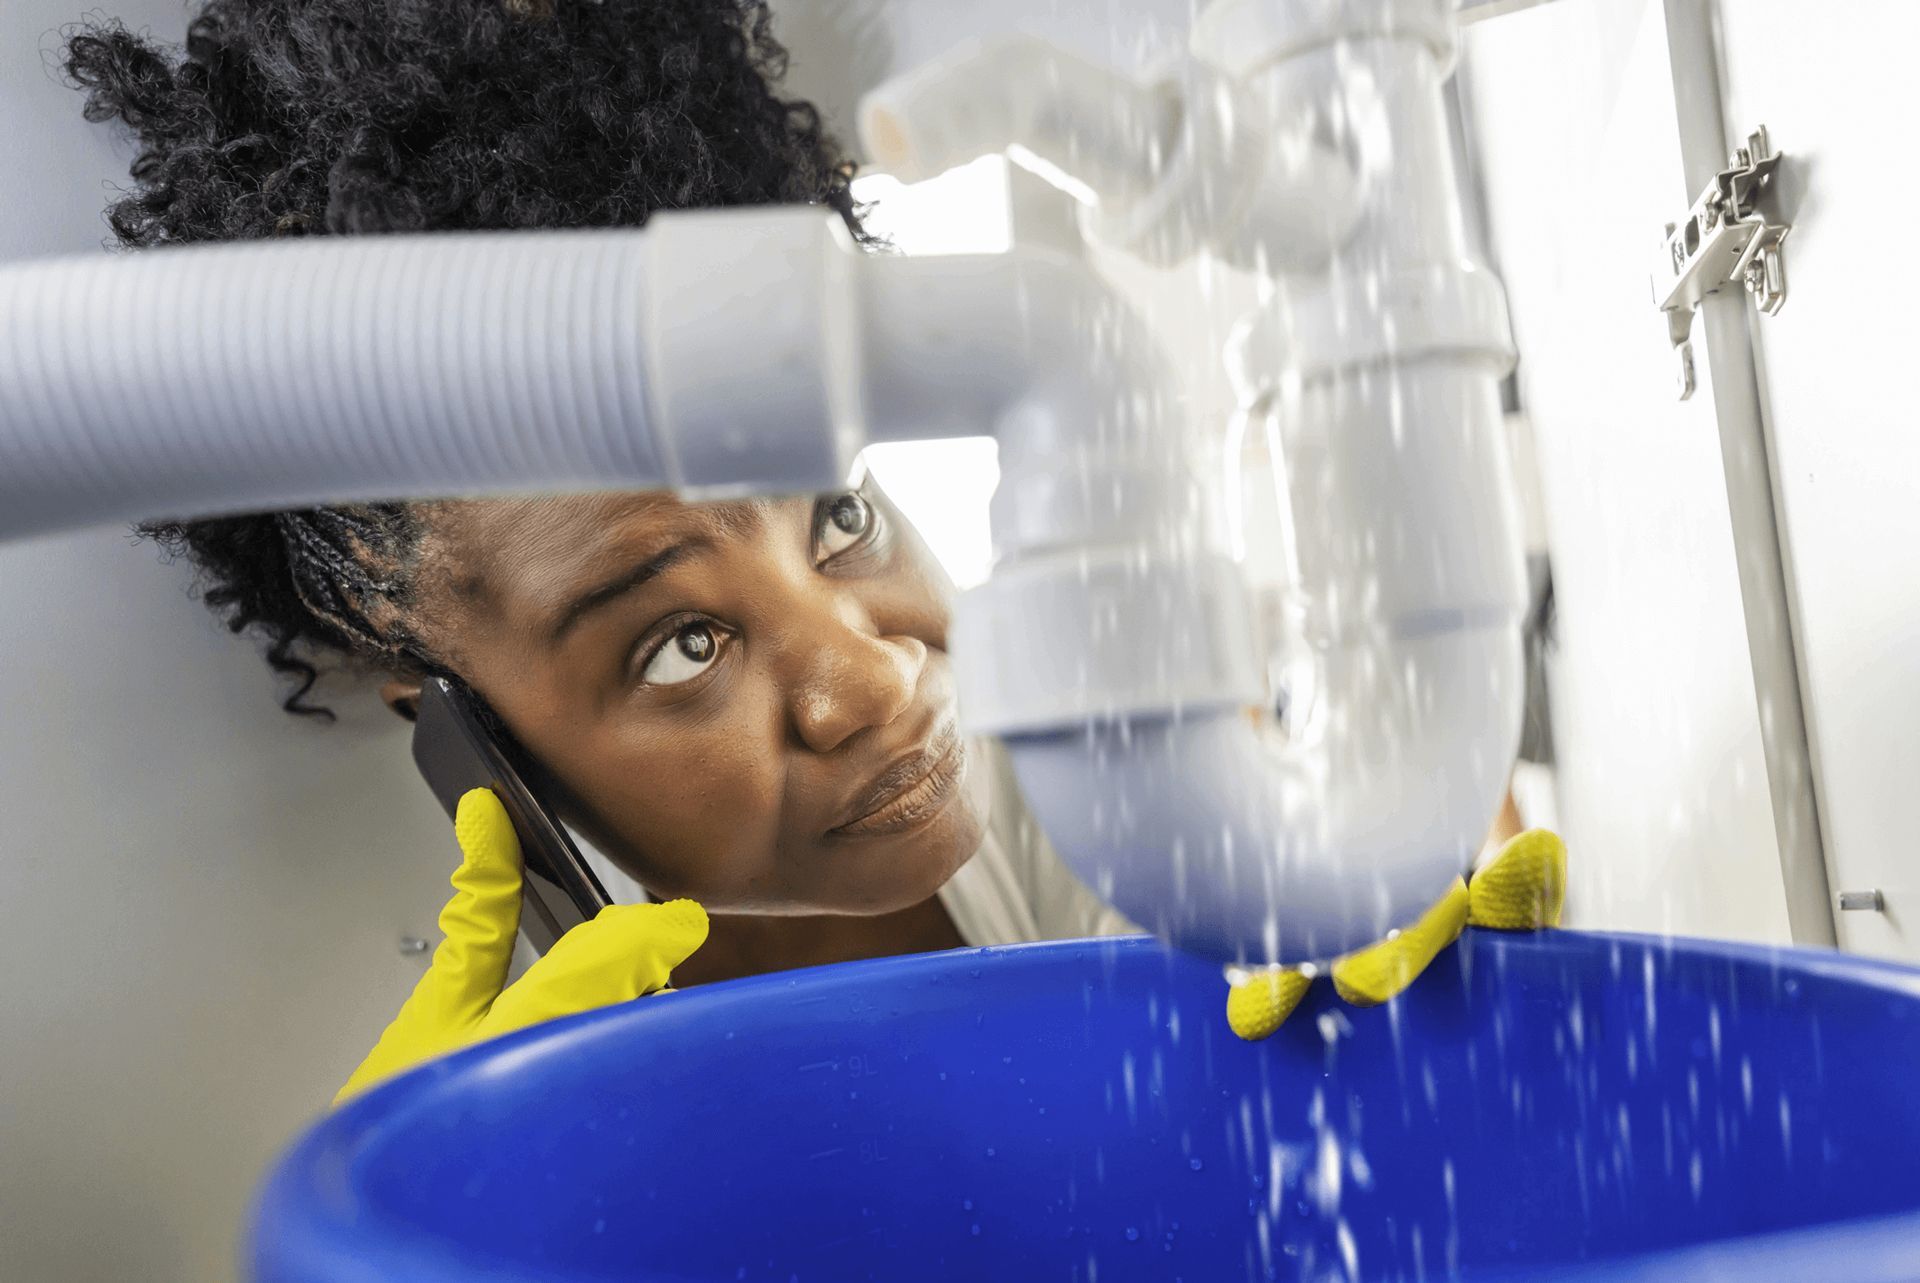
- Inexplicable clogs in the drain: If you encounter blocked drains regularly, it may be due to the garbage disposal. A dirty disposal can create build-up in the pipes, leading to clogs and backed-up water.
- Unusual noises coming from the disposal: Screeching, grinding, or rattling sounds from your garbage disposal could indicate something is stuck inside or damage to the blades. A buildup of food or foreign objects could cause friction and damage the mechanisms.
Step-by-Step Guide to Safely Clean the Garbage Disposal
Ready to tackle the grime? Our step-by-step guide will take you through the safest, most effective methods to clean your garbage disposal, ensuring it runs smoothly and remains odor-free. Roll up your sleeves—it’s time to freshen up your kitchen’s workhorse.
1. Turn Off the Power to Ensure Safety
Safety first! Always start by disconnecting the power supply to your garbage disposal. This can be done by unplugging it or turning off the circuit breaker, ensuring a secure environment to commence cleaning without the risk of accidental activation.
2. Use a Flashlight to Check for Trapped Food Particles or Objects
Grab a flashlight to inspect the disposal’s interior with the power safely off. Look meticulously for trapped food particles, Debris, or foreign objects. Clear visibility is crucial to identifying and removing obstructions that could affect the device’s functionality or cause damage during cleaning.
3. Remove Any Obstructions Using Long-nosed Pliers or Tongs
Have you spotted something amiss? Use long-nosed pliers or tongs to carefully extract any visible obstructions, whether food buildup, small utensils, or foreign objects. This proactive step prevents potential damage to the disposal blades and ensures a smoother, more effective cleaning process.
4. Rinse the Drain and Remove Debris
Begin the cleaning process by gently rinsing the drain with warm water. Let it flow briefly to soften and dislodge any lingering debris. This initial rinse helps clear out easy-to-remove particles, setting the stage for a deeper, more thorough cleaning.
5. Scrub the Interior of the Disposal With Dish Soap
Handle the grime inside the disposal with a sturdy brush and mild dish soap. Scrub the grinding chamber and the baffle enthusiastically, as dish soap cuts through grease and eliminates odors. This manual scrub-down loosens stubborn residue, ensuring a spotless, sanitized garbage disposal interior.
6. Rinse Off the Brushed Head and Flush the Drain With Dish Soap and Ice Cubes
Clean your brush thoroughly after scrubbing. Then, load the disposal with ice cubes and a squirt of dish soap. Activate the disposal and rinse with cold water. This method not only scrubs your unit clean but also sharpens the blades, ensuring optimal performance and longevity at your disposal.
7. Run Warm Water to Dislodge Built-up Residue
Finish your disposal maintenance by running warm water through it. This simple yet effective step ensures the loosening and removal of any built-up residue, leaving your disposal system in prime condition. Let the warm water work magic, providing a clean, fresh, and fully functional disposal.
Keeping the Garbage Disposal Smelling Fresh
Embrace a fresh kitchen oasis! Our expert tips for maintaining an odorless garbage disposal will transform your sink into a haven of cleanliness. Say goodbye to foul scents and hello to enduring freshness with simple yet powerful strategies. Ready? Let’s freshen up your disposal routine!
1. Using Baking Soda and Vinegar to Combat Bacterial Buildup
Tackle bacterial buildup effectively with a dynamic duo: baking soda and vinegar. Pour half a cup of baking soda, followed by a cup of vinegar, into the disposal. The fizzing action cleans deep, neutralizing odors and ensuring your disposal stays hygienic and fresh.
2. Using Citrus Peels as a Natural Remedy for Odors
Refresh your disposal naturally by grinding citrus peels. Lemon, lime, or orange peels eliminate odors and release a pleasing, clean scent. This eco-friendly tip enhances your kitchen’s aroma while maintaining the disposal’s hygiene, combining practicality with natural fragrance for an unbeatable solution.
Useful Tips for Maintaining the Garbage Disposal
Unlock the secrets to a flawless garbage disposal with our helpful maintenance tips. Learn how to keep it running smoothly and efficiently while avoiding common pitfalls that can lead to costly repairs.
- Prevention of foul odors: Avoid overloading your disposal to prevent clogs and bad smells. Regularly flush it with baking soda and warm water for deep cleansing. This routine maintains a clean disposal, ensuring optimal performance and a pleasant kitchen environment.
- Foods to avoid grinding in the disposal: Protect your garbage disposal by steering clear of certain foods. Hard items like bones can damage blades, while fibrous materials like celery stalks can tangle and jam. Grease and coffee grounds can clog drains, and expandable foods like pasta and rice may swell, causing blockages. Prioritize disposal health for lasting efficiency.
- Proper cleaning and maintenance of the rubber splash guard: Ensure hygienic garbage disposal by regularly cleaning the rubber splash guard. Gently remove Debris with a soft brush and soapy water, then rinse and sanitize with vinegar. This routine prevents grime buildup and keeps your disposal spotless, creating a cleaner and fresher kitchen sink area.
- Additional maintenance advice for maintaining the disposal’s performance: For optimal disposal performance, run cold water during and after use to solidify grease, ensuring easy grinding. Regularly drop ice cubes in to sharpen blades and dislodge residue. Bi-monthly, grind citrus peels to eliminate odors, keeping your disposal fresh and fully functional.
Final Thoughts
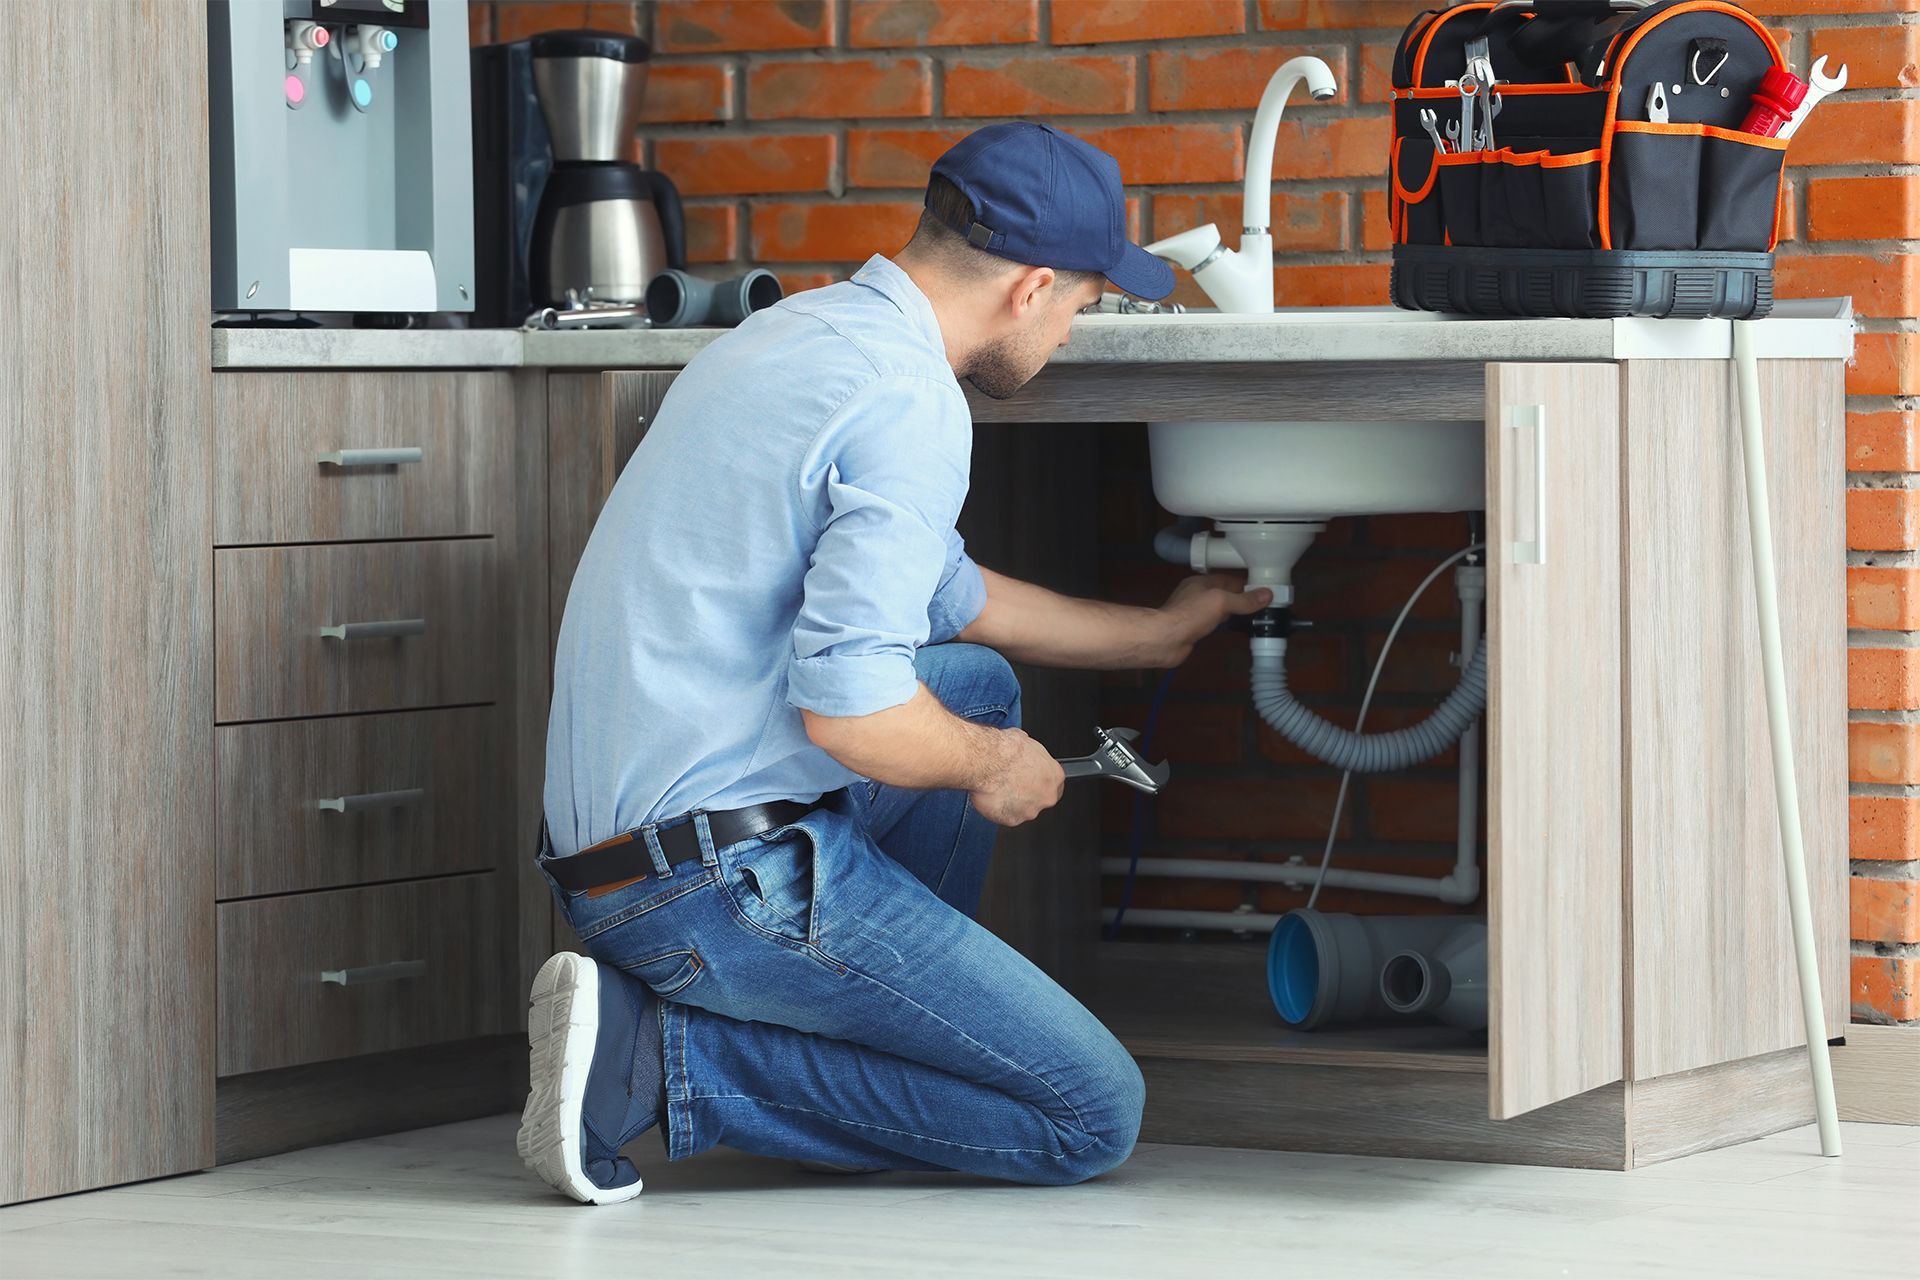
Showtime Plumbing LLC recognizes garbage disposal’s crucial role in your kitchen. Maintaining longevity and optimal performance involves regular thorough cleaning, avoiding hard-to-grind items, and caring for the rubber splash guard. Tips like using cold water for grease, grinding ice to sharpen blades, and using citrus peels keep it running smoothly.
However, should persistent problems like jams, clogs, or odors arise, professional help from Showtime Plumbing LLC is vital. Issues that DIY care can’t fix require expert attention to ensure your system operates flawlessly. Contact us today for reliable maintenance and to ensure your kitchen remains efficient.