1070799
License Number
Call Us
La Puente, CA 91746
Visit Us Here
24 Hour Service
7 Days a Week
Garbage Disposal Not Working? Expert Tips to Troubleshoot and Restore Functionality!
Garbage disposal units are pivotal in the modern kitchen, offering convenience and efficiency in managing food waste. They contribute to a seamless culinary experience when operational, grinding up scraps and disposing them without clogging kitchen pipes. A functioning unit means fewer bin bags, less odor, and a lower environmental impact. But when faced with the hiccup, “garbage disposal not working,” the disruption to daily kitchen activities can be more than a mere inconvenience.
Acknowledging that even the most reliable garbage disposals can encounter issues is essential. From jams to power failures, the causes of dysfunction are varied and common. Identifying and addressing these problems promptly can save time and prevent potential damage, ensuring your kitchen remains a hub of activity and culinary creation.
The Garbage Disposal
A garbage disposal unit is a compact yet powerful device that fits snugly under your kitchen sink, connecting directly to the drain. Inside, it features a motor, a hopper chamber for waste introduction, a flywheel coupled with impellers for grinding, and a shredder ring to pulverize food waste. The grind ring breaks down the food, and the unit is typically equipped with a reset button for overload protection. This configuration is designed to efficiently break down food scraps into particles small enough to be washed away.
The operation of a garbage disposal is broken down into two essential phases: the grind phase and the flush phase. Initially, when turned on, the unit’s motor powers the flywheel, causing the impellers to fling food waste against the grind ring, effectively pulverizing it into fine particles. Following this, during the flush phase, water introduced into the unit along with or after the waste helps to flush the ground particles out of the grinding chamber, through the plumbing system, and ultimately into the sewage system. This process ensures the disposal runs smoothly and remains clog-free, facilitating a clean and efficient kitchen waste management system.
Initial Safety Precautions
Before diving into DIY garbage disposal fixes, prioritizing your safety is crucial. Dealing with a unit that combines electricity and a high-powered grinding mechanism requires caution to prevent accidents and injuries.
- Turning off the Power Before Troubleshooting: Always start by disconnecting the disposal from its power source. You can unplug it directly from the outlet beneath the sink or switch off the circuit breaker that powers your disposal. This ensures that the unit cannot activate accidentally while you’re working on it.
- Avoiding Placing Hands or Objects Inside the Disposal: Never insert your hands or any objects inside the disposal to remove clogs or retrieve fallen items. Even with the power off, the sharp blades can cause serious injury. If you need to remove something from inside, use pliers or tongs to safely retrieve the item without risking your hands.
Garbage Disposal Not Working? Troubleshooting Tips
Now that we’ve covered the basics and safety precautions let’s explore some common garbage disposal issues and their potential fixes. While certain technical problems may require expert intervention, many common glitches can be resolved by you right at home, saving time and maintenance costs.
1. Garbage Disposal Won’t Turn On
If your garbage disposal doesn’t respond when you flip the switch, it’s essential to troubleshoot systematically. Here are effective steps to diagnose and solve the issue:
- Check Power Supply: A common issue is the unit becoming unplugged accidentally, especially with frequent under-sink movement. Double-check that the disposal is firmly plugged into the power outlet. Test the outlet with another device to ensure it’s delivering power, as the problem may lie with the outlet itself and not the disposal unit.
- Reset Button: Safety features are integral to garbage disposals, including a built-in circuit breaker or reset button that may trip if the unit is overloaded or overheats. This button is typically found on the unit’s bottom or side. Should you find the button protruding, pushing it firmly will reset your disposal. It’s wise to give the unit a few minutes post-reset to cool down before attempting to use it again.
- Garbage Disposal Test: Ensure cold water is running, then securely plug in the disposal unit. Proceed to switch it on to conduct a functionality test.
- Circuit Breaker: The persistence of the issue may point towards your home’s electrical system, specifically a tripped circuit breaker. Inspect your electrical panel for any tripped breakers corresponding to the disposal. Resetting the breaker can restore functionality to your disposal if this is the case.
2. Humming but Not Grinding
When your garbage disposal hums but doesn’t grind, it’s likely indicating a jam or motor issue. Below are steps to address these challenges:
The humming sound can often mean that the flywheel, the part that grinds the waste, is stuck. Turn off the disposal and cut power to the unit. With the help of an Allen wrench, insert it into the flywheel turning hole at the bottom of the disposal. Gently rotate the wrench back and forth to dislodge the jam. Once it moves freely, remove any visible obstructions using tongs or pliers—never your hands.
If the unit overheats, it might hum without grinding. Turn off the disposal and unplug the unit, allowing the motor to cool down. This could take several minutes. Afterwards, press the reset button on the bottom of the disposal unit. This safety feature shuts down the unit during overheating to prevent damage. Once the unit has been reset, attempt to turn it on again to check functionality.
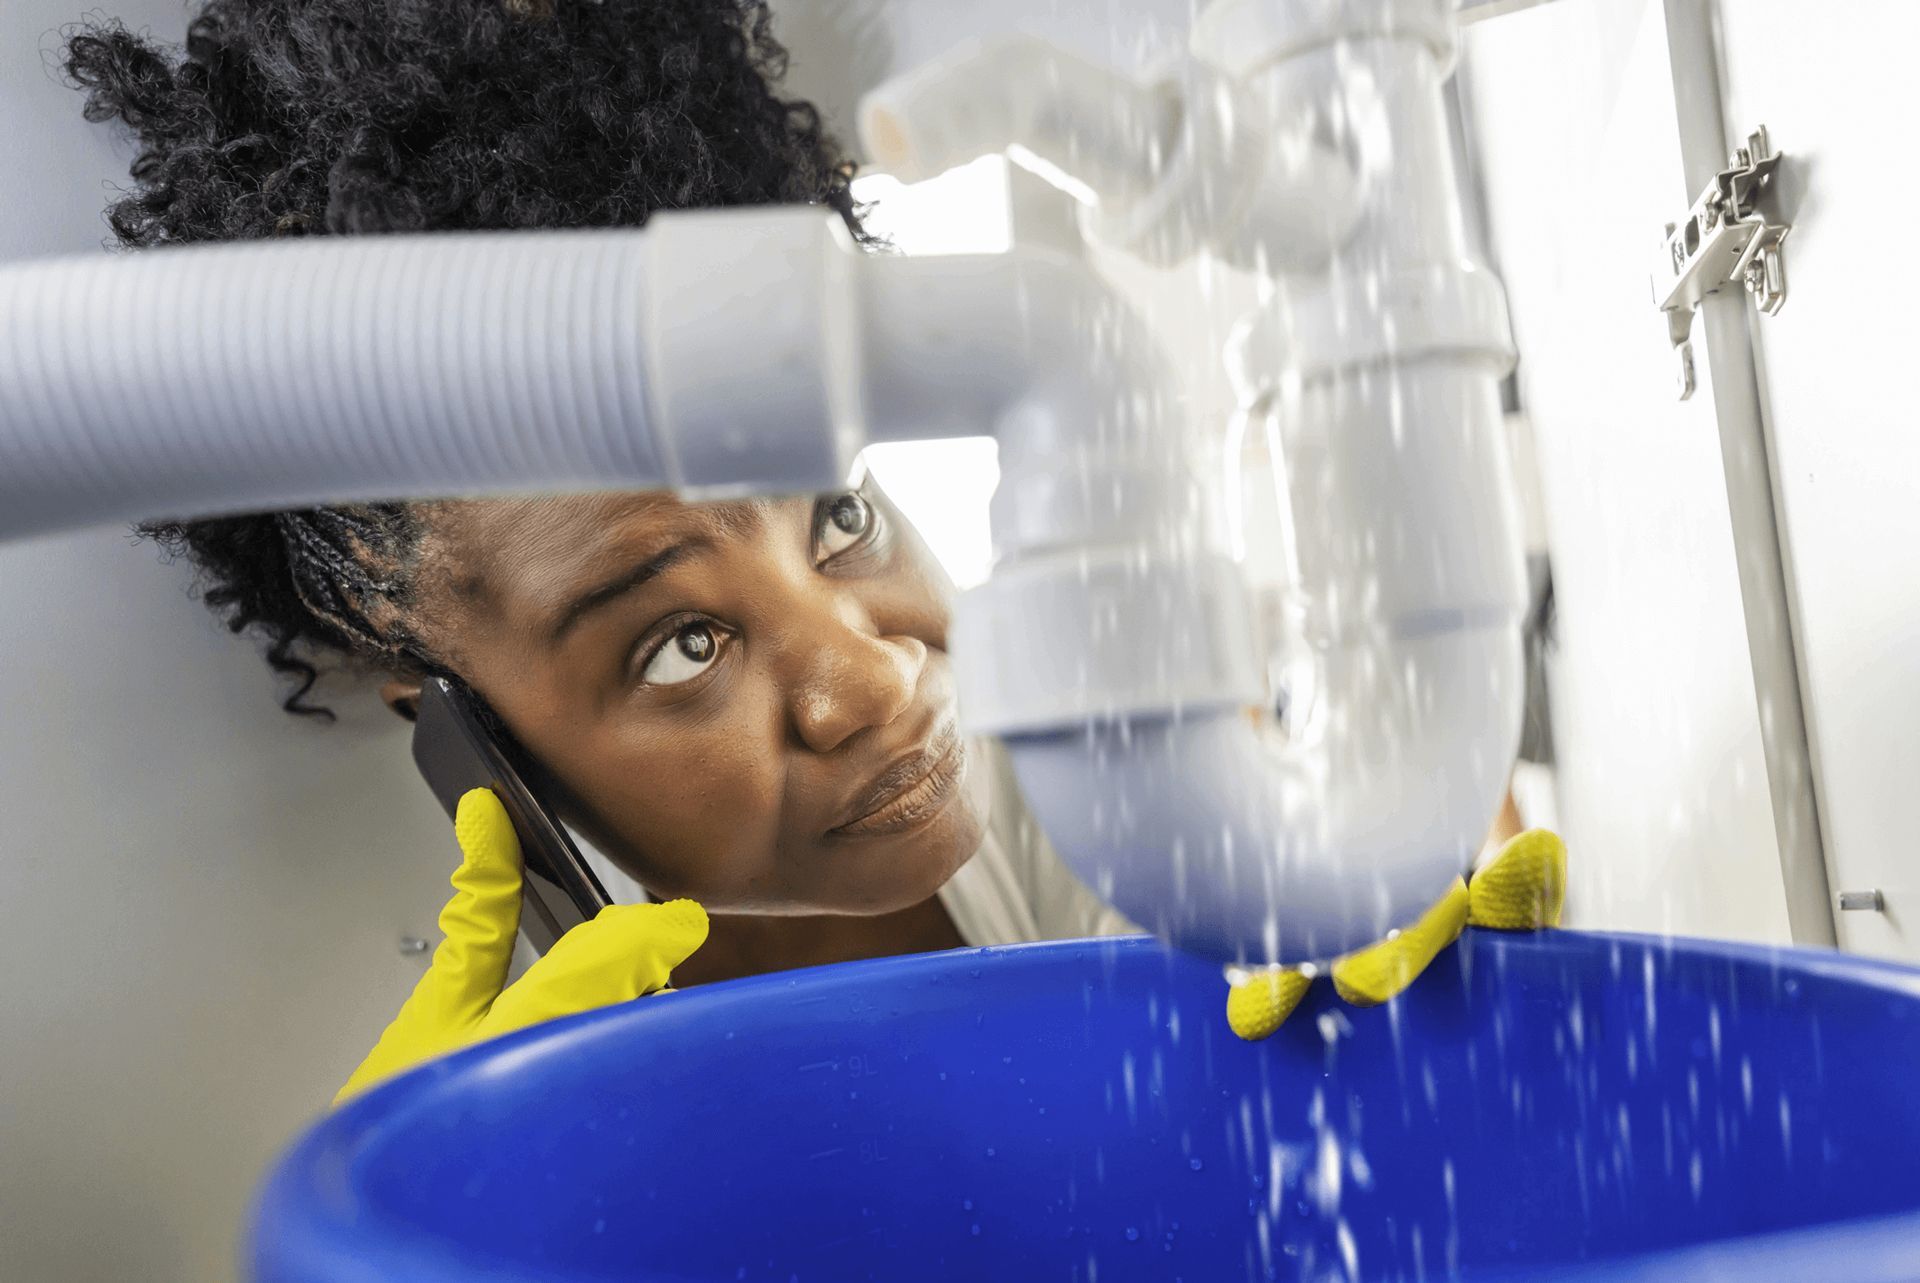
3. Leaking Garbage Disposal
Leaking in a garbage disposal can occur at several points, and identifying the source is crucial to addressing the issue effectively. Here are targeted solutions for common leak points:
- Sink Flange Leak: The sink flange is where your disposal connects to the bottom of the sink. If the leak originates here, it can typically be due to loose mounting bolts. Securely tighten these bolts to see if it stops the leak. If the problem persists, the issue might be with the plumber’s putty that seals the flange to the sink. Remove the disposal unit, replace the old putty with a fresh layer, and re-install the disposal.
- Drain or Dishwasher Connection Leaks: The garbage disposal and drain pipe are connected to your dishwasher, and leaks can develop at these connections. Inspect these areas closely. If you find moisture, try tightening the clamp or connection to see if that fixes the leak. If not, replacing the rubber gasket or hose that seals these connections may be necessary.
- Cracked Unit Housing: Over time, the disposal unit’s housing can develop cracks due to wear and tear, corrosion, or impact. Carefully inspect the unit for any visible cracks. Unfortunately, if the disposal itself is cracked, tightening connections or replacing seals won’t resolve the issue. The most effective solution is to consider replacing the entire unit.
4. Poor Grinding Performance or Clogs
Facing frequent clogs or sub-optimal grinding in your garbage disposal? Here are some guidelines to improve performance:
- Cleaning Techniques: Regular cleaning can drastically enhance the function of your disposal. A combination of ice cubes and salt or vinegar and baking soda can act as a natural scrubbing agent, eliminating accumulated grime.
- Avoiding Clogs: Good disposal habits, like not overloading the unit and avoiding problematic substances such as fats, fibrous vegetables, and hard materials, can prevent clogs.
- Clearing Clogs: If clogs occur, turn off the unit and use a plunger or a hand auger to clear the drainpipe. Never put your hand in the disposal for safety reasons.
Regular maintenance and proper usage habits can help keep your garbage disposal grinding effectively and extend its lifespan.
Garbage Disposal: What to Do and What Not to Do
Navigating a garbage disposal can significantly influence its longevity and efficacy. Herein lies a guide to ensuring optimal performance from your unit:
Don’ts
- Avoid Chemicals: Introducing harsh chemicals not specifically designed for garbage disposal can lead to damage. These substances can corrode or harm the internal plastics and mechanics of the disposal.
- No Grease or Problematic Foods: Disposal systems falter when faced with grease, oils, and particular types of waste. Avoid disposing of hard materials like bones, fibrous foods like celery, and others like potato peels, onion skins, coffee grounds, and eggshells, as they’re prone to causing clogs.
- Big Chunks Forbidden: Inserting large food pieces can jam the system. Instead, opt to gradually introduce smaller bits to prevent overburdening the disposal.
Do’s
- Frequent Cold Water Flushes: Utilize copious amounts of cold water during and after disposal; aim for a continuous flow for about 20 to 30 seconds post-operation. This practice ensures a thorough wash-down of residues.
- Routine Inspections: Regularly check your disposal for minor damages, such as small cracks or leaks. Timely detection invites an opportunity for early repairs, averting more severe problems.
- Keep It Running Smoothly: Even in the absence of food waste, periodically operate your disposal with cold water. This prevents rust and maintains operational readiness.
- Natural Cleaning Techniques: Mix ice and kosher salt, or use citrus wedges. Ice and salt can scrub the disposal clean, while citrus helps dispel unpleasant odors, keeping the unit fresh and efficient.
Adopting these practices not only nurtures your disposal system’s health but also contributes to a cleaner, more efficient kitchen waste management process.
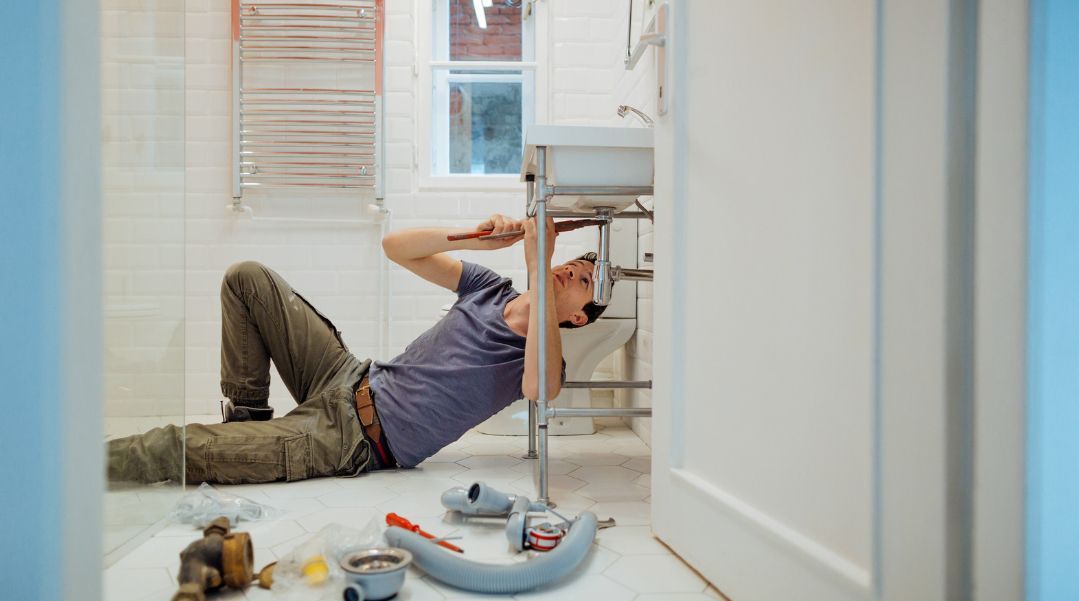
Signs Garbage Disposal Needs Professional Repair
Garbage disposals are robust appliances, but they’re not invincible. When home remedies and basic troubleshooting fail, it’s time to call a professional. Recognizing the signs of serious malfunctions can save you from expensive replacements and major plumbing issues.
- Persistent clogs or slow drainage after clearing visible blockages may imply internal issues needing expert attention.
- The recurring need for resetting the disposal often indicates underlying electrical faults or a failing motor.
- Unusual loud sounds from the disposal can signify larger foreign objects lodged within the mechanism, damaged blades, or other internal problems.
- If your disposal exhibits frequent or constant leaks even after tightening all fittings, this suggests seal or gasket failures requiring professional repair.
- Lastly, professional intervention is crucial for a proper fix or replacement if the disposal stops working entirely despite proper use and maintenance.
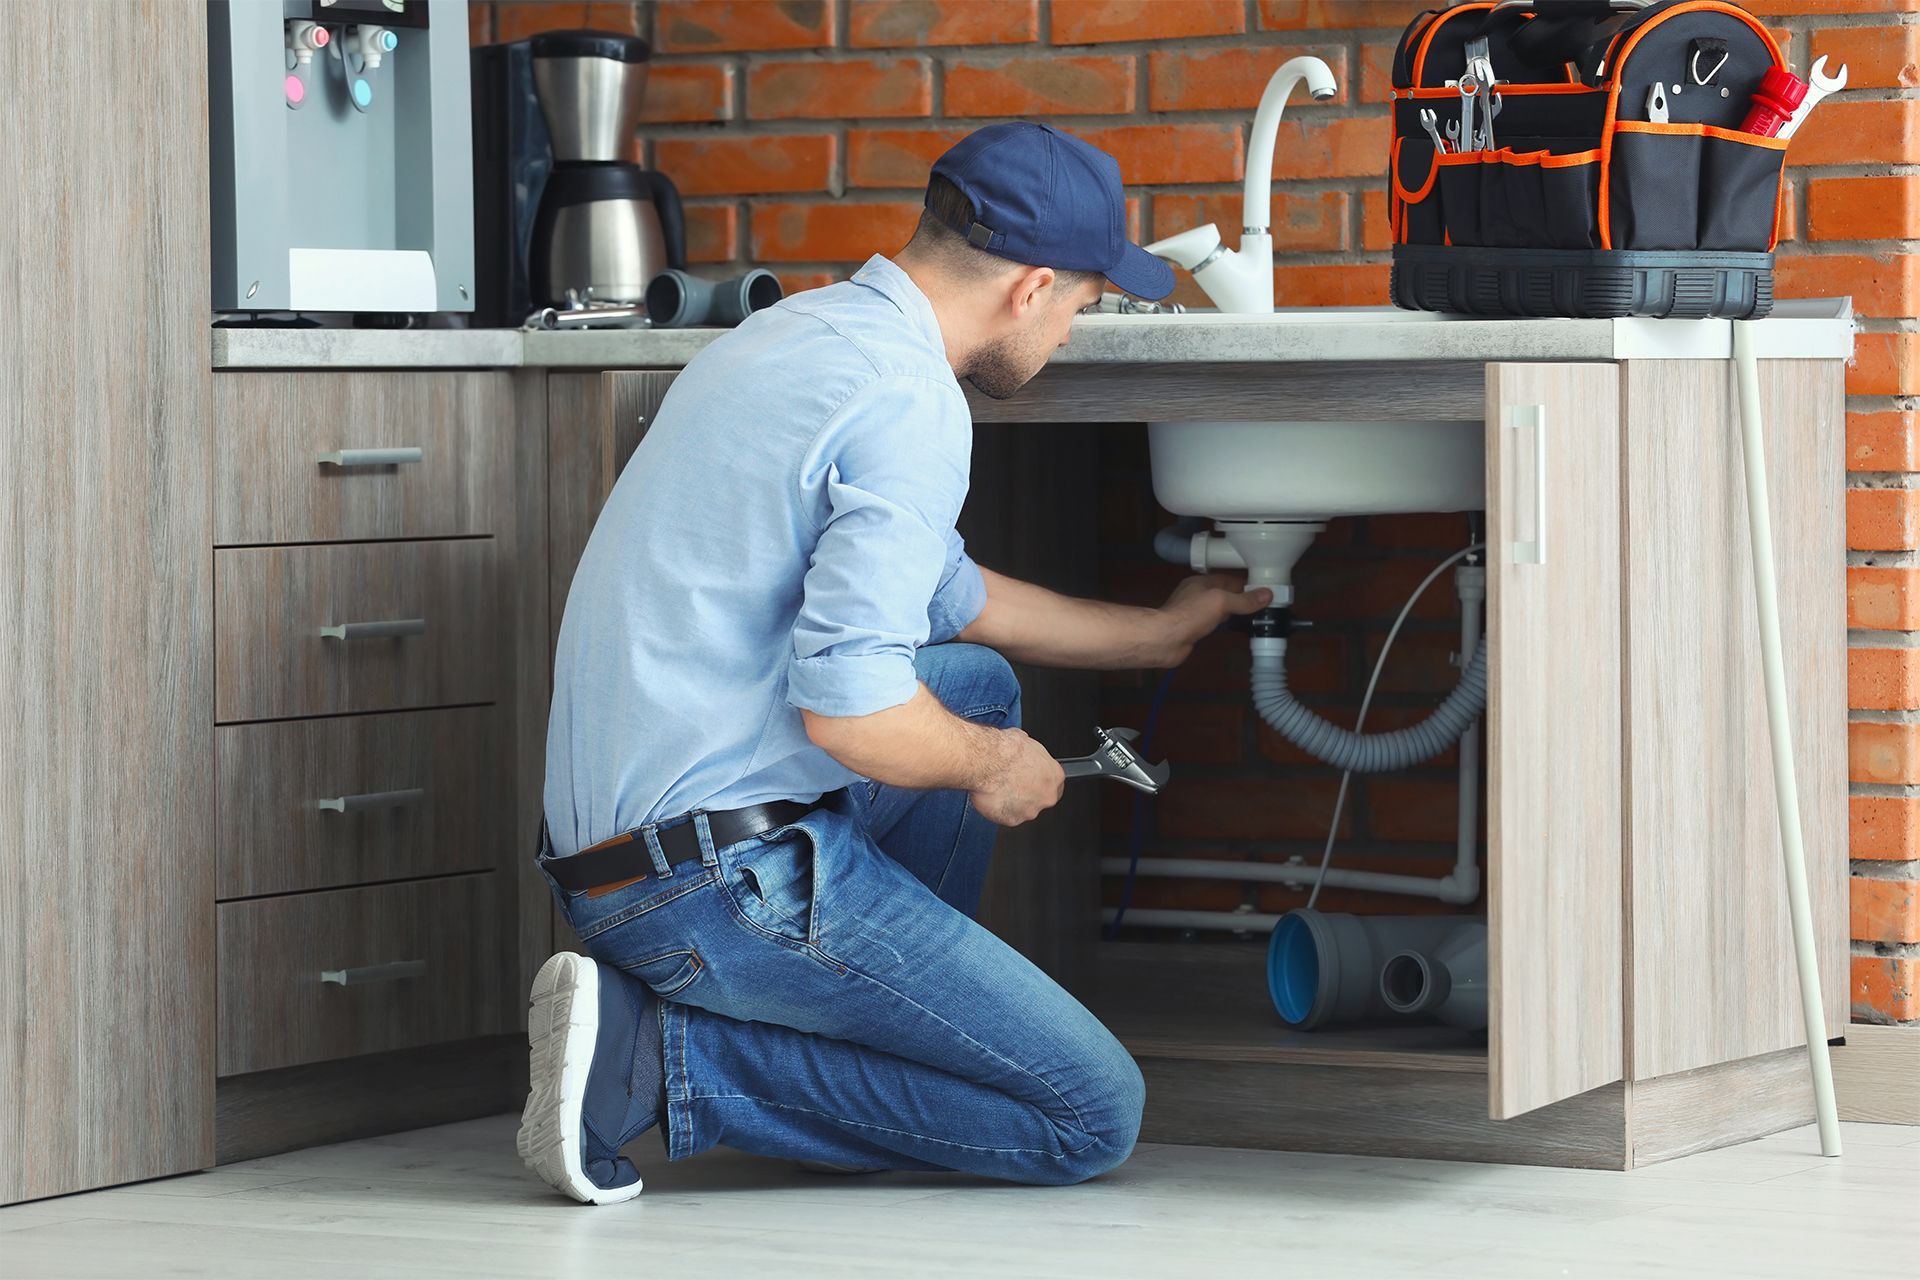
Expert Garbage Disposal Repair and Replacement by Showtime Plumbing LLC
A balanced approach is essential in navigating the complexities of garbage disposal maintenance and repair. We encourage you to utilize our troubleshooting guide for addressing minor issues, empowering you with the tools for quick fixes and routine upkeep. However, recognizing when a problem surpasses DIY fixes is crucial. In these instances, seeking professional assistance ensures that your disposal system receives the thorough and skilled attention it needs, safeguarding against further damage and potentially costly replacements.
Place your confidence in Showtime Plumbing LLC, a distinguished service provider in California known for our commitment to excellence and customer satisfaction. With years of hands-on experience, our team is equipped to tackle any plumbing challenge, ensuring your garbage disposal operates smoothly. Our highly trained technicians offer expert advice and services you can rely on. For assistance with any garbage disposal needs or to schedule a service, please contact us at (562) 822-5734.


Quick Links
Our Services