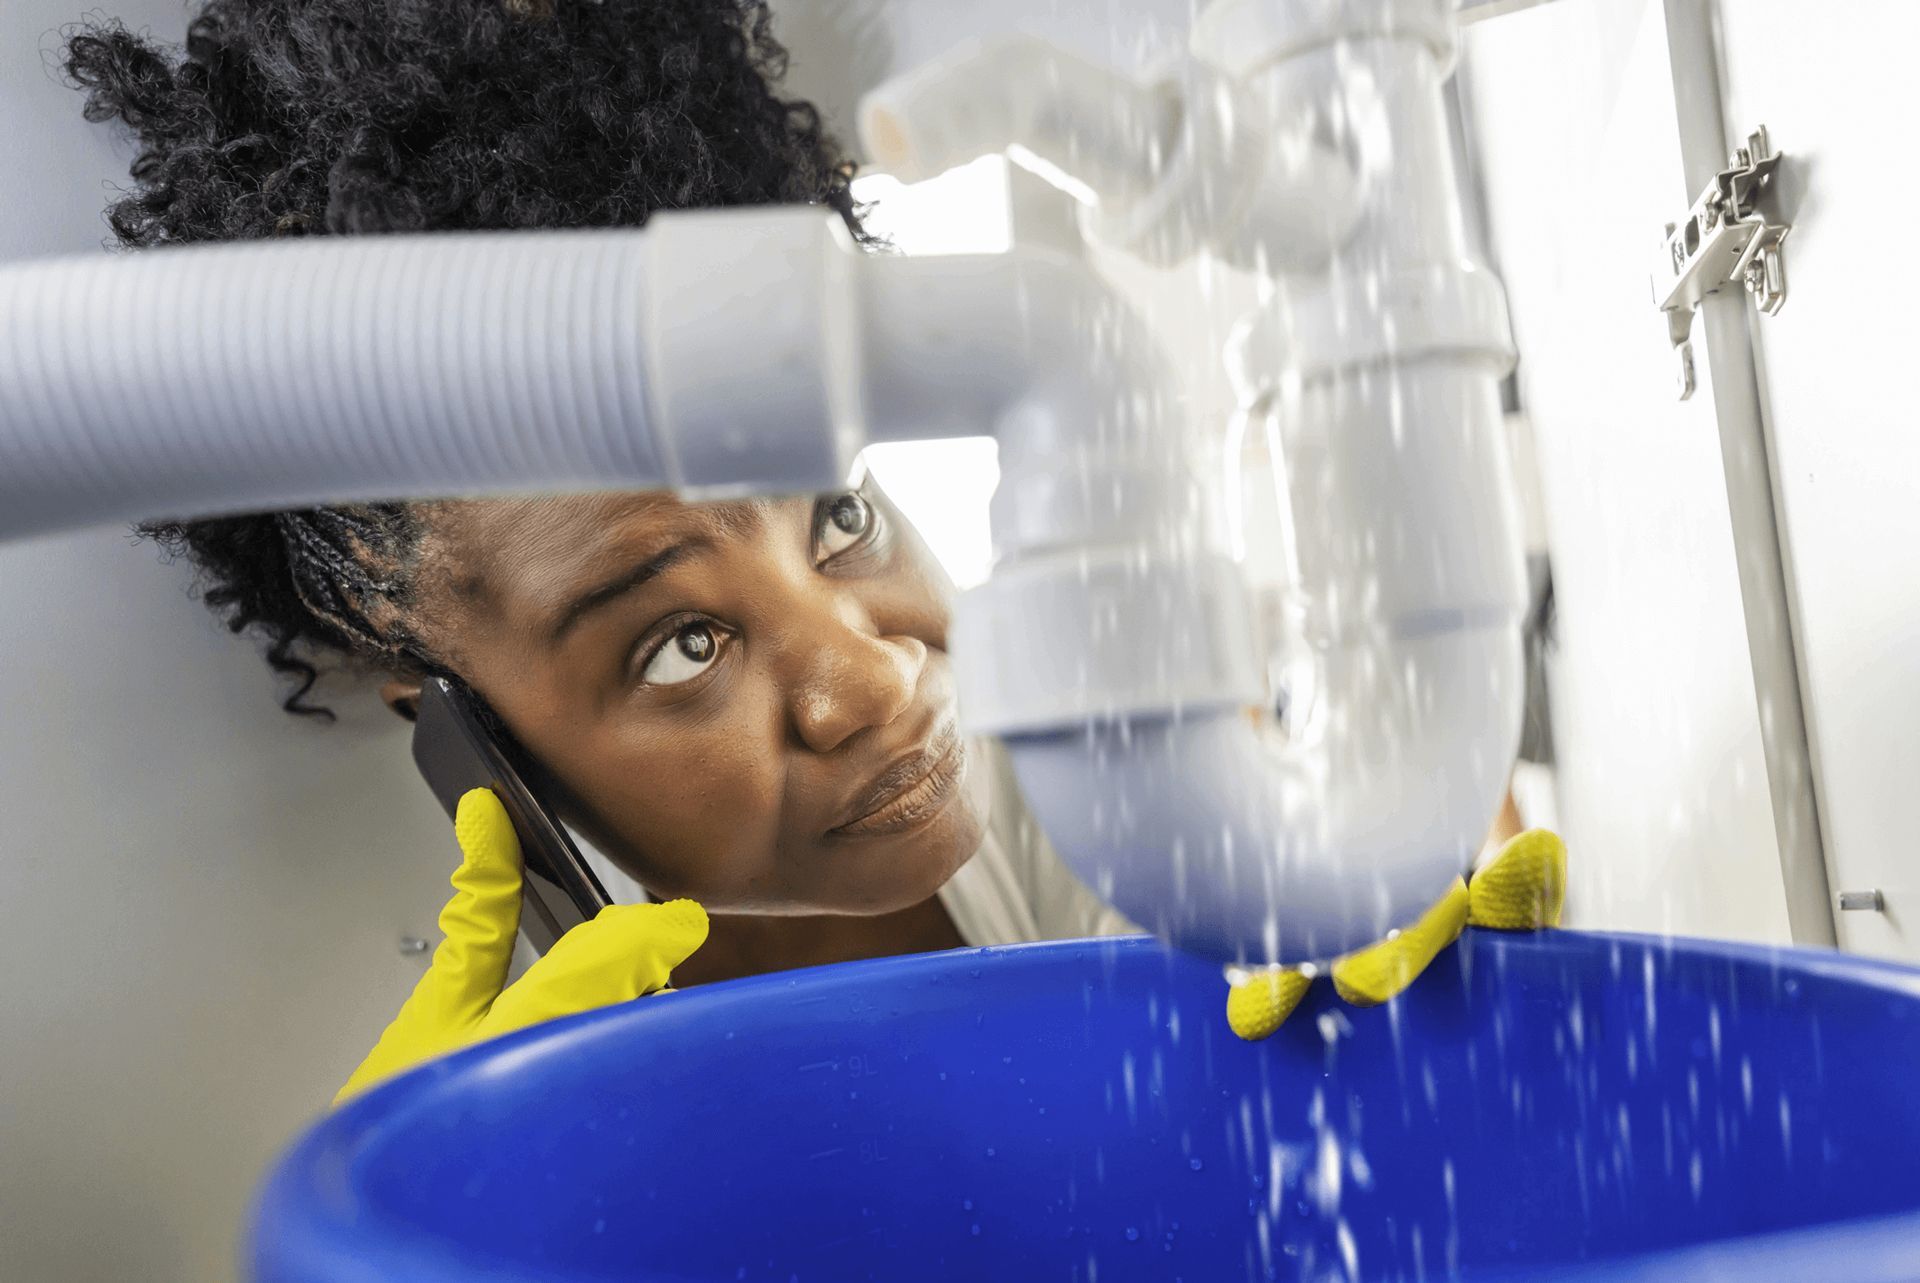
Garbage Disposal Leaking? Here’s How to Handle It
Garbage disposals are invaluable kitchen companions, streamlining waste management and keeping our cooking spaces clean. Yet, despite their robustness, they’re prone to occasional leaks. Such issues pose a risk to home hygiene and can threaten the structural integrity of your kitchen cabinetry and floors. Understanding how to swiftly and effectively address leaks is essential for any homeowner. In this article, we’ll guide you through the signs of garbage disposal leaking, pinpointing potential causes and offering practical solutions to ensure your kitchen remains a safe and sanitary space. Let’s dive into the world of garbage disposal maintenance and troubleshooting.
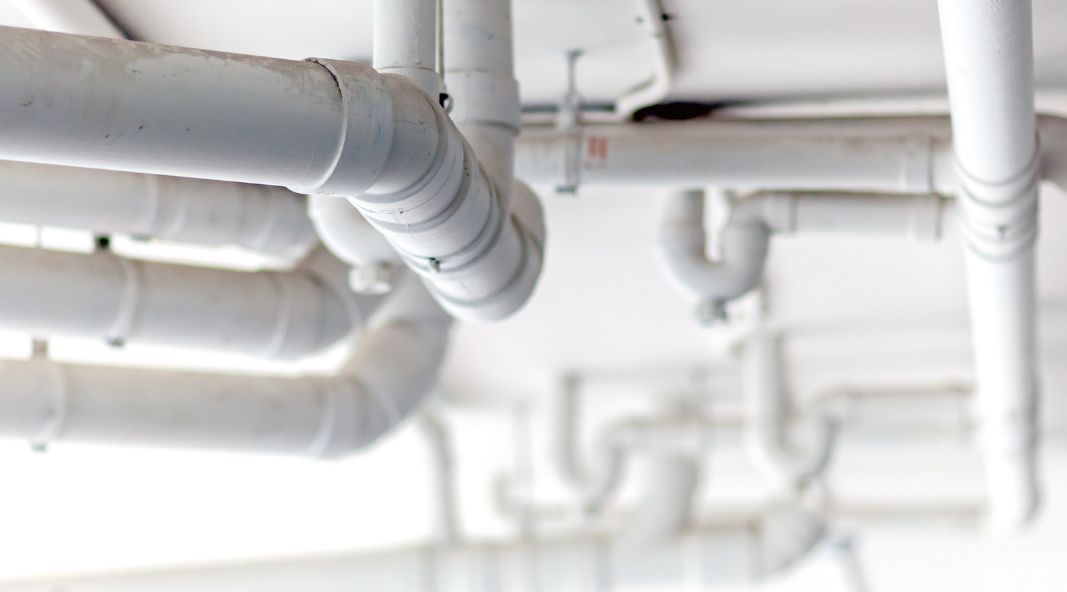
Understanding Your Garbage Disposal
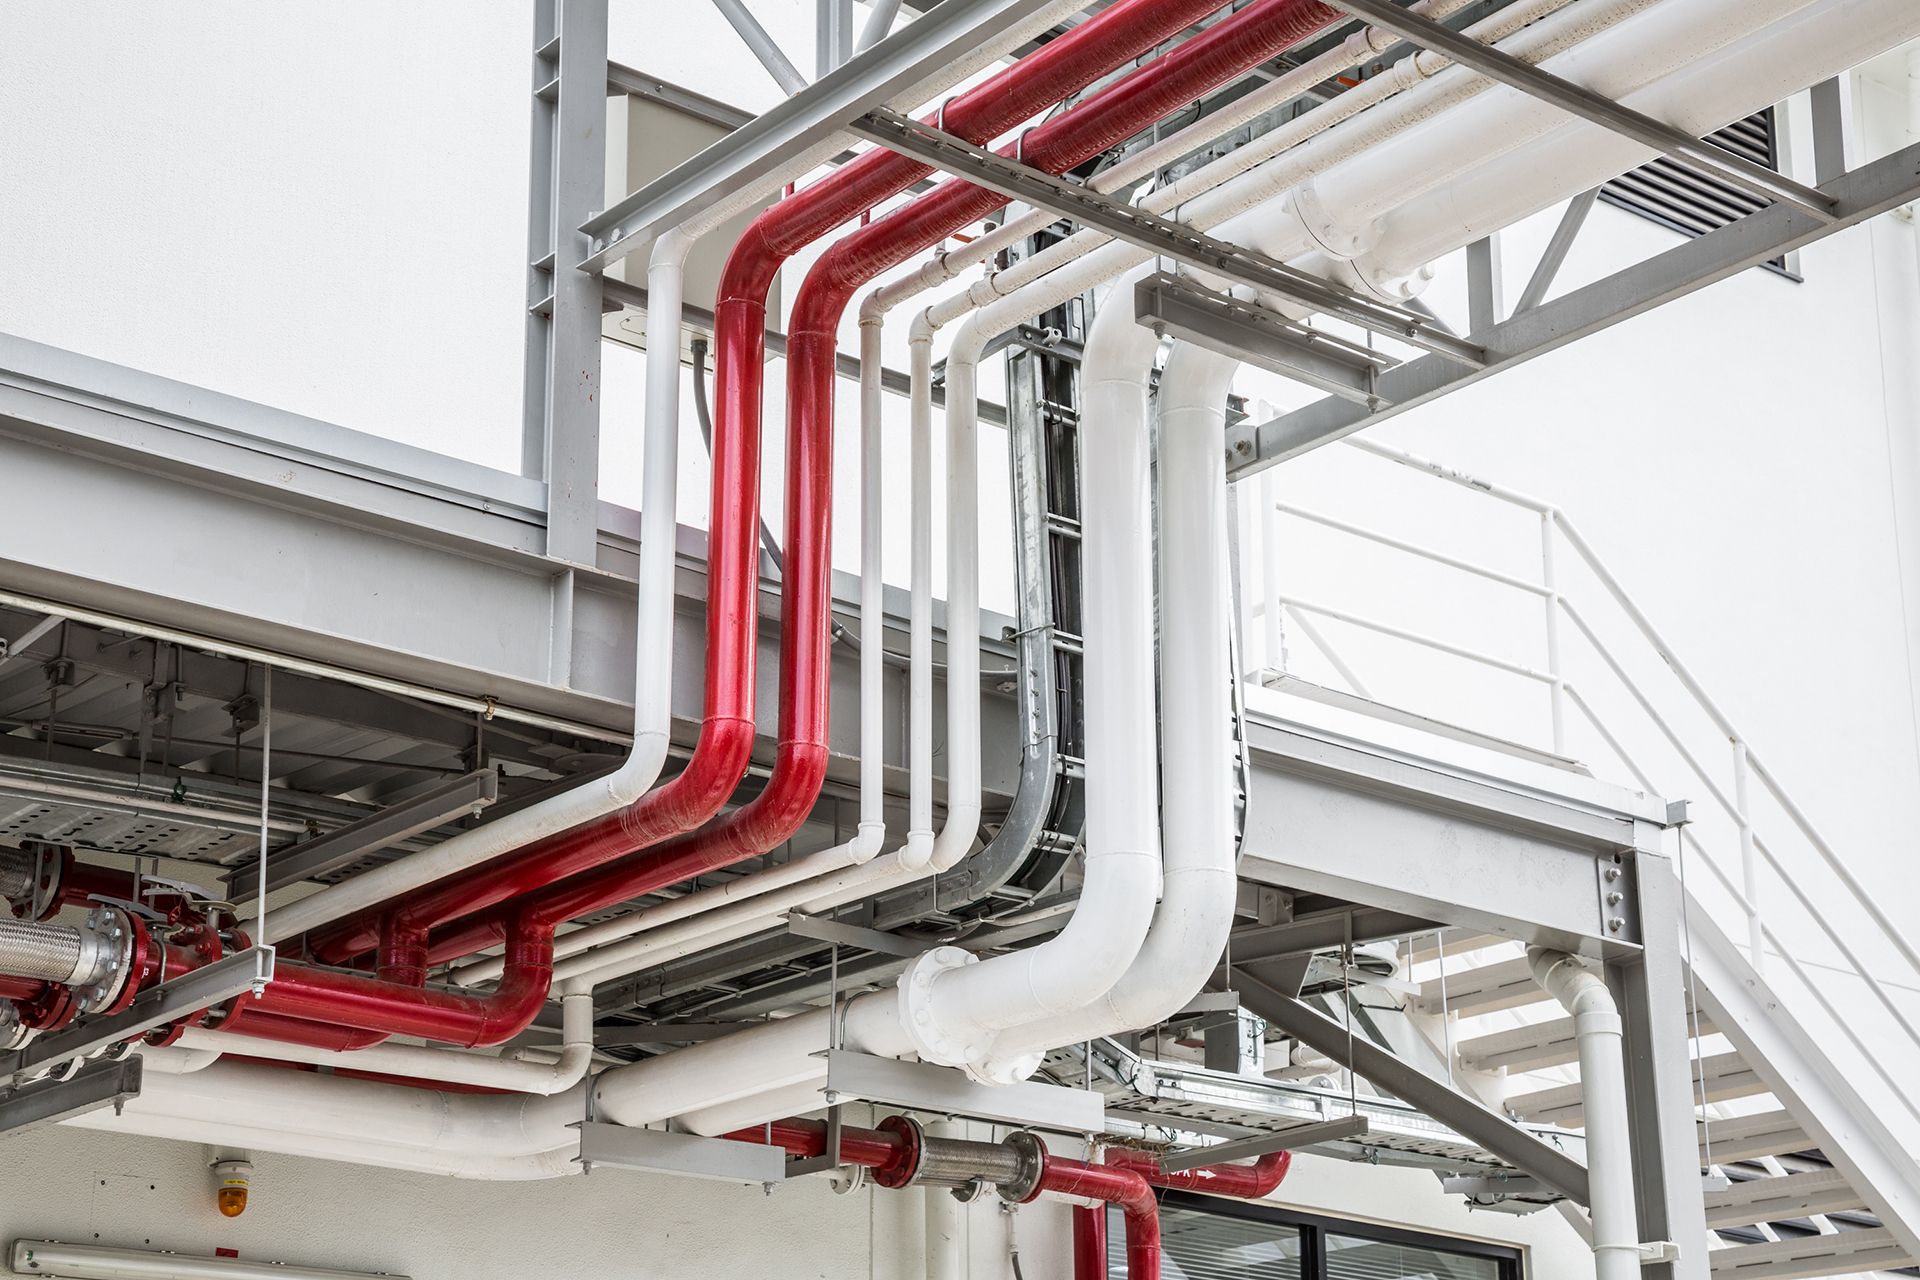
Garbage disposals feature components like the motor, shredder, and pipes for efficient waste breakdown and disposal. They operate by grinding food into small particles and flushing them with water. Regular maintenance is crucial to avoid clogs and leaks and maintain kitchen cleanliness and functionality.
Identifying the Source of the Leak
Garbage disposals are robust but can develop leaks at weak points such as the sink flange, dishwasher connection, drain pipe, and unit’s bottom. Careful inspection is crucial.
DIY Inspection Tips:
- Ensure safety: Always unplug the disposal before inspection to avoid accidents.
- Locate leaks with dye test: Mix water with food coloring and pour into the sink to spot where the leak originates.
- Check connection tightness: Use a wrench to ensure all connections are snug, as loose fittings often cause leaks.
Causes of Garbage Disposal Leaks
Identifying a leak in your garbage disposal is just the first step. Understanding the root cause is crucial for an effective fix. Various factors can lead to leaks, from natural wear and tear to installation mishaps.
- Wear and Tear Over Time: Continuous use gradually degrades the disposal’s components, leading to potential leaks.
- Improper Installation: A disposal incorrectly installed may have loose or misaligned connections, causing leakages.
- Faulty or Degraded Seals and Gaskets: Seals and gaskets can dry out or crack over time, losing their ability to prevent water from escaping.
- Cracks in the Garbage Disposal Unit: Physical damage or corrosion can result in cracks through which water can leak.
- Clogs and How They Can Cause Pressure Build Ups: Blockages in the disposal or connected plumbing can lead to increased pressure, forcing water out through weak points.
Each cause of leakage in garbage disposals necessitates a tailored approach for repair. Wear and tear may require part replacements while solving improper installations might need adjustments. Understanding the specific cause ensures a temporary and long-term solution, keeping your disposal in optimal condition.
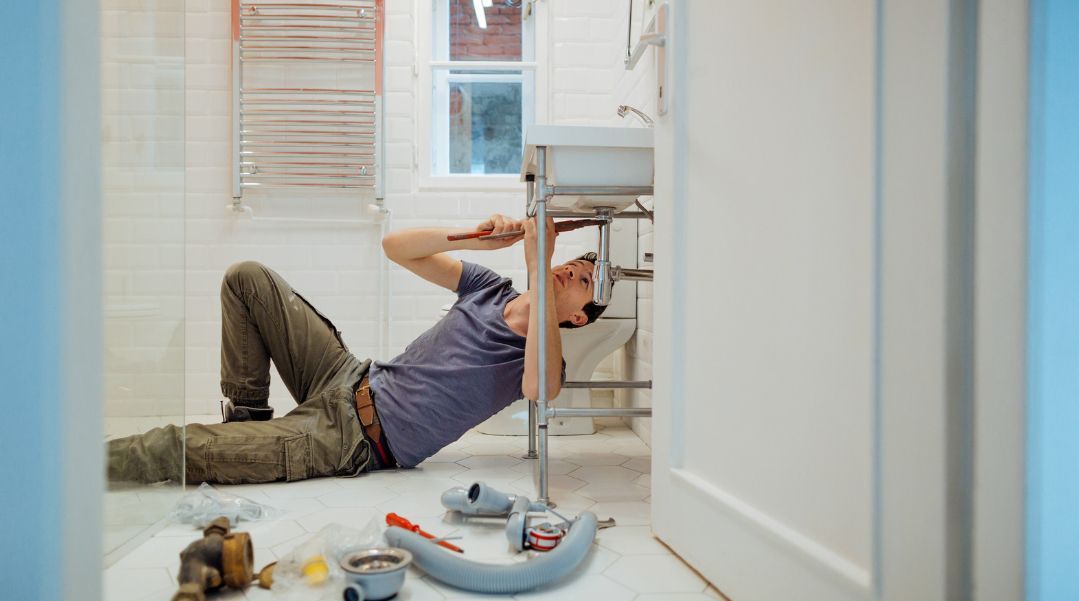
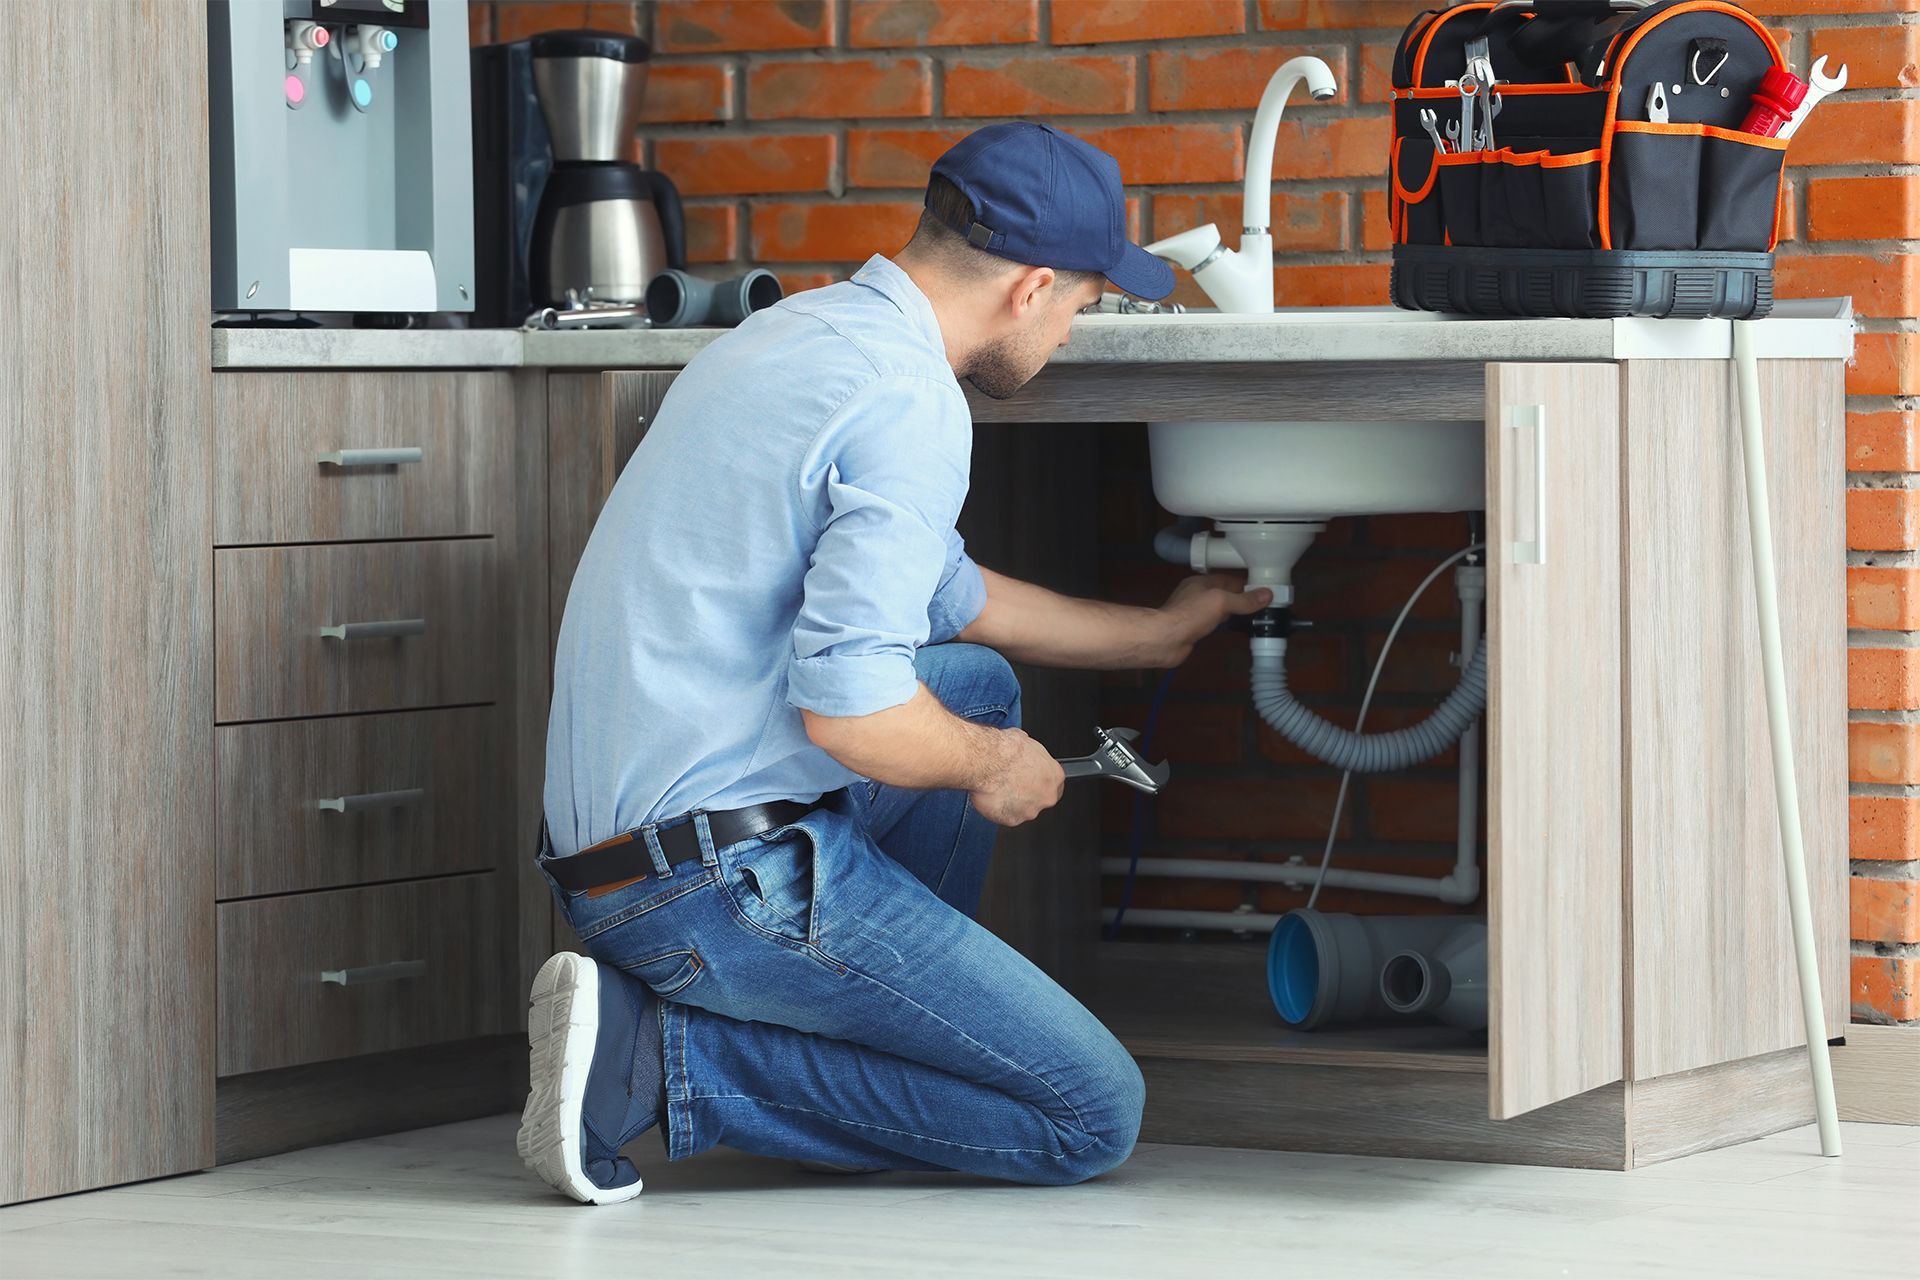
Garbage Disposal Leaking: Step-by-Step Repair Guide
Discovering your garbage disposal is leaking can be worrying, but don’t fret! We’ve put together a thorough step-by-step guide to help you tackle this issue head-on. Whether you’re a DIY novice or a seasoned handyman, our easy-to-follow instructions will guide you through the repair process, ensuring your disposal is back in top condition in no time.
1. Fixing a Leaky Sink Flange
A leaky sink flange can cause a lot of trouble, but the right approach can efficiently solve it. This guide will walk you through resealing or replacing the flange to keep your disposal leak-free.
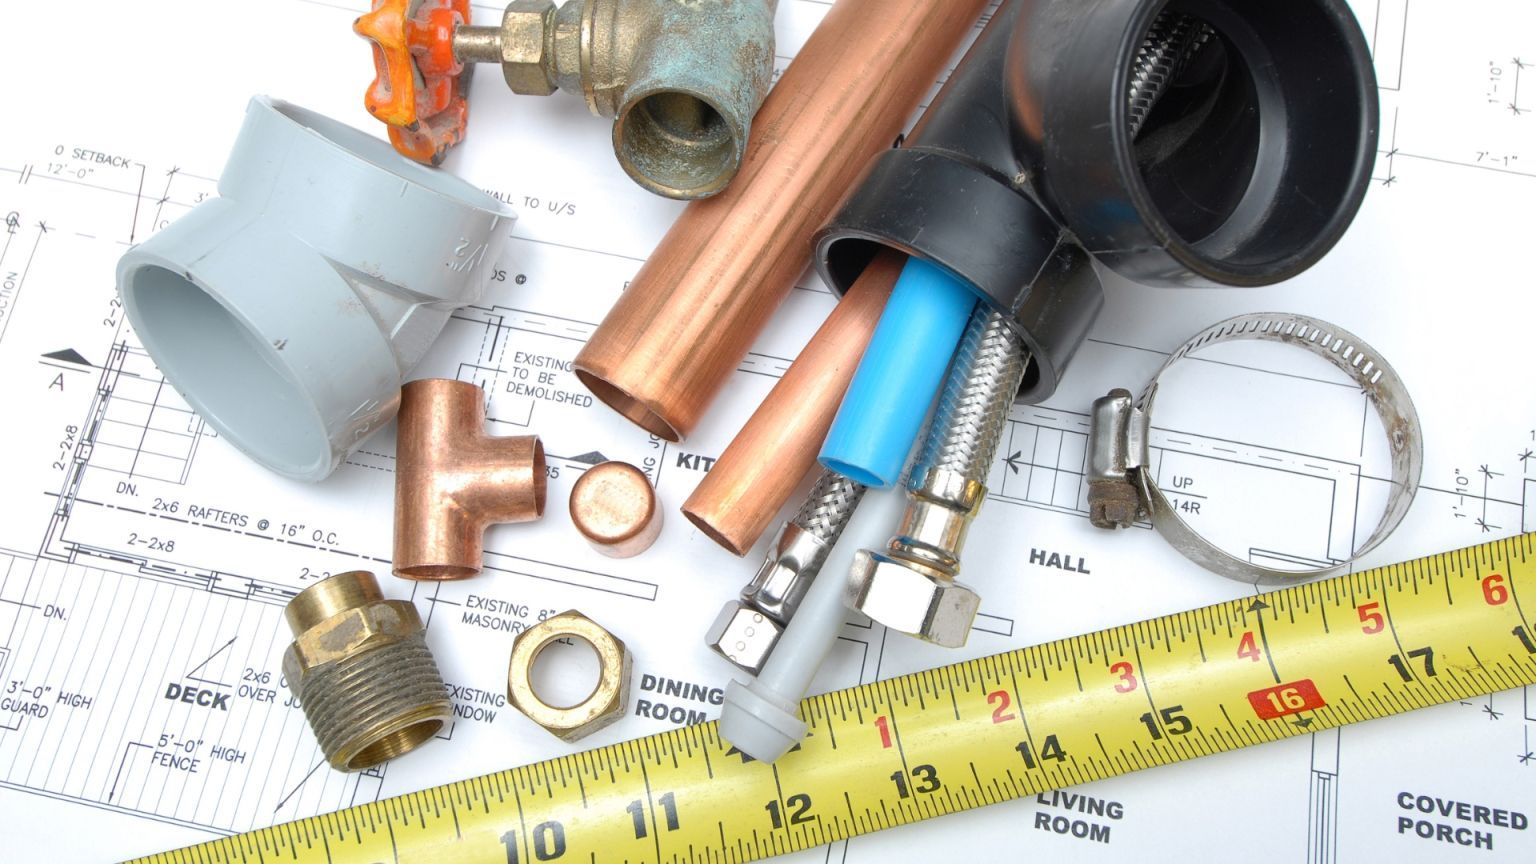
Tools and Materials Needed
- Plumber’s Putty
- Putty Knife
- Adjustable Wrench
- Bucket or Towels (for any water cleanup)
- Flashlight (for better visibility)
- Safety Glasses
Steps to Reseal or Replace the Sink Flange
- Disconnect power: Ensure the disposal is unplugged or the breaker is off.
- Remove the disposal: Use an adjustable wrench to loosen the mounting ring and lower the unit.
- Clean flange area: Strip away old putty and debris for a clean seal surface.
- Apply plumber’s putty: Shape putty into a rope and apply under the flange.
- Replace sink flange: Set the flange in the sink hole and press for a tight seal.
- Reattach disposal: Align and secure it to the flange with the mounting ring.
- Remove excess putty: Scrape away any oozing putty with a knife.
- Reconnect power and check: Turn the power back on and test for leaks by running water.
By following these steps, you can effectively fix a leaky sink flange, ensuring your garbage disposal operates smoothly without leaks.
2. Repairing Leaks at the Dishwasher Connection
Leaks at the dishwasher connection usually result from problems with the hose or the clamp securing it. A damaged hose or loose or corroded clamp can easily be the culprits. Identifying which part needs attention is vital for a watertight seal.
Steps to Secure the Connection
- Disconnect power for safety.
- Inspect the hose for damage and replace if needed.
- Examine the clamp; tighten it if loose or replace it if corroded.
- Secure the hose with the clamp and ensure a tight fit.
- Reconnect power and test the system for any leaks.
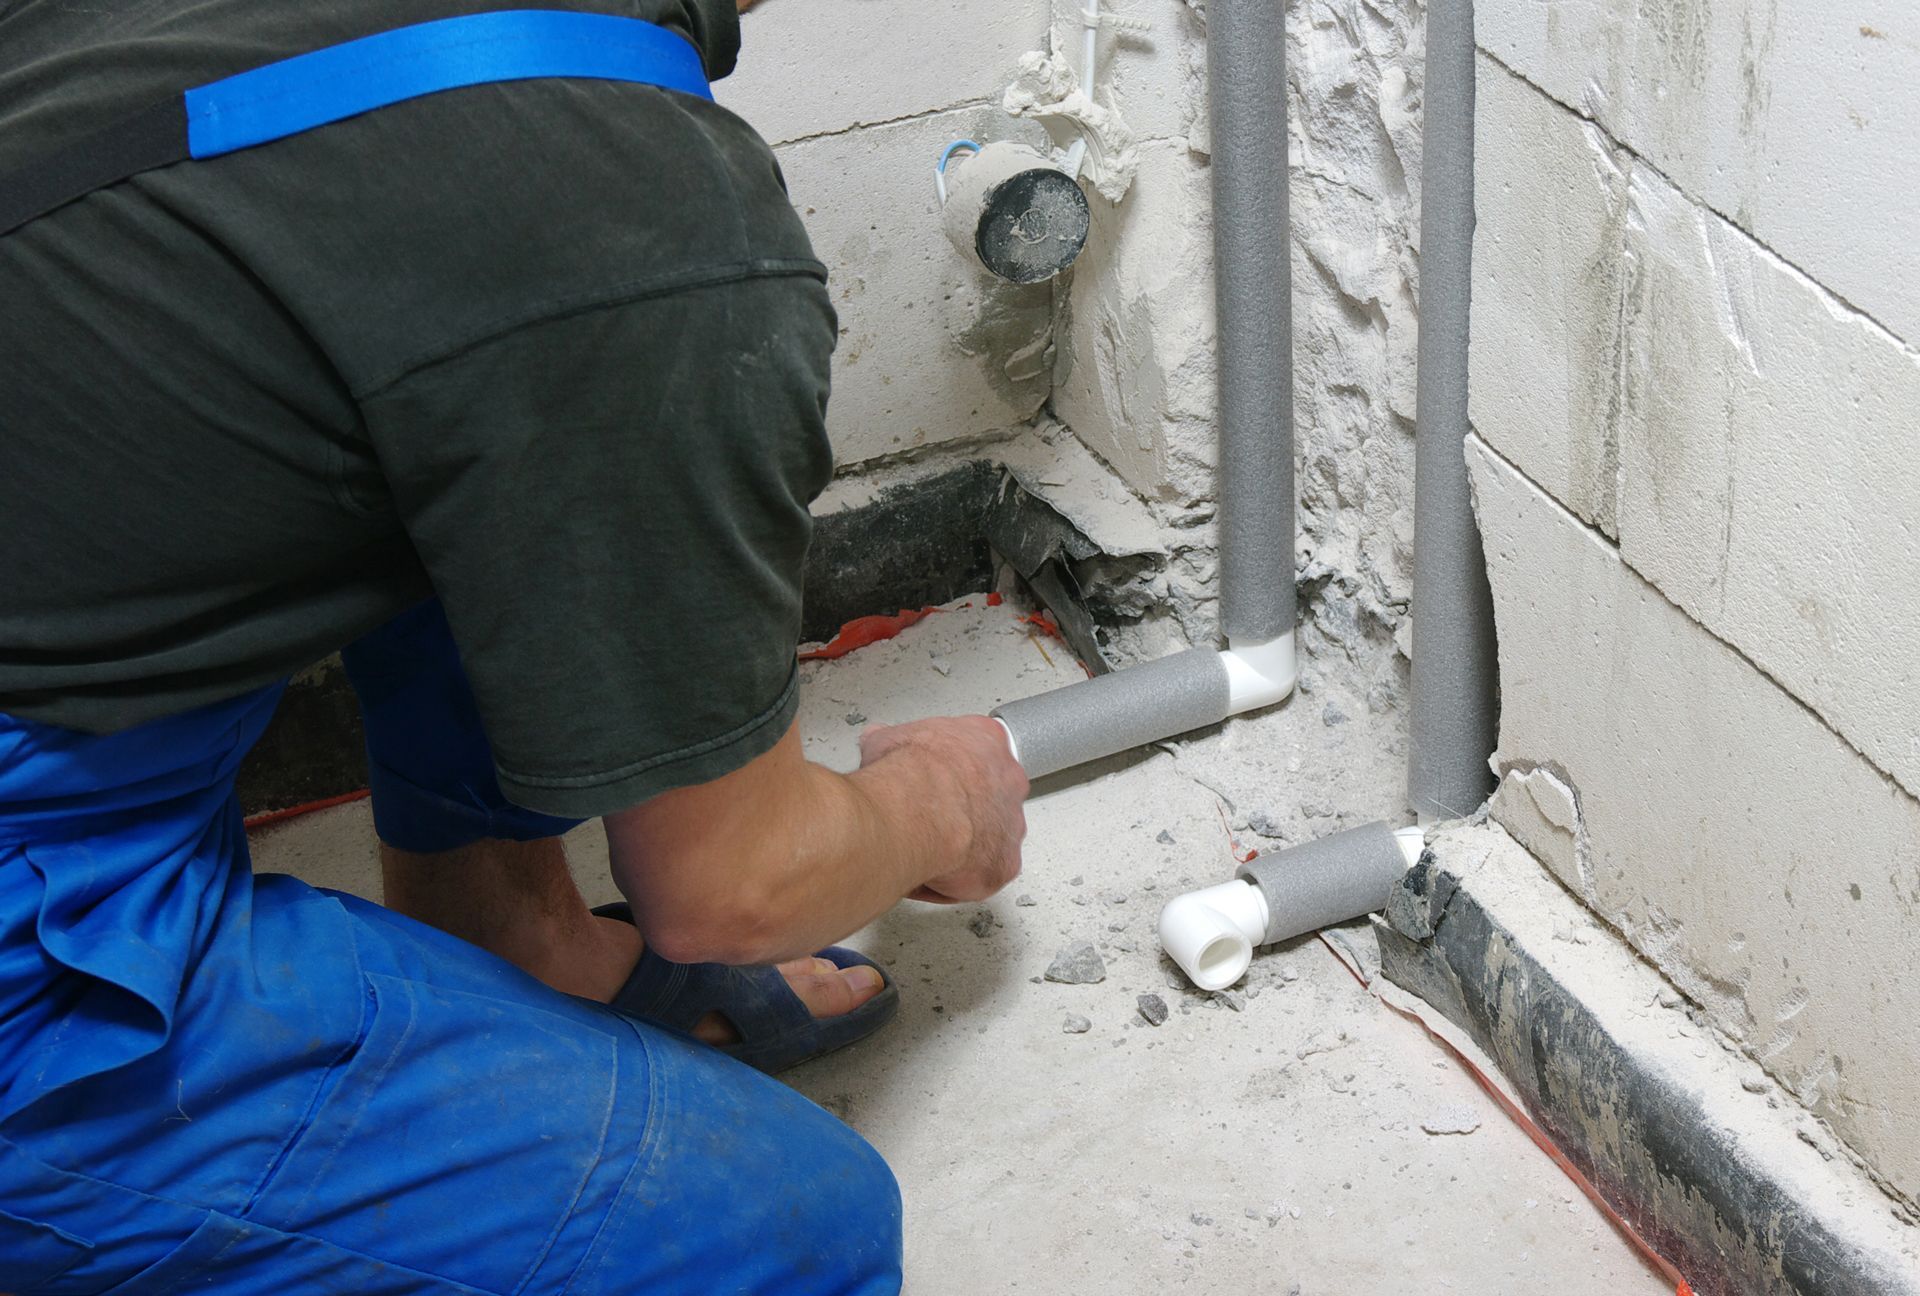
3. Addressing Drain Pipe Leaks
When your garbage disposal leaks at the drain pipes, it’s crucial to identify if it’s a simple fix or a more grave problem. Minor leaks often require just tightening, while major ones might need part replacements.
Procedure for Tightening or Replacing Pipes
- Identify the Leak: Run water and observe where the leak originates.
- Turn Off Disposal: Unplug or turn off the circuit breaker before any repair.
- Tighten Connections: Use a wrench to gently tighten the drain pipe fittings. Avoid over-tightening.
- Inspect for Wear: Check for damaged seals or corroded pipes that might necessitate replacement.
- Replace Parts if Needed: Remove damaged sections, purchase identical replacements, and install them securely.
- Use Plumber’s Putty: For a better seal, apply plumber’s putty around the flange when installing new pipes.
- Double-Check Tightness: After the repair or replacement, ensure all connections are snug.
- Test for Leaks: Run water through the system and monitor for any signs of leaking.
- Clean Up: Once confirmed there are no leaks, clean the area and plug your disposal back in.
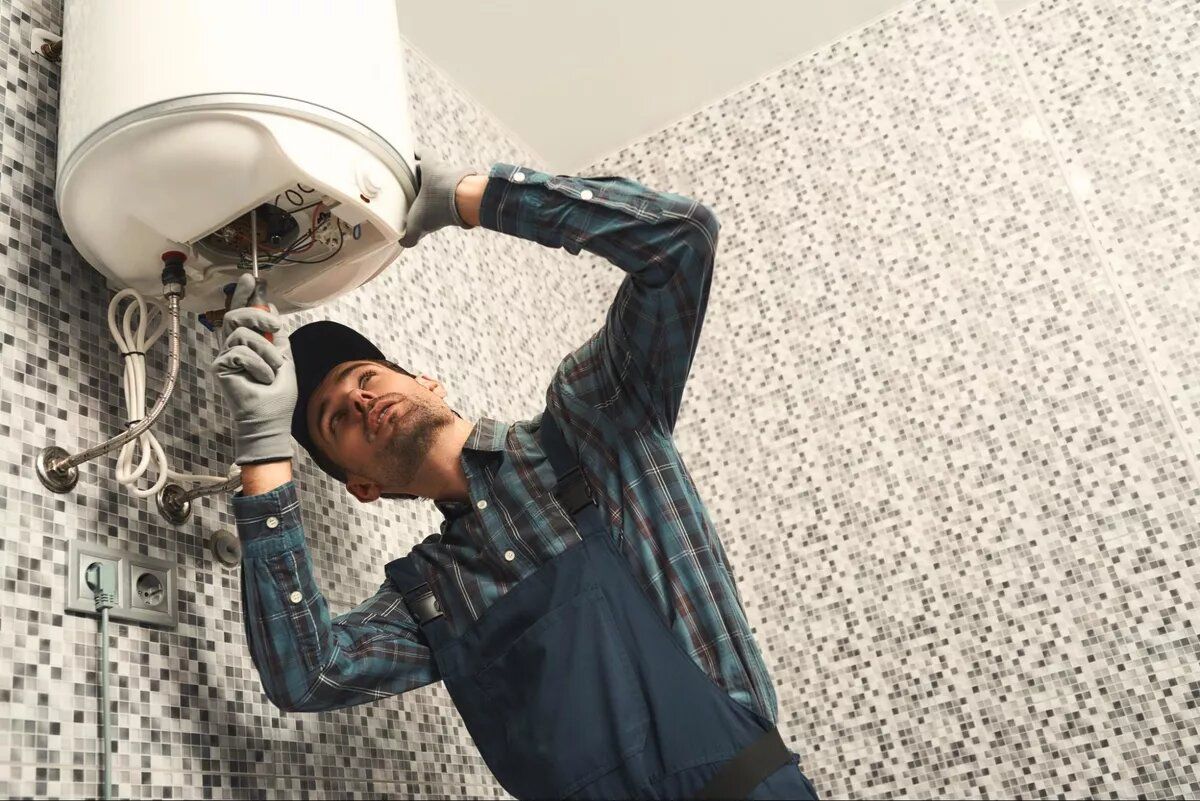
4. Managing Bottom Leaks in Garbage Disposals
Leaks from the disposal bottom often indicate a serious issue, such as a seal failure or broken part. It’s vital to assess the leak’s severity; while repairs can sometimes fix them, replacement is usually more reliable and cost-effective.
When to Call a Professional
- Persistent troubleshooting fails: If leaks continue after basic fixes, get professional help.
- Motor problems: Symptoms like bottom leaks, odd noises, or non-operation suggest it’s time for an expert’s opinion on repair or replacement.
- Electrical issues: For safety, have a pro check out any electrical troubles, such as frequent breaker trips.
- Installing a new disposal: To ensure correct installation and prevent future leaks, have a professional do the job.
Testing Garbage Disposal Repairs
After repairing your garbage disposal, it’s crucial to systematically verify that your fixes are effective and the unit operates smoothly. This testing phase will ensure the disposal is safe and functioning properly, avoiding future complications.
How to Safely Reintroduce Power and Water to the Unit
Before testing your repair work, it’s important to safely reintroduce power and water to your garbage disposal unit to prevent electrical or water damage.
- Ensure Everything is Dry: Confirm all areas around the disposal are completely dry before proceeding.
- Restore the Power: Reconnect the unit to power by plugging it back in or turning on the circuit breaker.
- Check for Proper Operation: Briefly run the disposal to ensure it powers up without issues.
- Introduce Water Slowly: Initially, turn on the cold water at a low flow rate, then gradually increase to full pressure to observe any abnormalities.
Performing a Thorough Check for Any Signs of Moisture
Even minor leaks can lead to bigger problems, so it’s essential to meticulously check for any signs of moisture after repairs.
- Visual Inspection: Look around the unit for water drops or pooling, focusing on previously repaired areas.
- Touch Test: Feel along the pipes and joints to detect any wetness that might not be immediately visible.
- Use a Dry Paper Towel: Press a dry paper towel against the connections and seals to find any slow leaks.
- Monitor Over Time: Monitor the area during and after the first few uses to ensure no new leaks develop.
Tips for Running the Garbage Disposal to Ensure It’s Properly Fixed
To confirm your garbage disposal is comprehensively fixed, follow these tips for running the unit and checking its performance.
- Run Disposal with Cold Water: Always use cold water while running the garbage disposal, as it helps solidify fats and carry away waste.
- Check for Unusual Noises: Listen for any grinding or humming sounds indicating unresolved issues.
- Run in Short Bursts: Initially test by turning the disposal on and off in short bursts to ensure it engages and disengages smoothly.
- Feed Carefully: Gradually feed non-fibrous food scraps into the disposal to check their processes without clogging or lagging.
Future Leak Prevention Tips
Routine Upkeep:
- Cold water use: Run cold water during and after use to solidify fats and oils.
- Natural cleaning: Use lemon peels, baking soda, and vinegar to deodorize.
- Regular tightening: Bi-monthly checks and tightening of fittings help avoid leaks.
- Annual inspections: Professional yearly checks can detect early signs of wear.
Proper Usage Guidelines:
- Avoid certain items: Do not grind hard items like bones, pits, fibrous materials like celery, or substances like grease and coffee grounds.
Replacement Awareness:
- Monitor lifespan: Typically, disposals last 8-15 years.
- Watch for signs: Be alert to persistent noises, frequent clogs, or visible damage like cracks and rust, indicating a need for replacement.
Troubleshooting Common Garbage Disposal Issues
Key Issues and Resolutions
- Jams: Clear by manually rotating the blades with an Allen wrench from below.
- Unusual Noises: Investigate for debris or motor issues if you hear grinding or thumping.
- Power Failures: Reset using the button under the unit. If ineffective, check the circuit breaker or fuse.
Efficient Management
- Resolve these issues quickly to maintain functionality and avoid costly damage.
When to Call a Professional
Recognizing the Need for Expert Assistance
- Persistent Issues: Call for help if leaks, motor, or electrical troubles persist after you try to fix them.
- Stubborn Jams: If simple solutions don’t work, professional help is needed.
Advantages of Professional Help
- Professionals provide accurate diagnosis, warranties, and compliance assurance for complex issues.
Choosing the Right Technician
- Look for licensed, well-reviewed services with explicit warranties and responsive support.
- Check credentials and read client feedback.
- Compare quotes and ask for referrals.
Final Thoughts
To fix a garbage disposal leak, start by pinpointing the leak’s source—the sink flange, hoses, or disposal unit itself. Then, turn off the power, dismantle the necessary parts, and replace faulty seals or pipes. Reassemble and test to ensure the problem is resolved.
Addressing leaks promptly is crucial for a safe kitchen environment—they can lead to mold, damage, and inefficiency. When DIY fixes are not enough, Showtime Plumbing LLC is your trusted partner. Expert solutions are just one call away, ensuring top-notch service for your home. Contact us at (562) 822-5734 for excellence in plumbing care.