1070799
License Number
Call Us
La Puente, CA 91746
Visit Us Here
24 Hour Service
7 Days a Week
We Offer The

On-Site Plumbing Service
Showtime Plumbing provides top-tier plumbing services, ensuring your home’s plumbing system remains pristine. Don’t let plumbing woes slow you down; call the pros today!
Welcome to
Showtime Plumbing
Are you tired of dealing with leaky faucets, clogged drains, or plumbing emergencies? Look no further! Our professional plumbing services are here to rescue you from all your plumbing woes. With years of experience and a dedicated team of skilled plumbers, we guarantee top-notch service and customer satisfaction.
Satisfaction Guaranteed
At Showtime Plumbing LLC, we stand behind the quality of our work, guaranteeing 100% customer satisfaction for all your plumbing needs.
Expert Services
Our highly trained and seasoned professional team delivers superior plumbing solutions, fulfilling your needs with precision and efficiency.
Licensed & Insured
As a fully licensed and insured business, we bring you peace of mind, ensuring every project is done with utmost safety and compliance with regulation standards.
Introducing Us
Reliable Plumbing Services At Your Doorstep!
Showtime Plumbing LLC is a dedicated plumbing service provider offering comprehensive solutions for your residential and commercial needs. Based in La Puente, CA, we take pride in serving our local community with superior services, drawing from our extensive experience and high standards of professionalism.
- Certified Specialists
- Quality Service
- Satisfaction Guaranteed
- Expert Services
- Licensed & Insured
- Prompt Response
- cras tincidunt
- lobortis feugiat
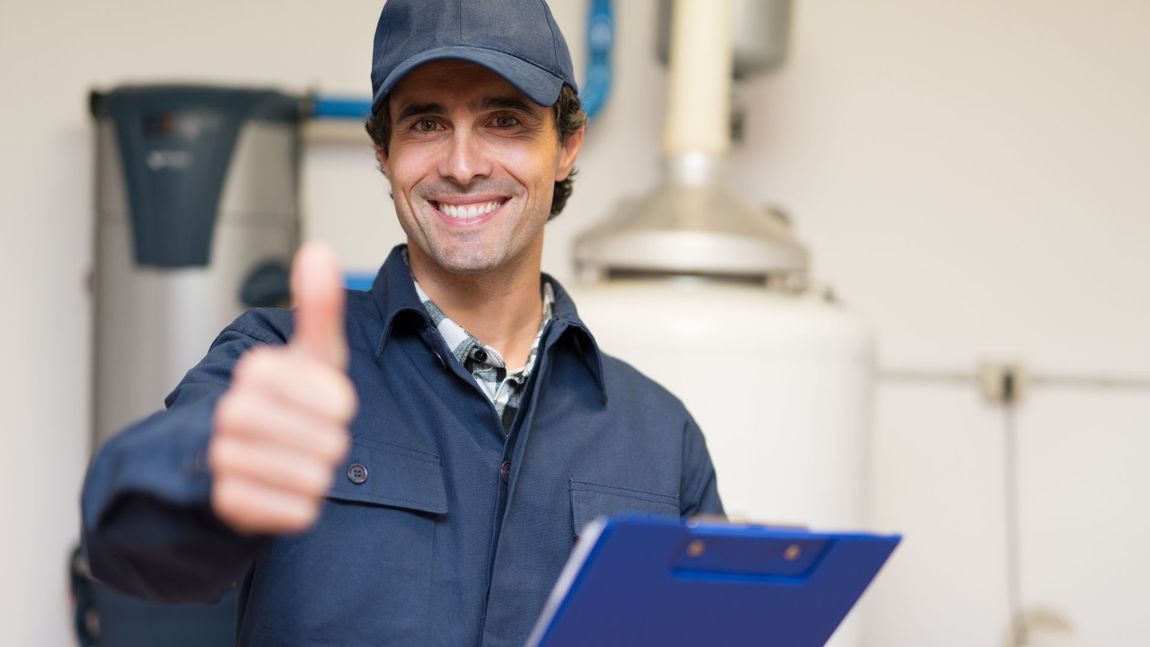
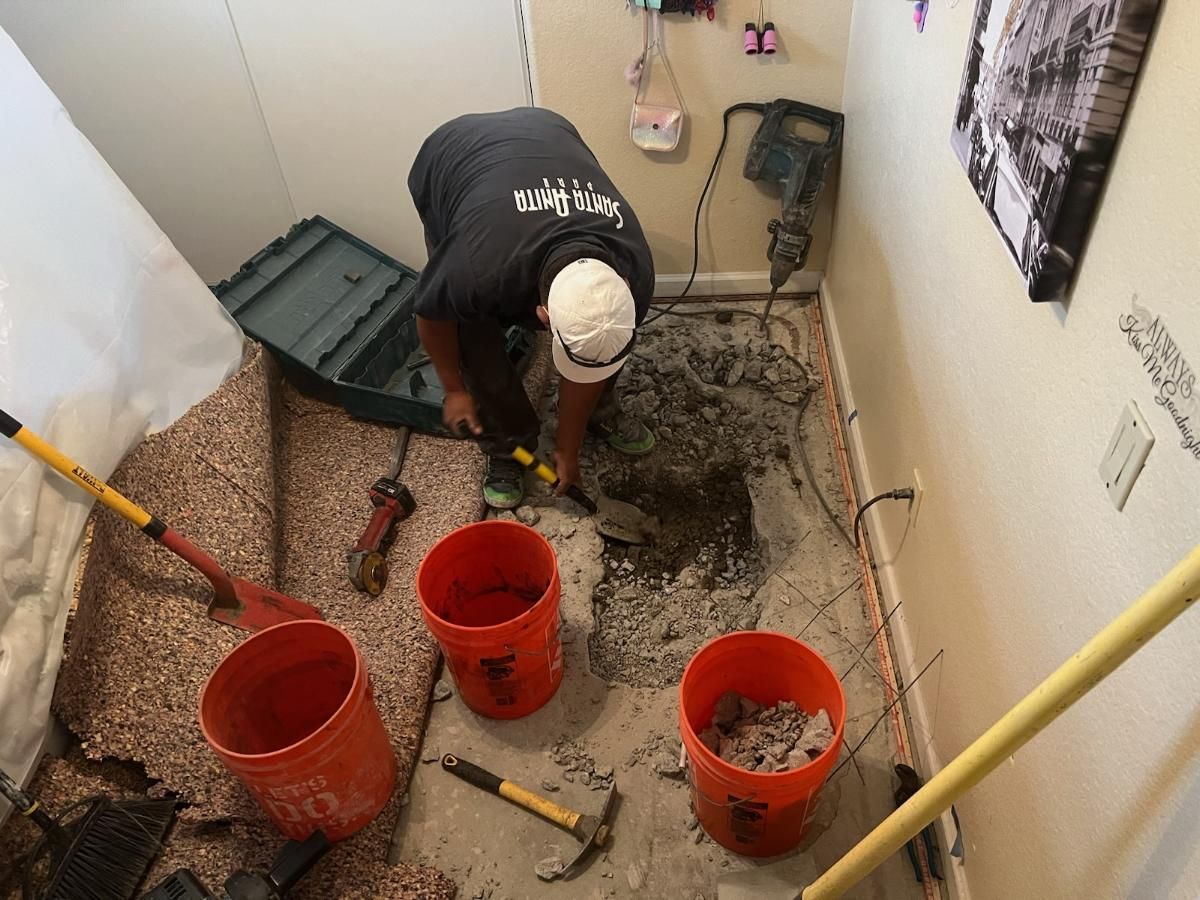
Plumber & Repair Services
For All Your Plumbing Needs, We Have You Covered!
Our skilled plumbers at Showtime Plumbing LLC strive to provide top-notch repair services, ensuring your plumbing system performs at its best. No matter the complexity of your plumbing needs, we have the expertise and resources to service them effectively. We’re committed to delivering expert solutions with quick turnaround times, ensuring your space remains functional and safe.
What We Offer
Exceeding Your Expectations
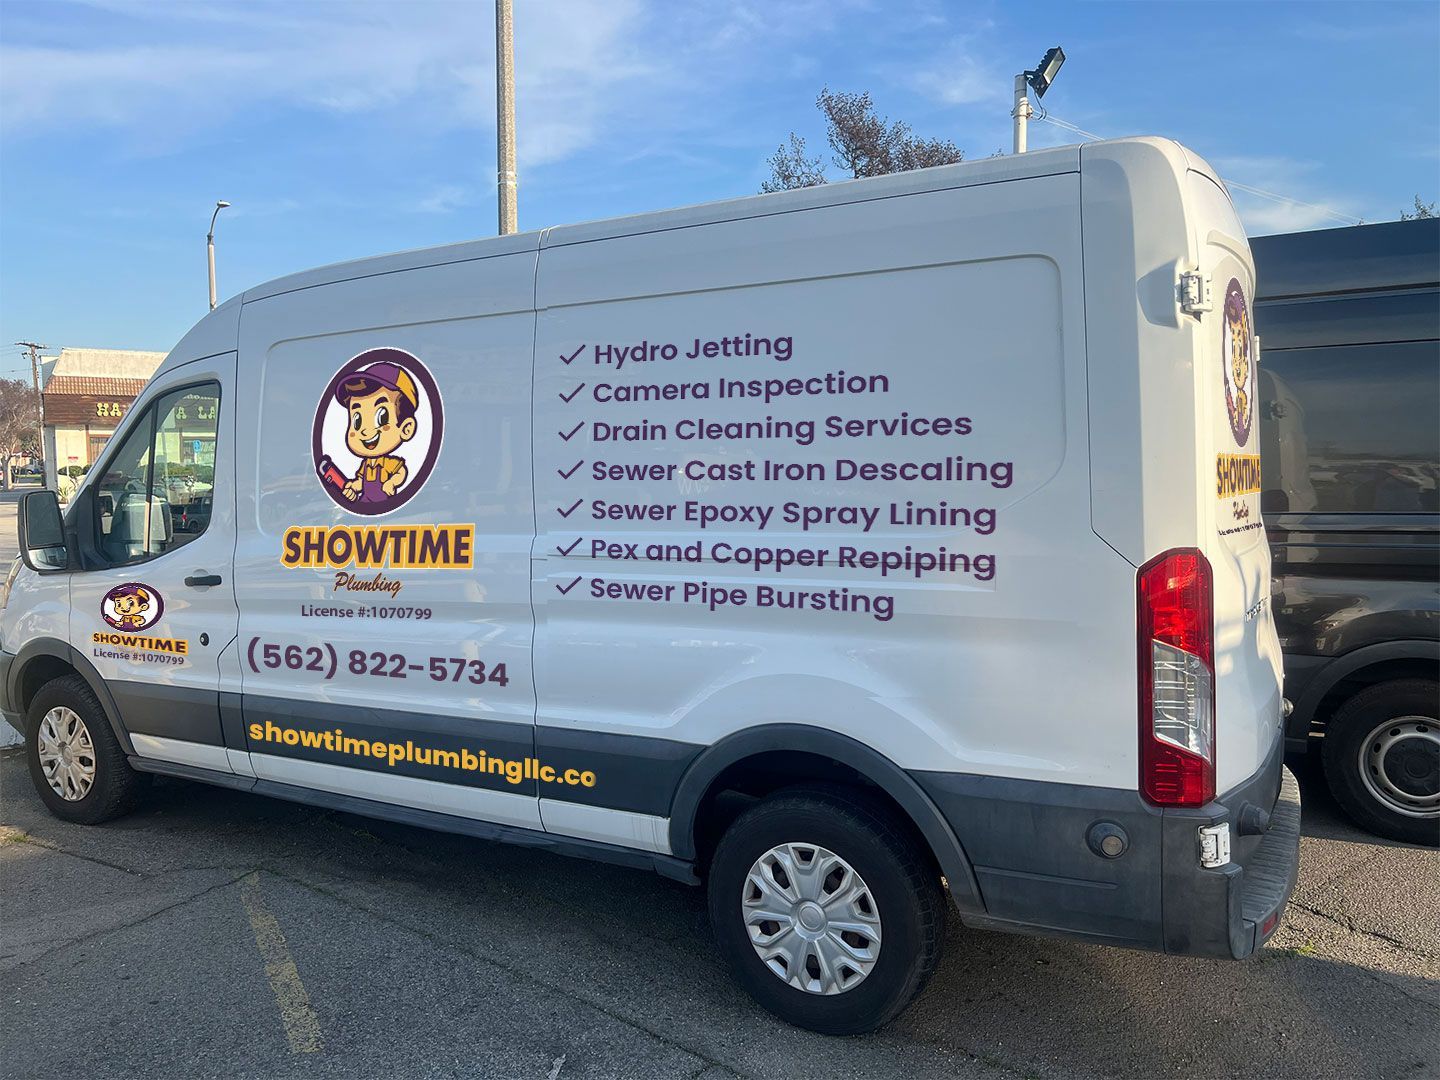
At Showtime Plumbing LLC, we offer a comprehensive range of specialized plumbing services tailored to residential and commercial needs. Our experts handle everything from drain and sewer management to water heater services and garbage disposal. Coupled with state-of-the-art tools, our team ensures each task is executed precisely, per safety standards, and without disrupting your daily routines.

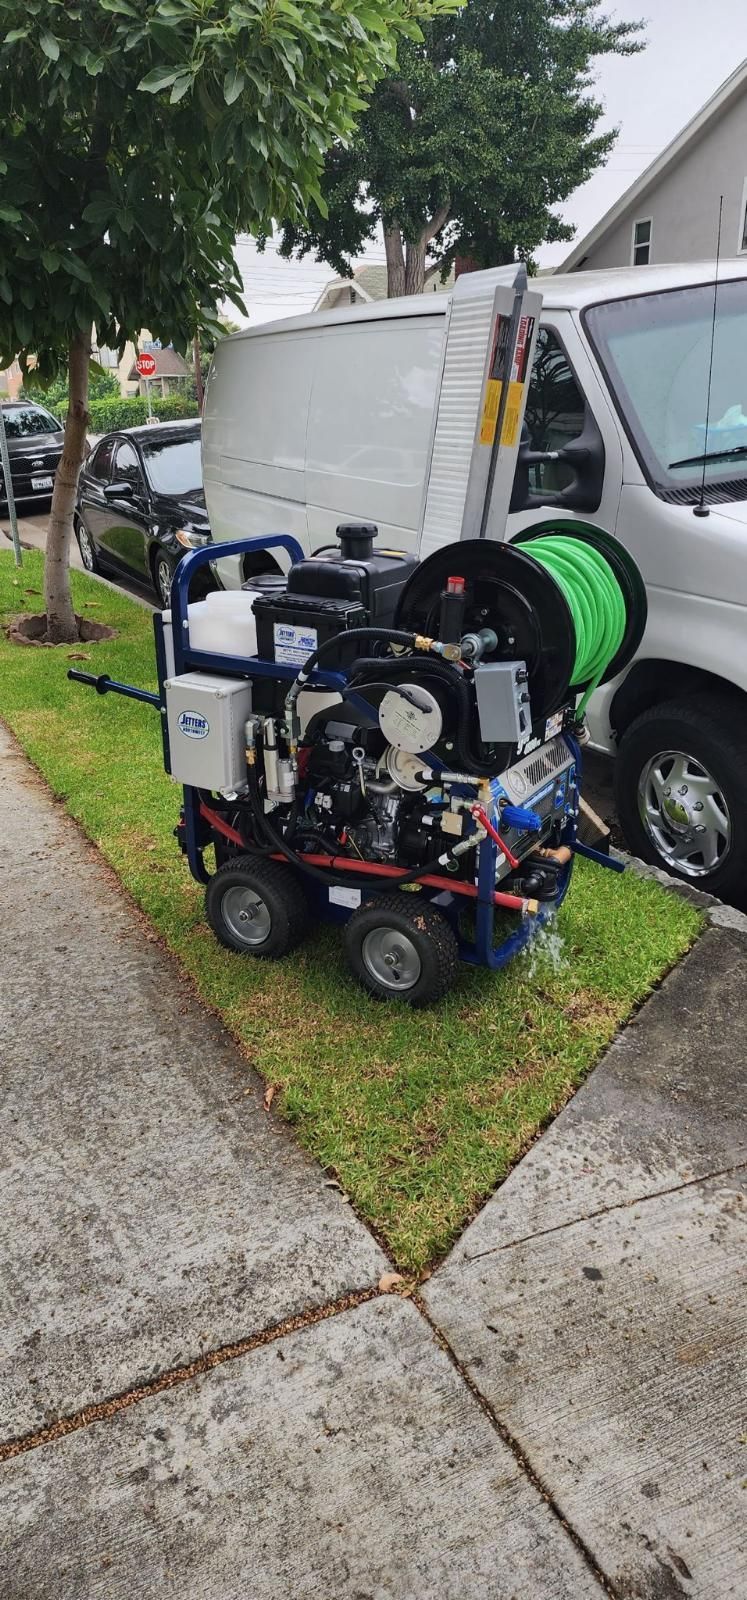
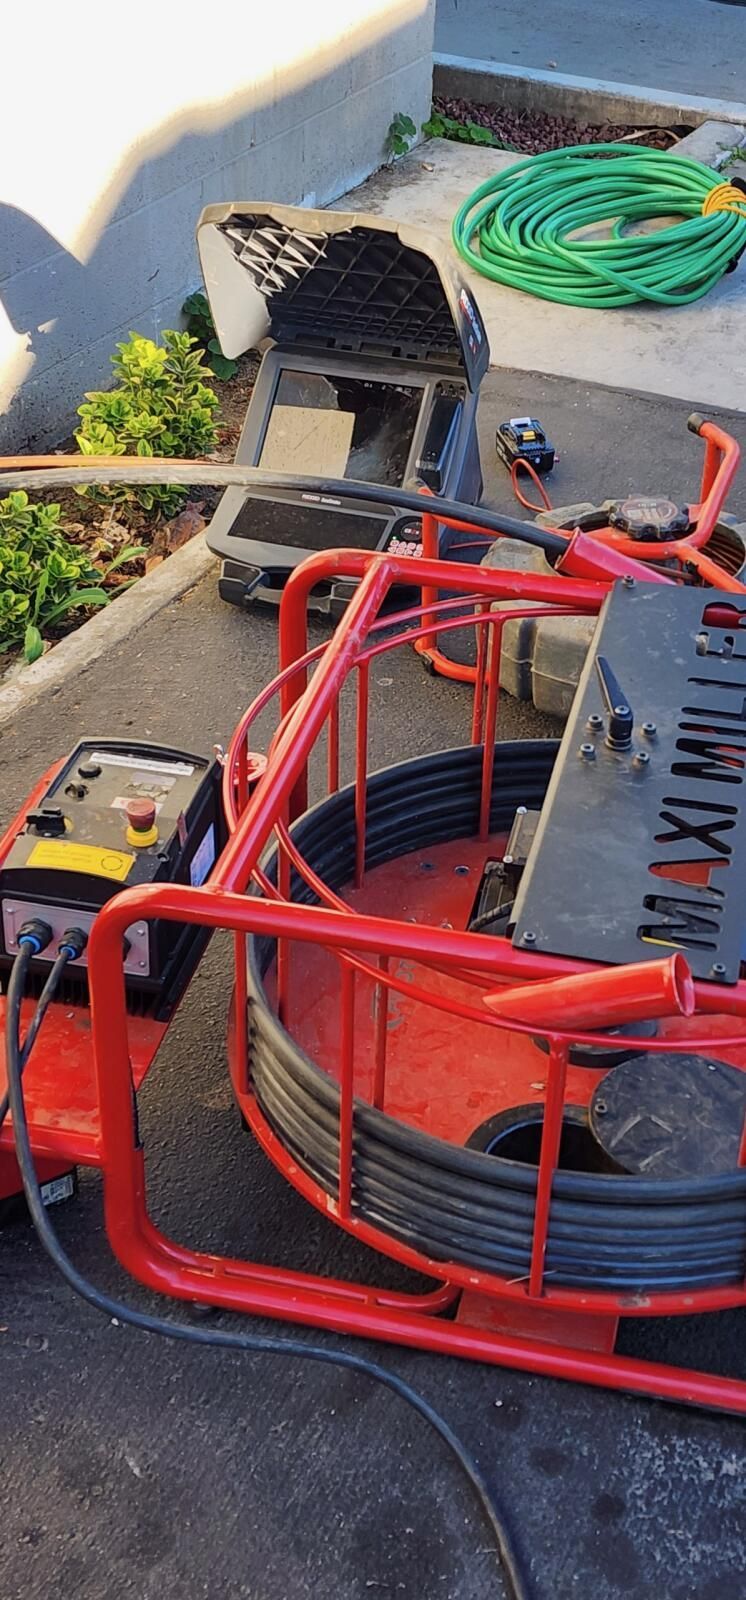
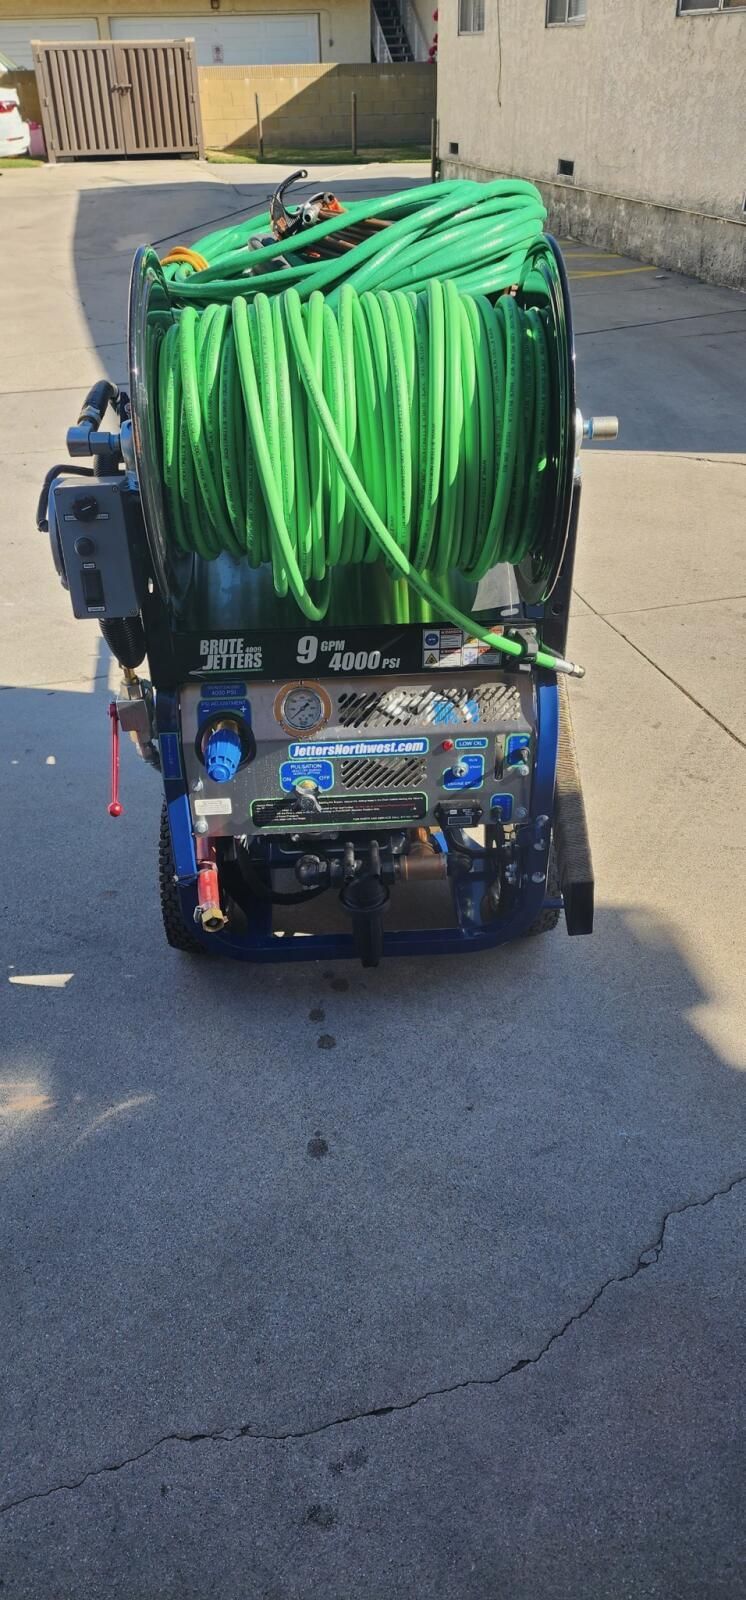
Sewer Hydro-Jetting Services
Our hydro-jetting services effectively remove stubborn blockages and ensure your sewer lines are free of obstructions.
Sewer Cast Iron Descaling
Counteract years of build-up in old pipes with our cast iron descaling service, restoring your sewer system’s efficiency without requiring invasive procedures.
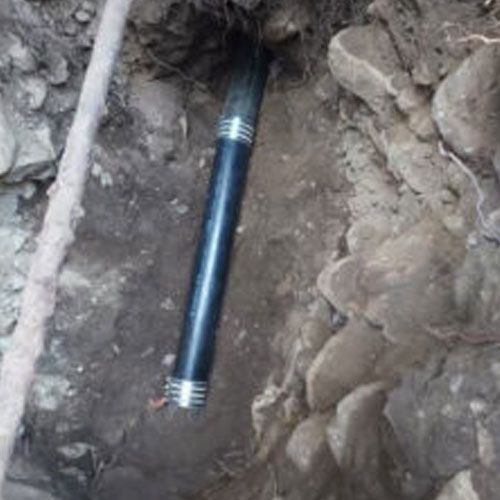
Sewer Pipe Bursting
Our sewer pipe bursting services offer a trenchless solution to replace damaged pipes, minimizing the impact on your property and the surrounding area.
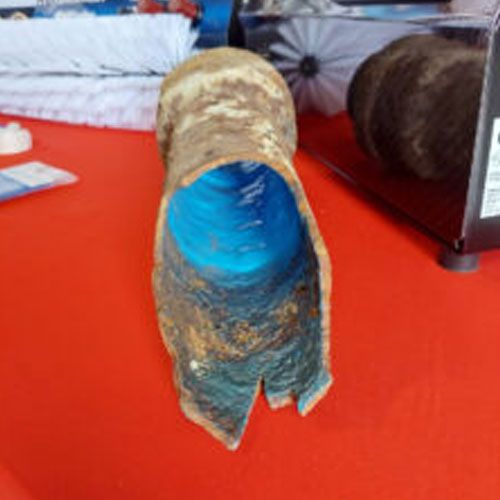
Cast Iron Sewer Epoxy Spray Lining
Our advanced epoxy spray lining technique reinforces cast iron sewers, adding durability and extending the life of your existing pipes without a complete overhaul.
Drain Cleaning Services
With our meticulous drain cleaning services, we prevent backups and extend the longevity of your systems, assuring your drains stay free-flowing.

Sewer Lining Services
Our no-dig sewer lining technology creates a seamless and robust inner lining within your existing pipes, reducing the risk of leaks and breaks.

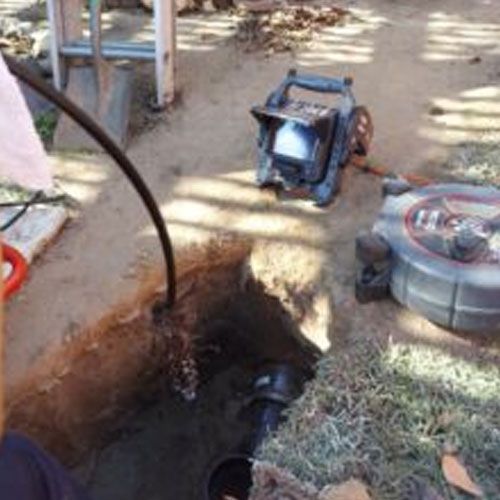
Sewer Camera Video Inspections
Utilize our video inspection services to quickly and accurately identify issues within your sewer lines, ensuring precise repairs and maintenance.

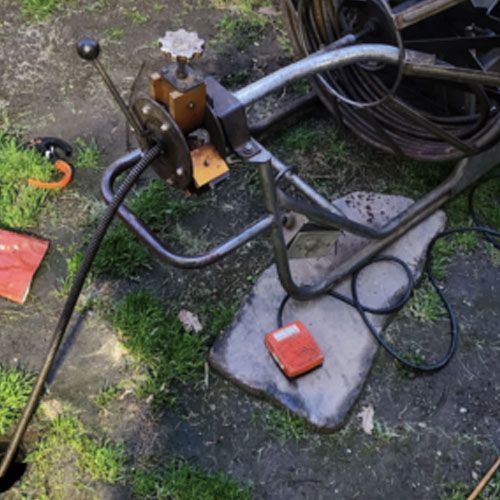
Drain & Sewer Specialist
Are you struggling with persistent drain clogs or sewer line issues? Look no further! Our dedicated team of drain and sewer specialists is here to provide you with efficient and reliable solutions.
Why Choose Us
Fixing Plumbing Problems One Call at a Time
With a single call, our team is on the frontline, ready to resolve your plumbing woes with swift precision and unmatched expertise. We understand the value of immediate, effective, long-lasting plumbing solutions tailored to your needs. Our promise is a hassle-free service experience that turns your call into a solution, leaving you with the peace of mind that your space is in the best hands.
Affordable Price
LoExperience superior plumbing service at competitive pricing, ensuring you don't have to compromise on quality for cost-effectiveness.
Expert Plumber
Our expert plumbers are the cornerstone of our service, bringing a wealth of experience and skill to solve even the most complex plumbing challenges.
Quality Improve
Commitment to quality enhancement is at the heart of our work, bringing you advanced plumbing solutions that set a new standard for excellence..
100% Certified
Rest assured, our plumbers are 100% certified, upholding industry standards to provide services that are as reliable as they are compliant.
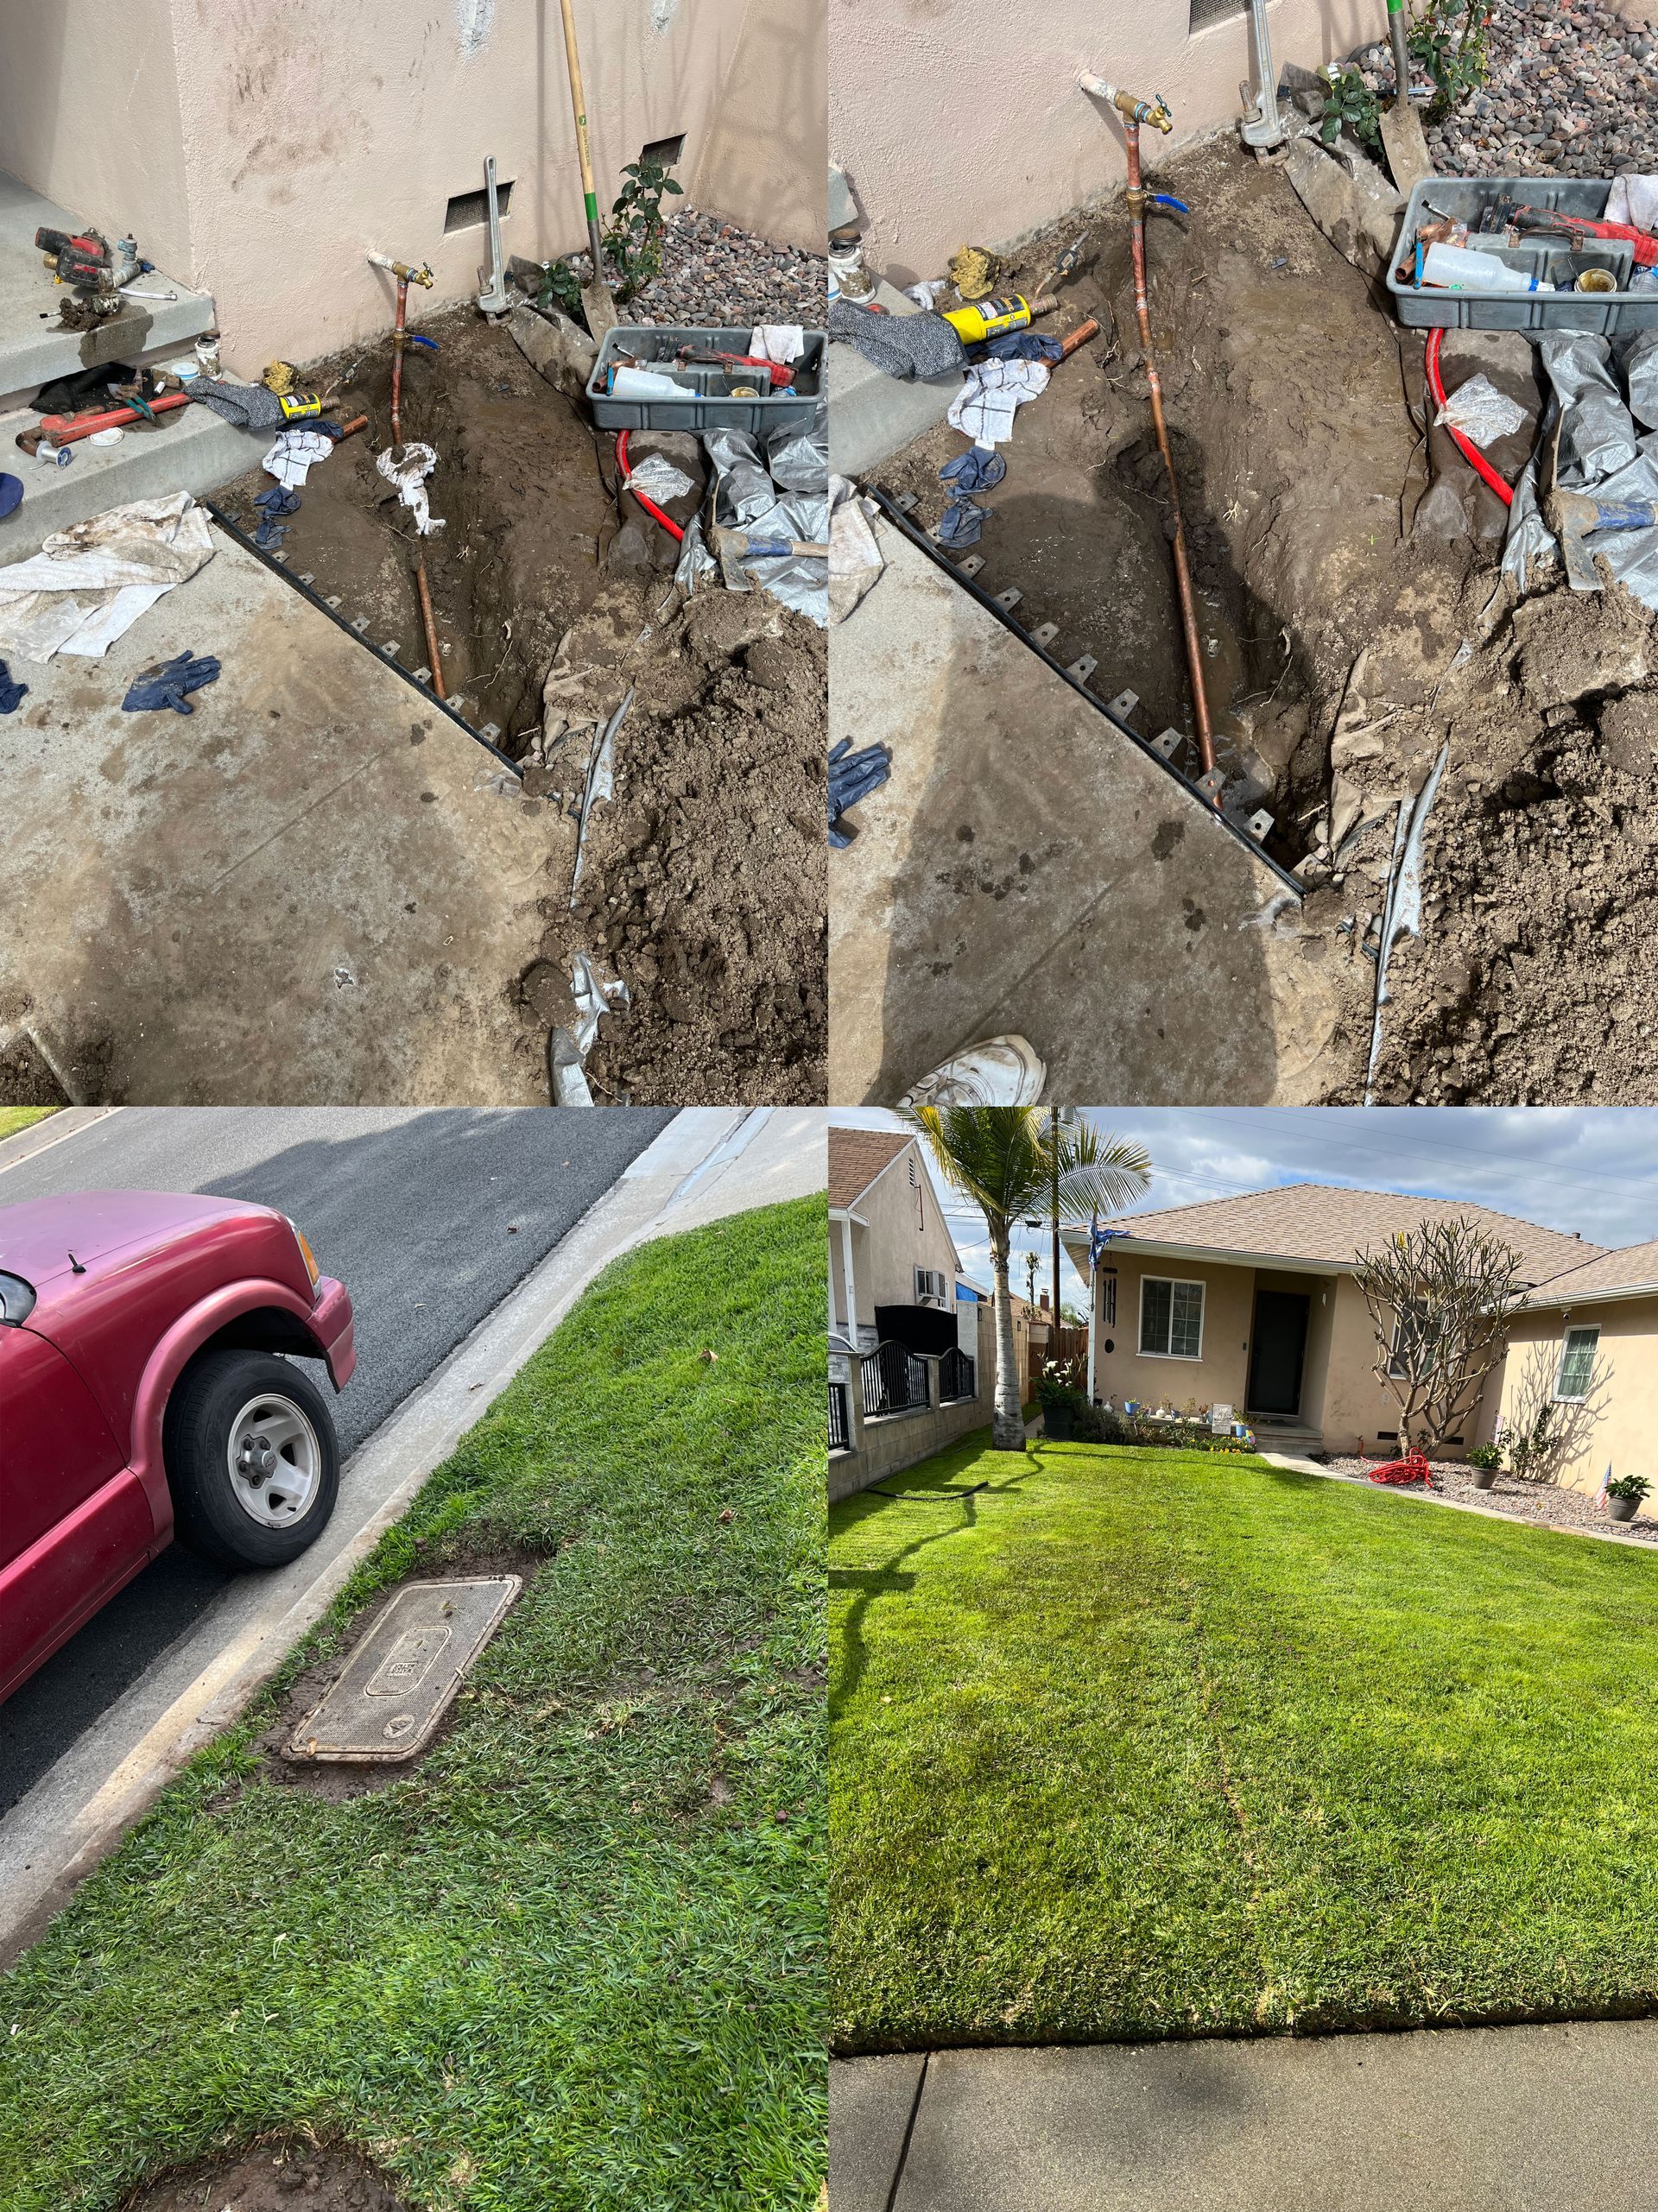
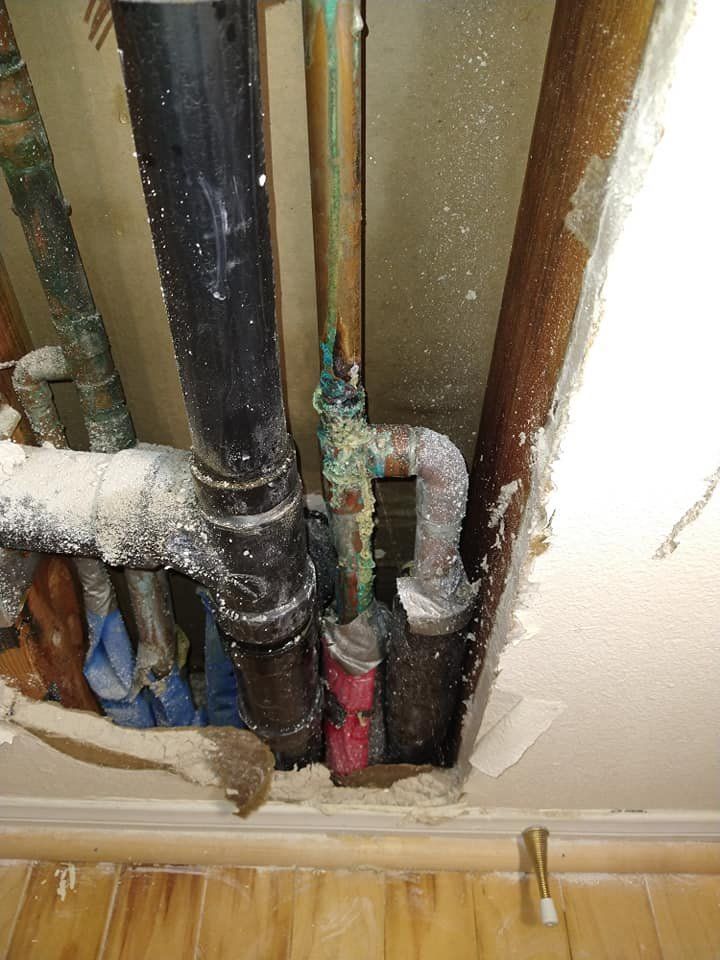
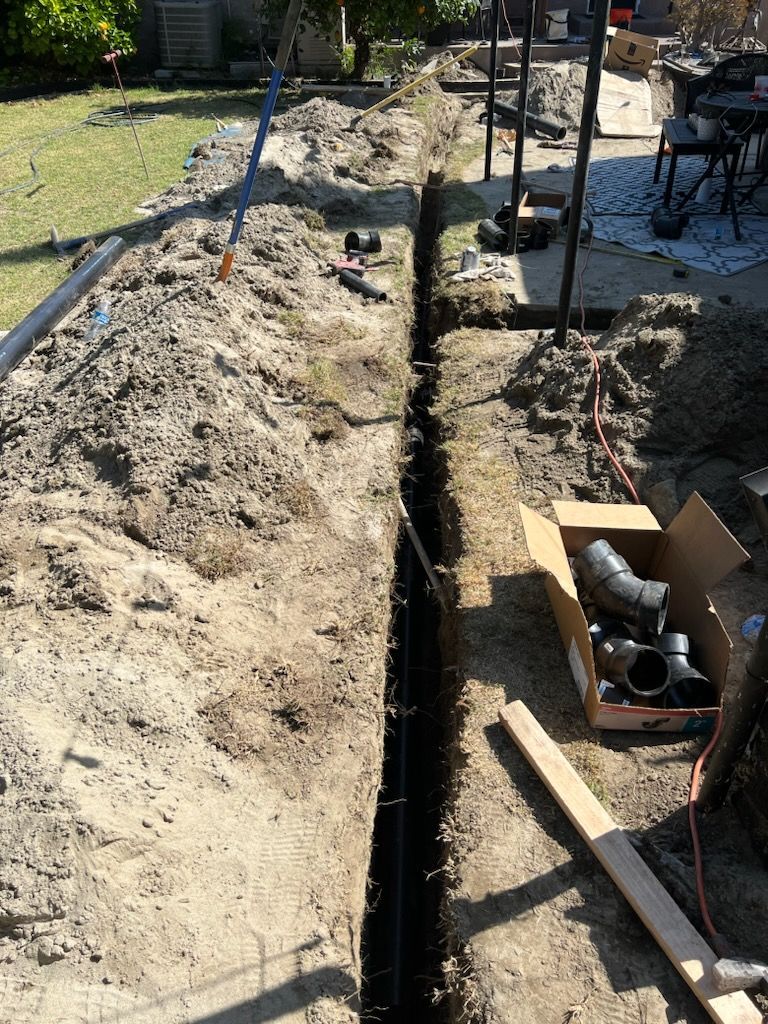
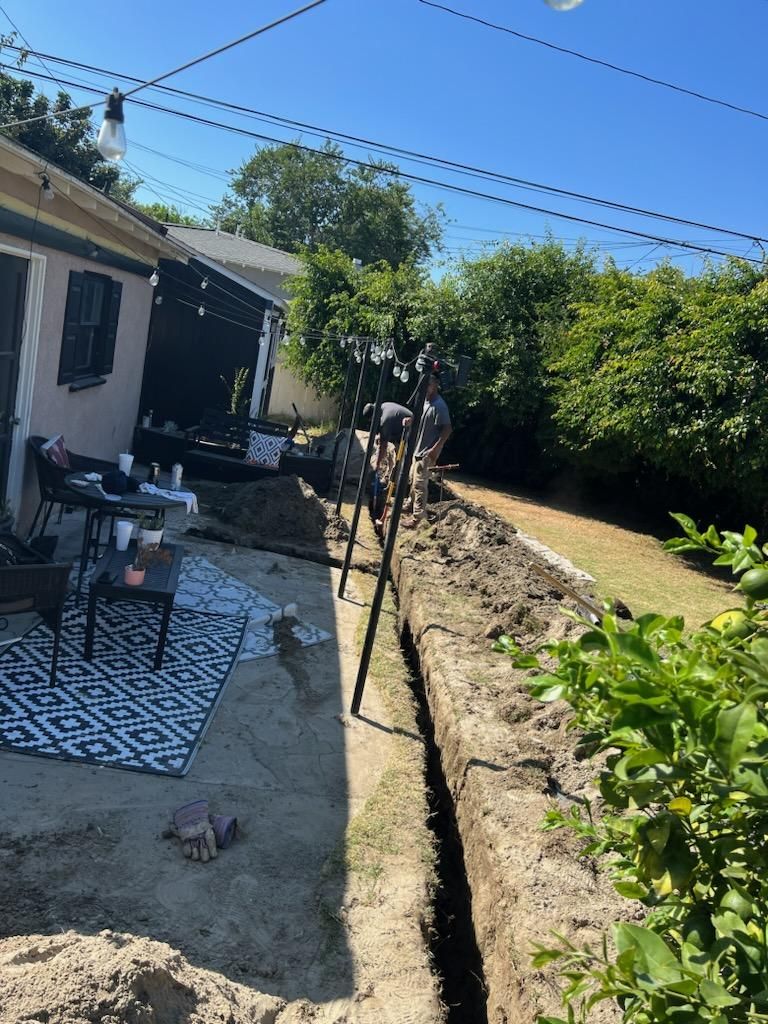
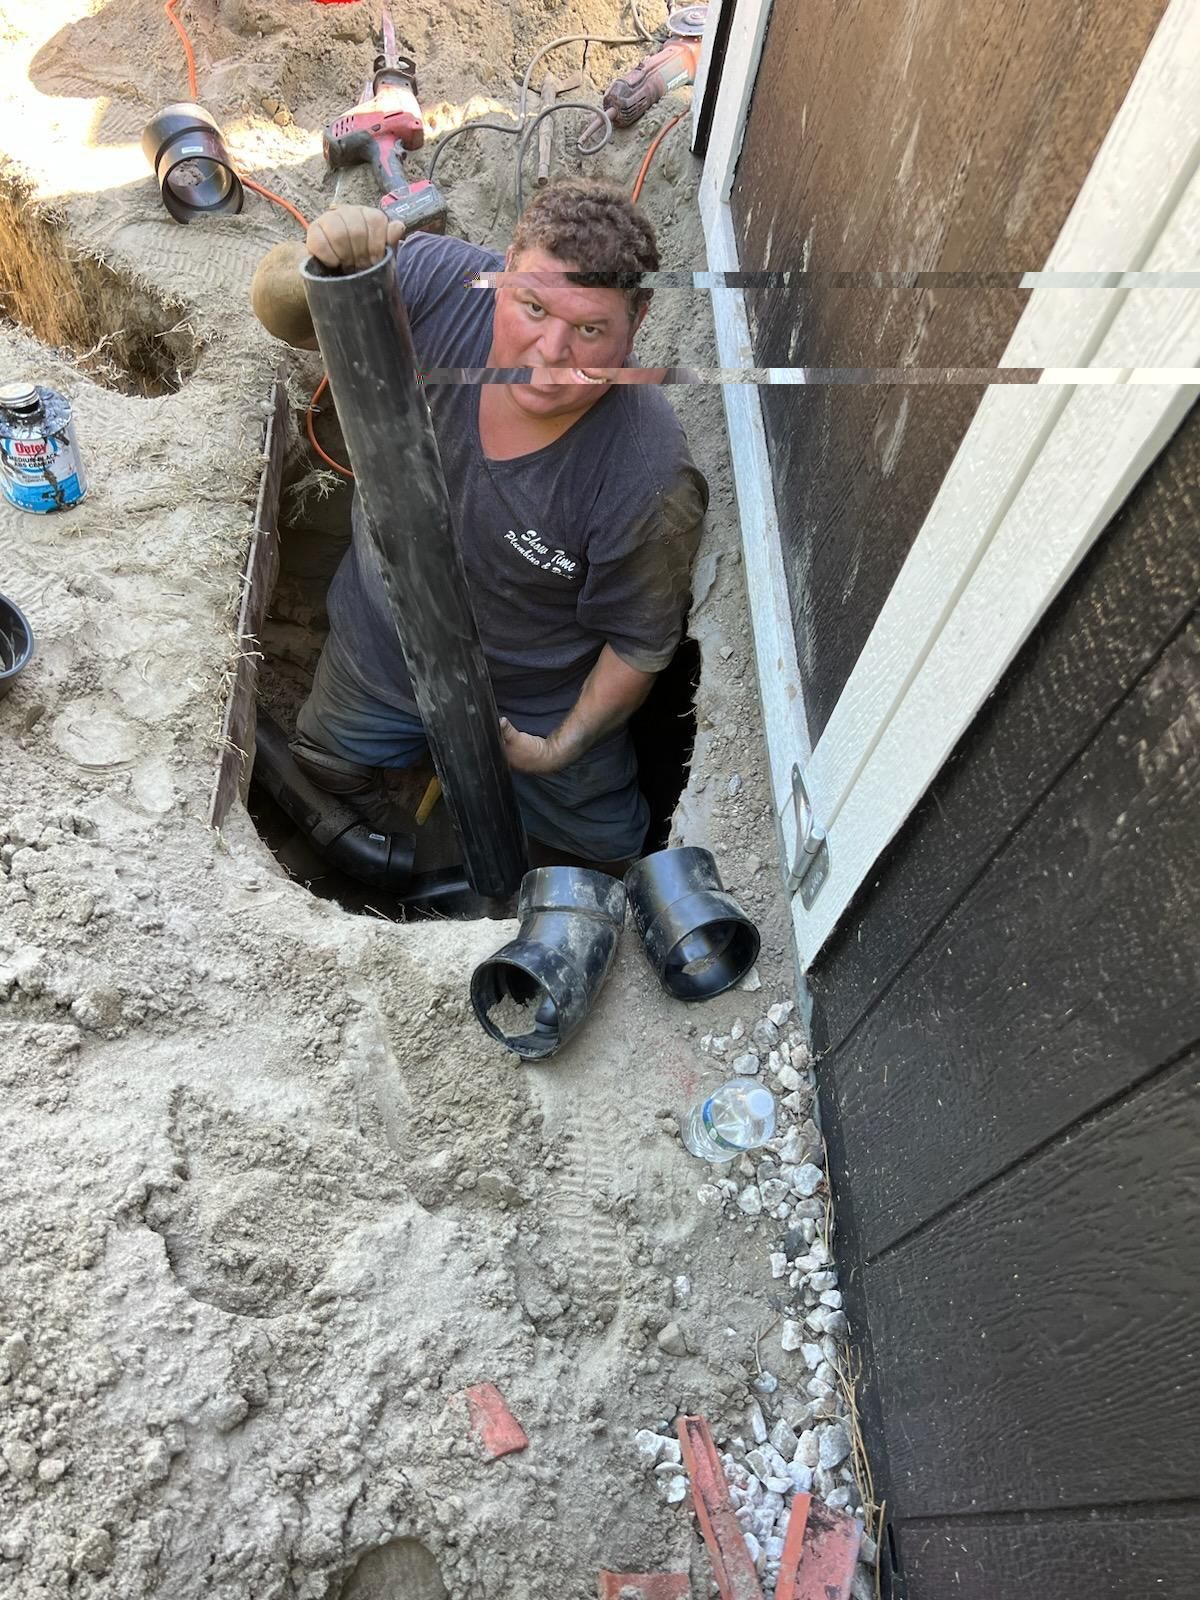
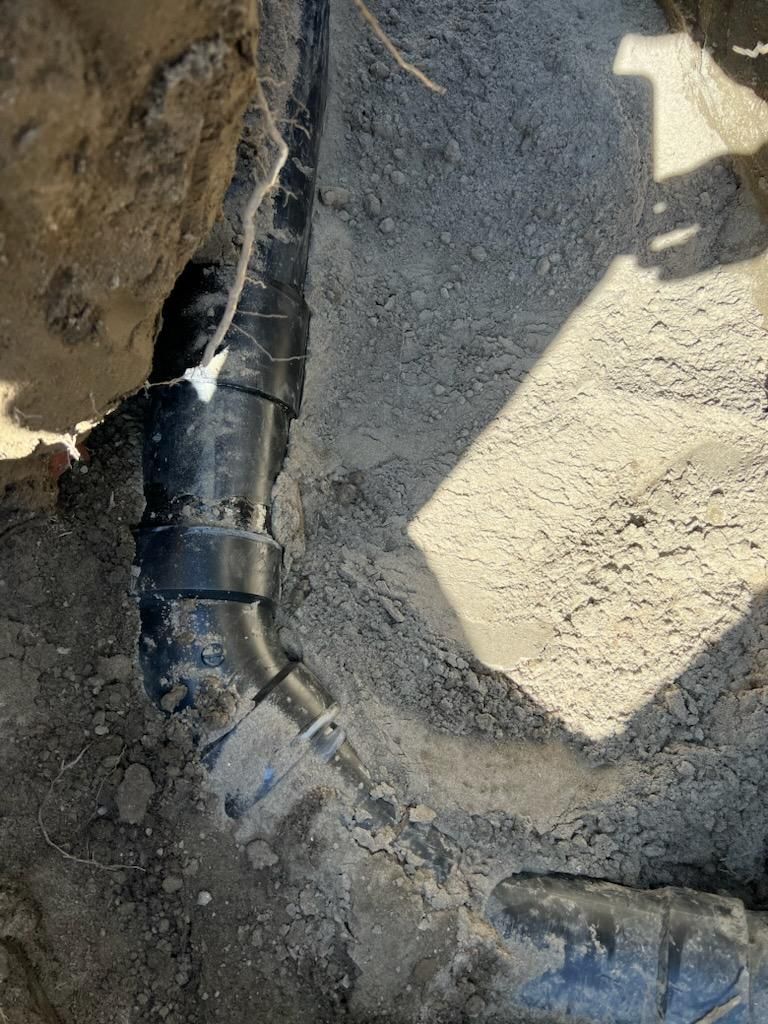
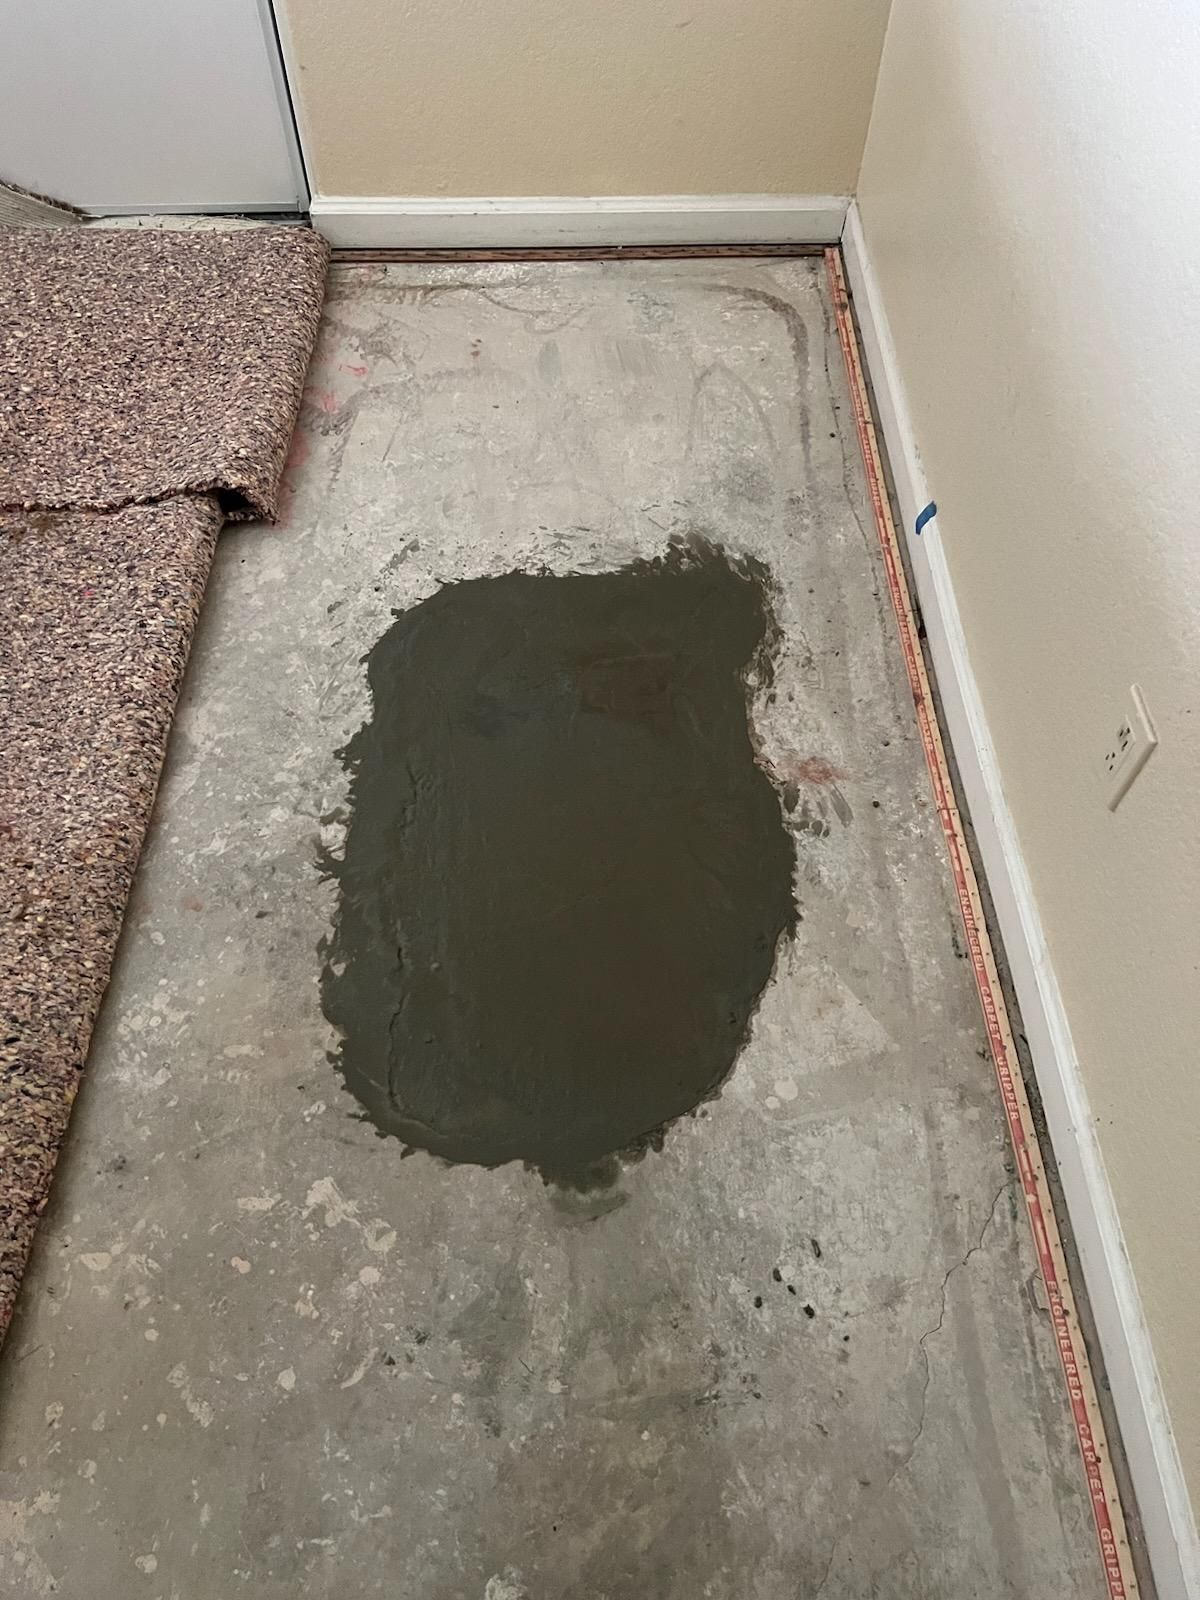
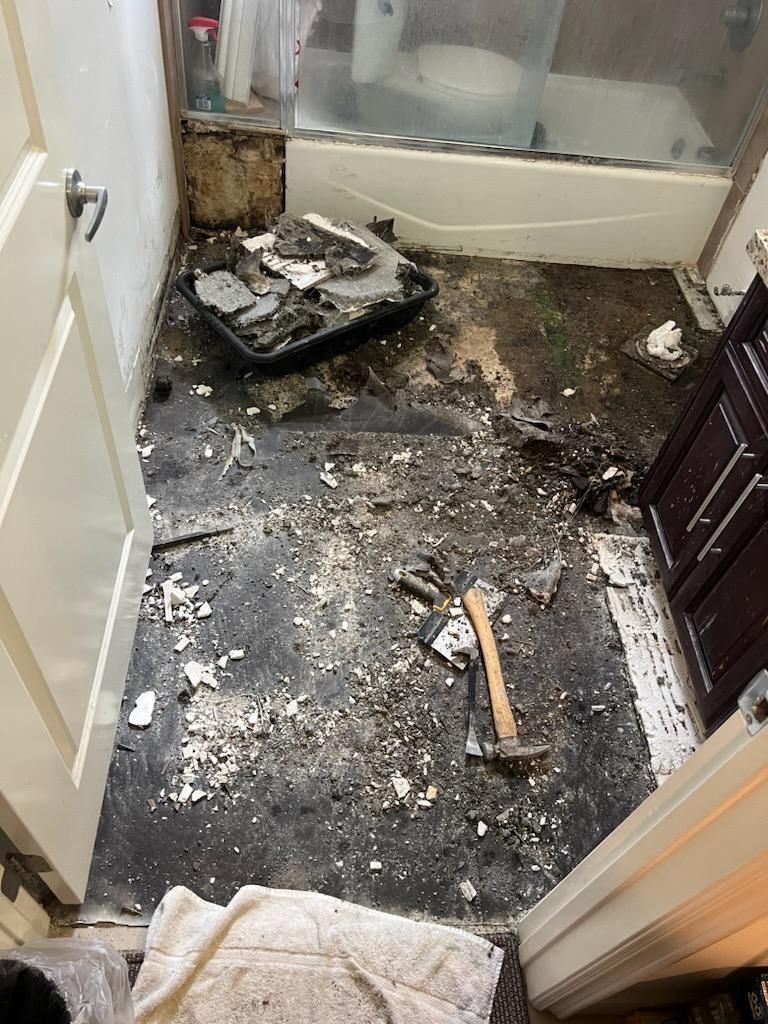
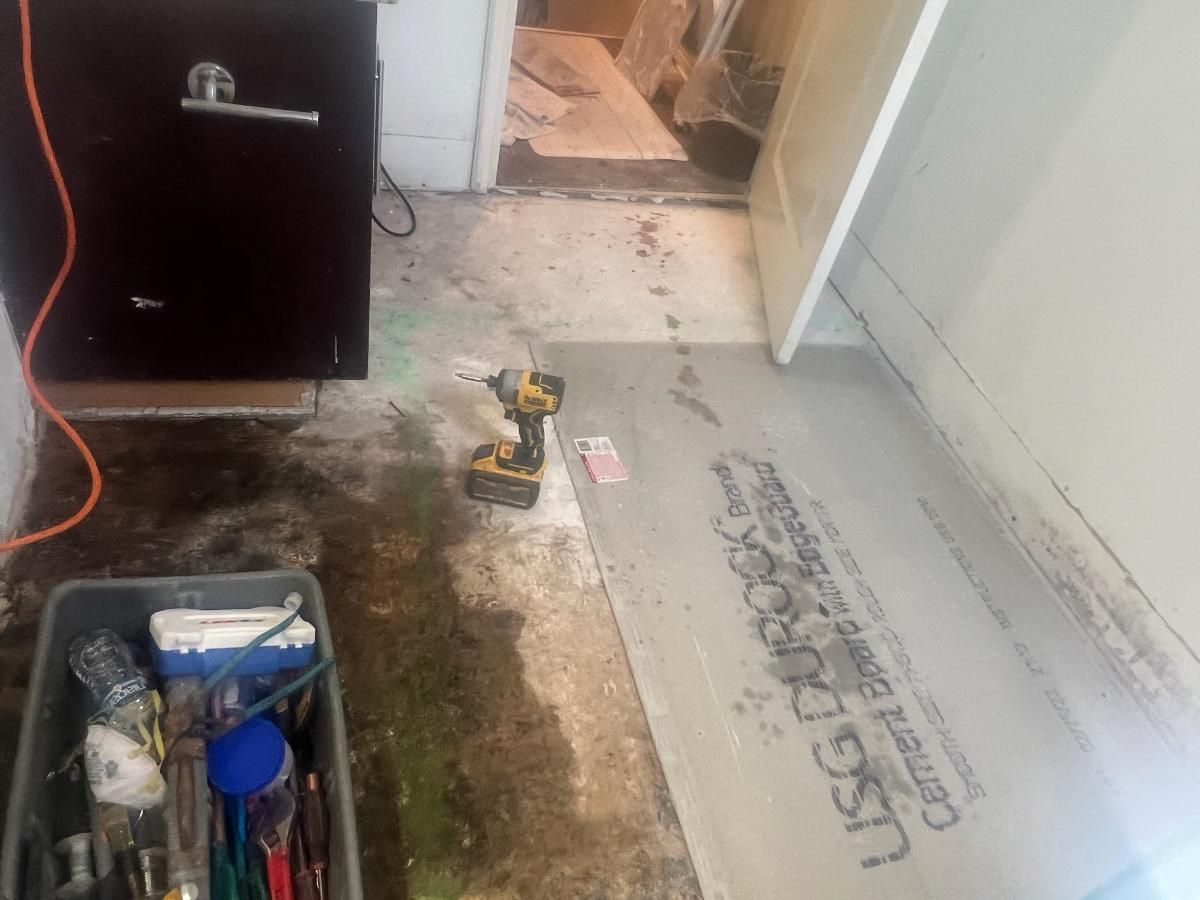
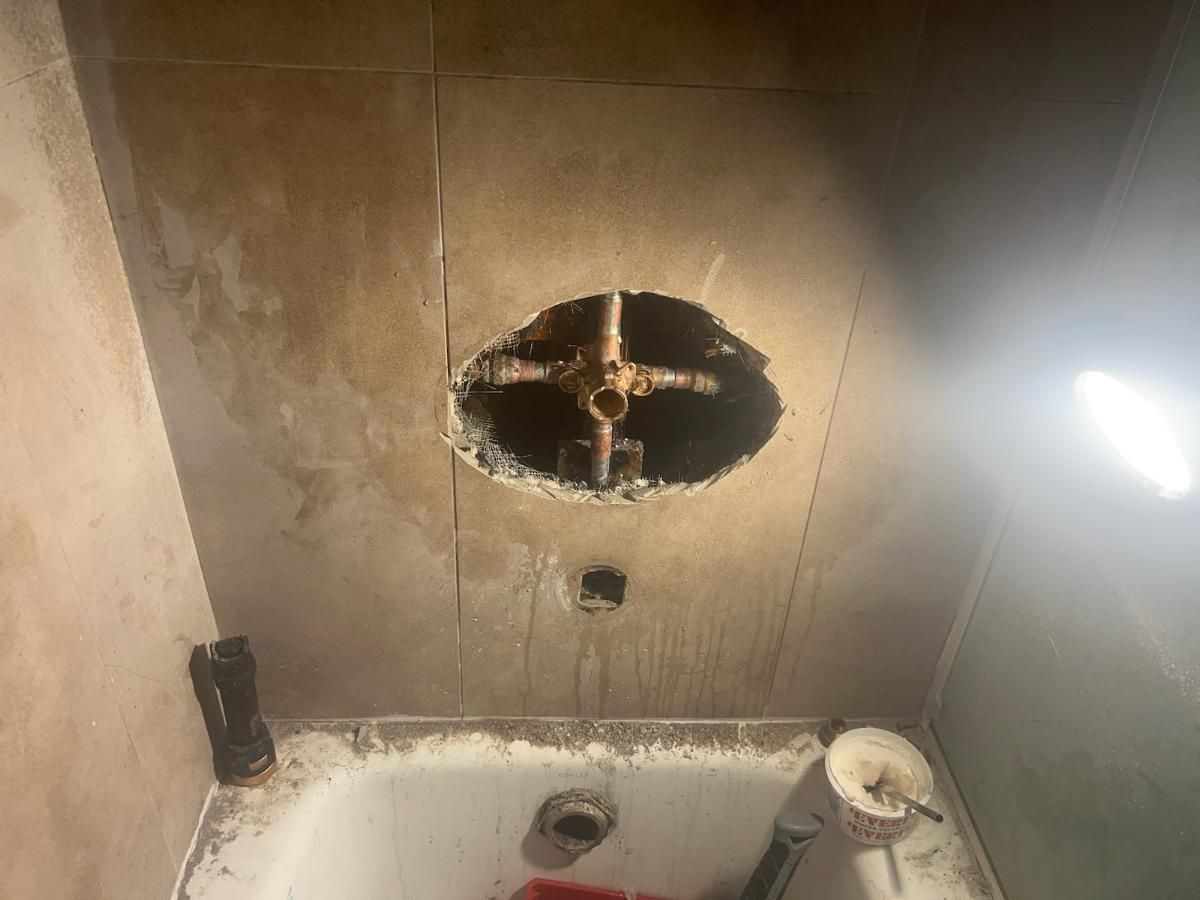
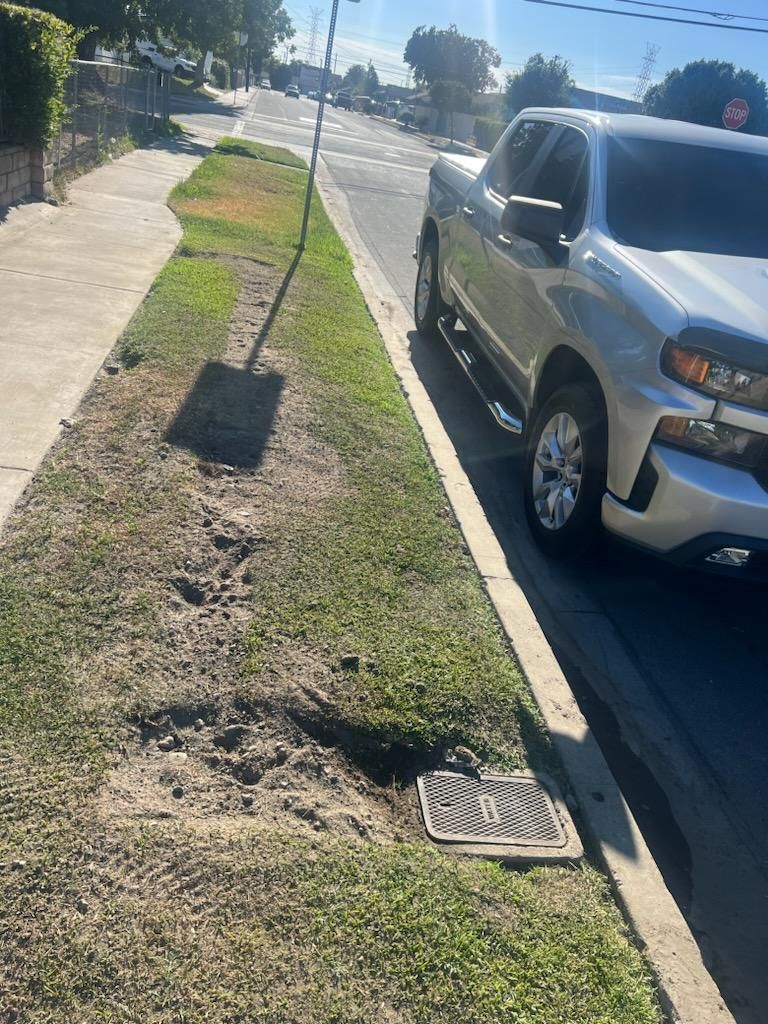
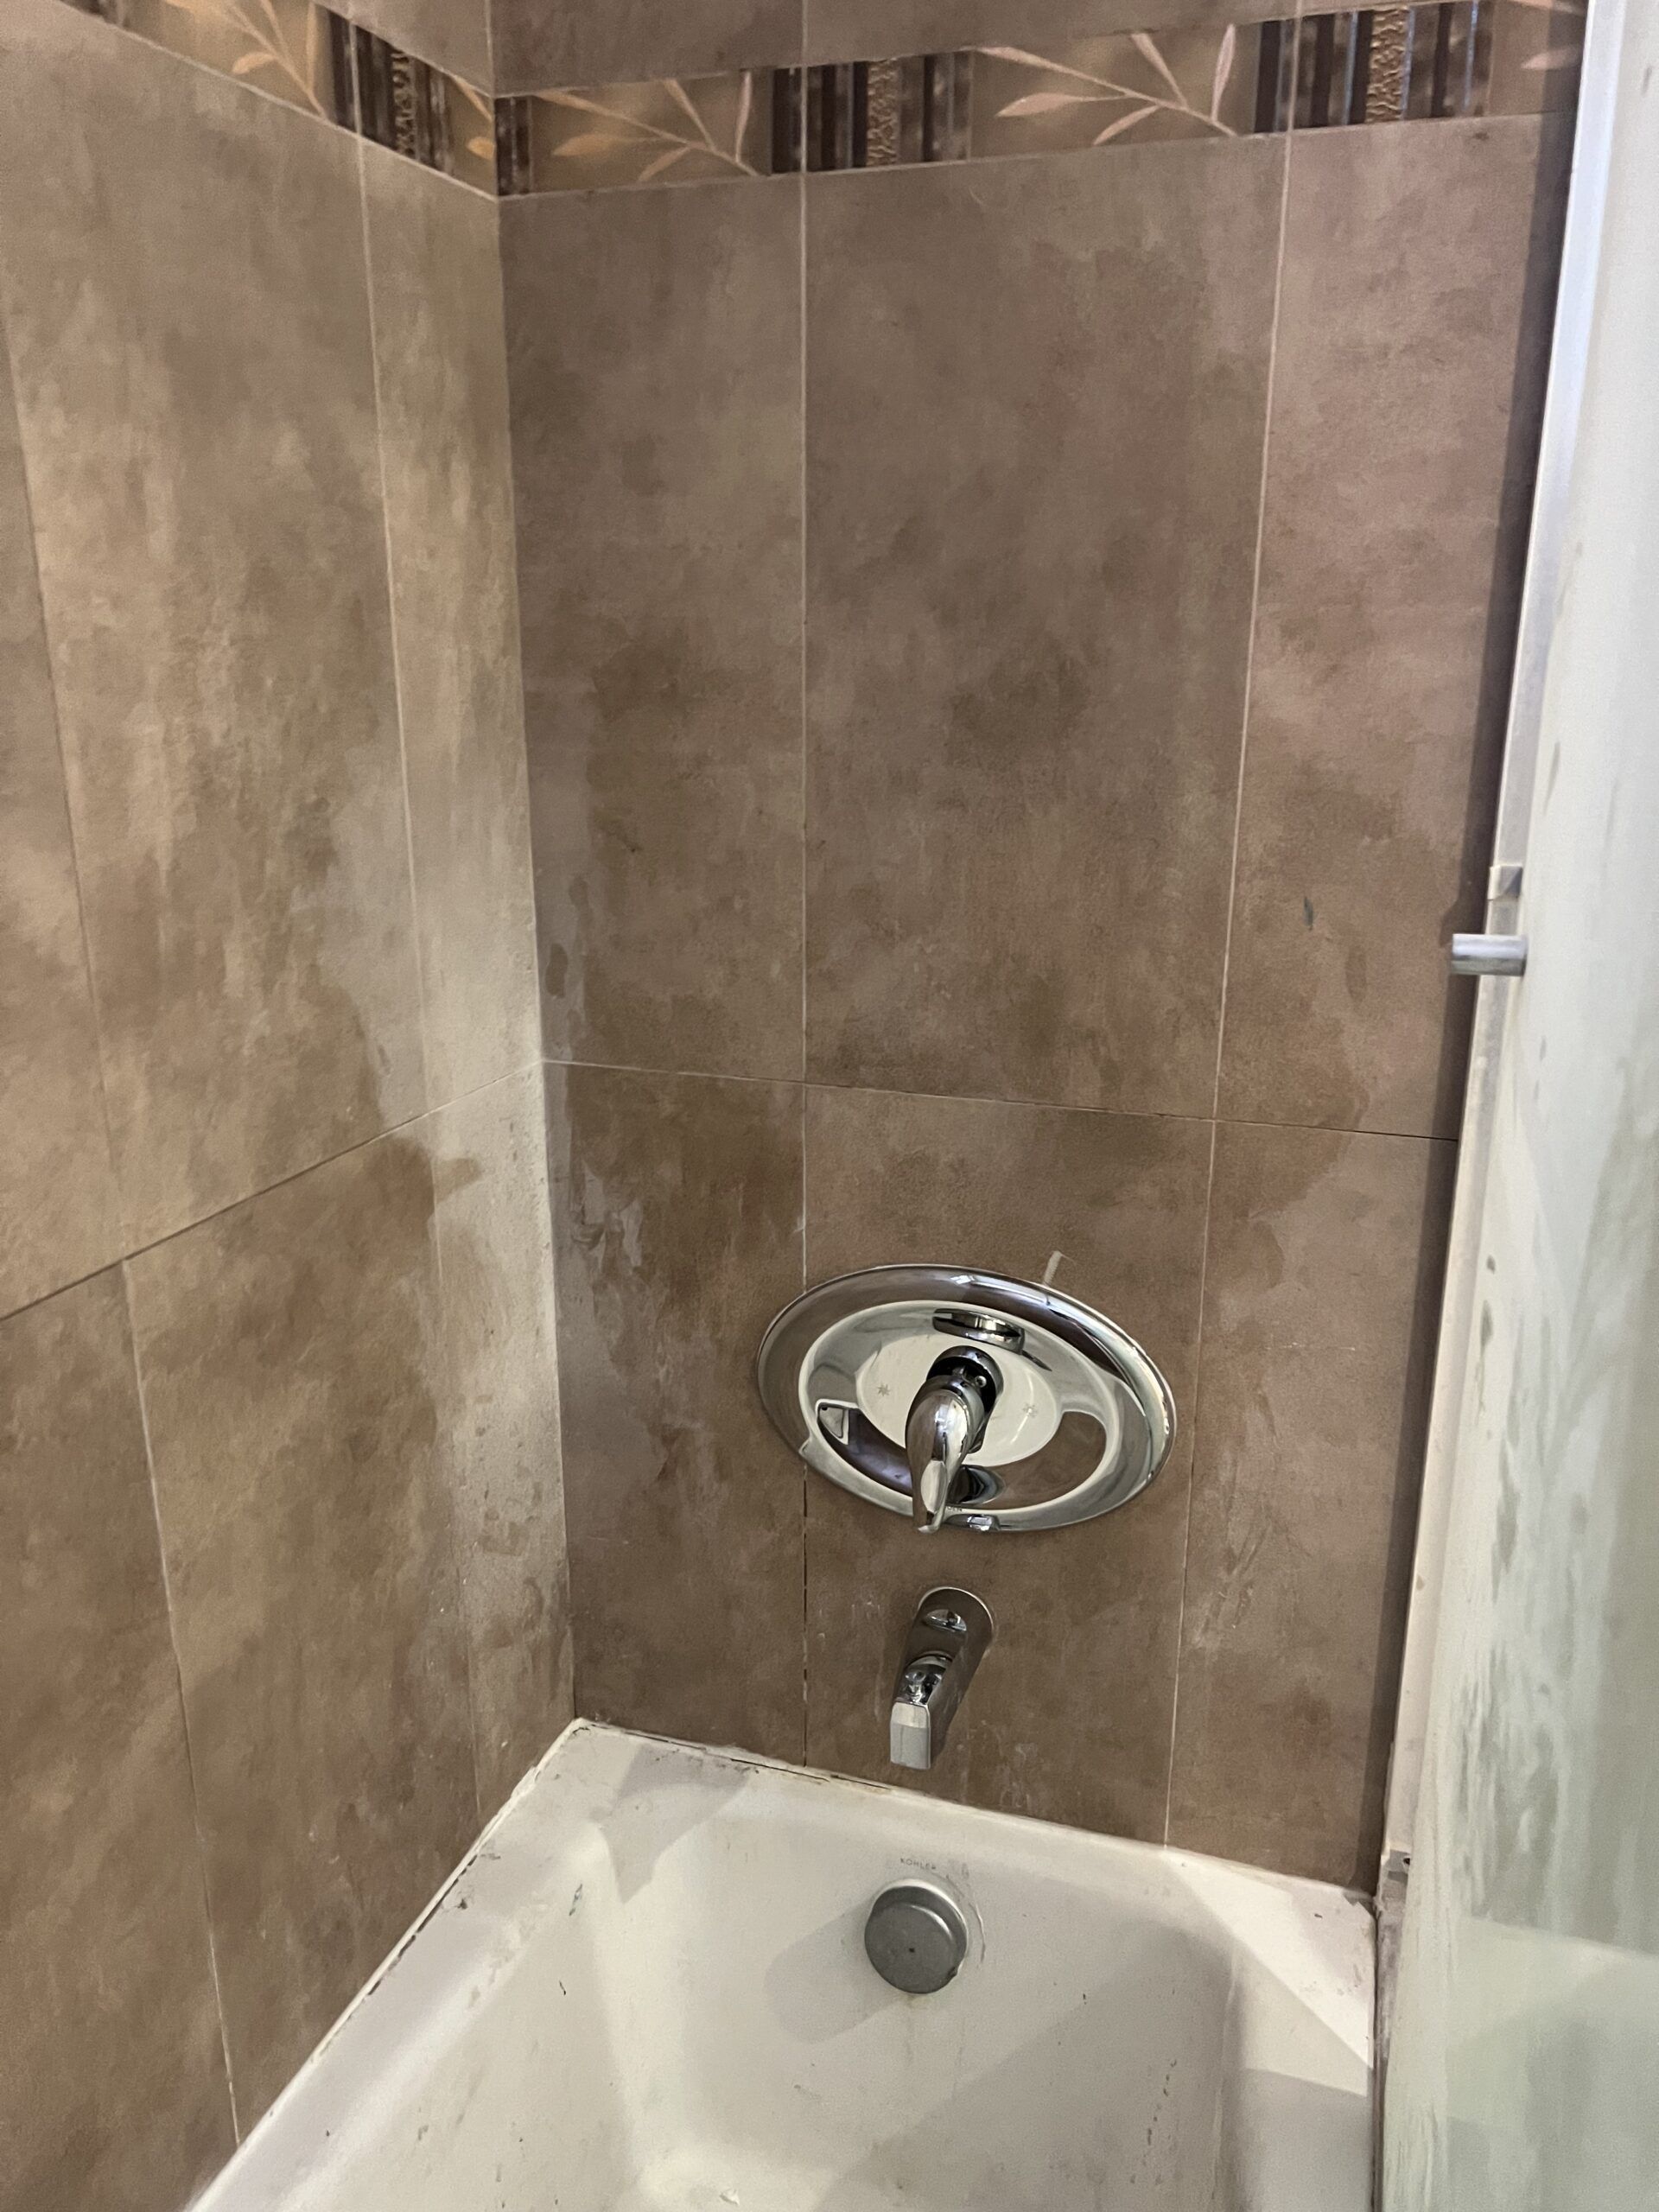
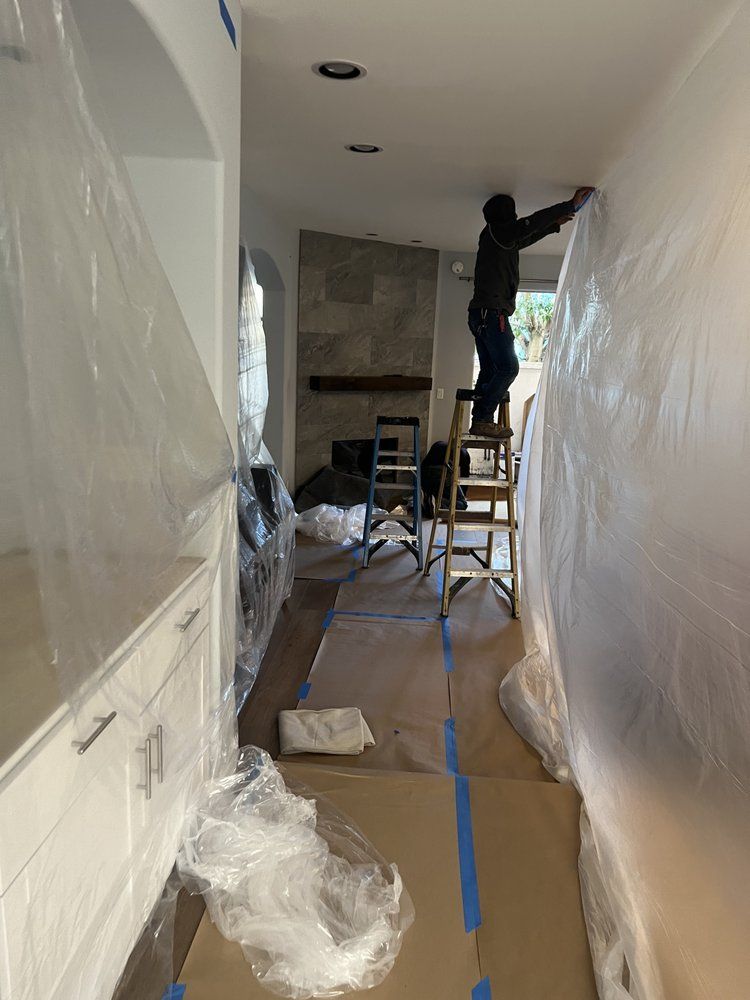
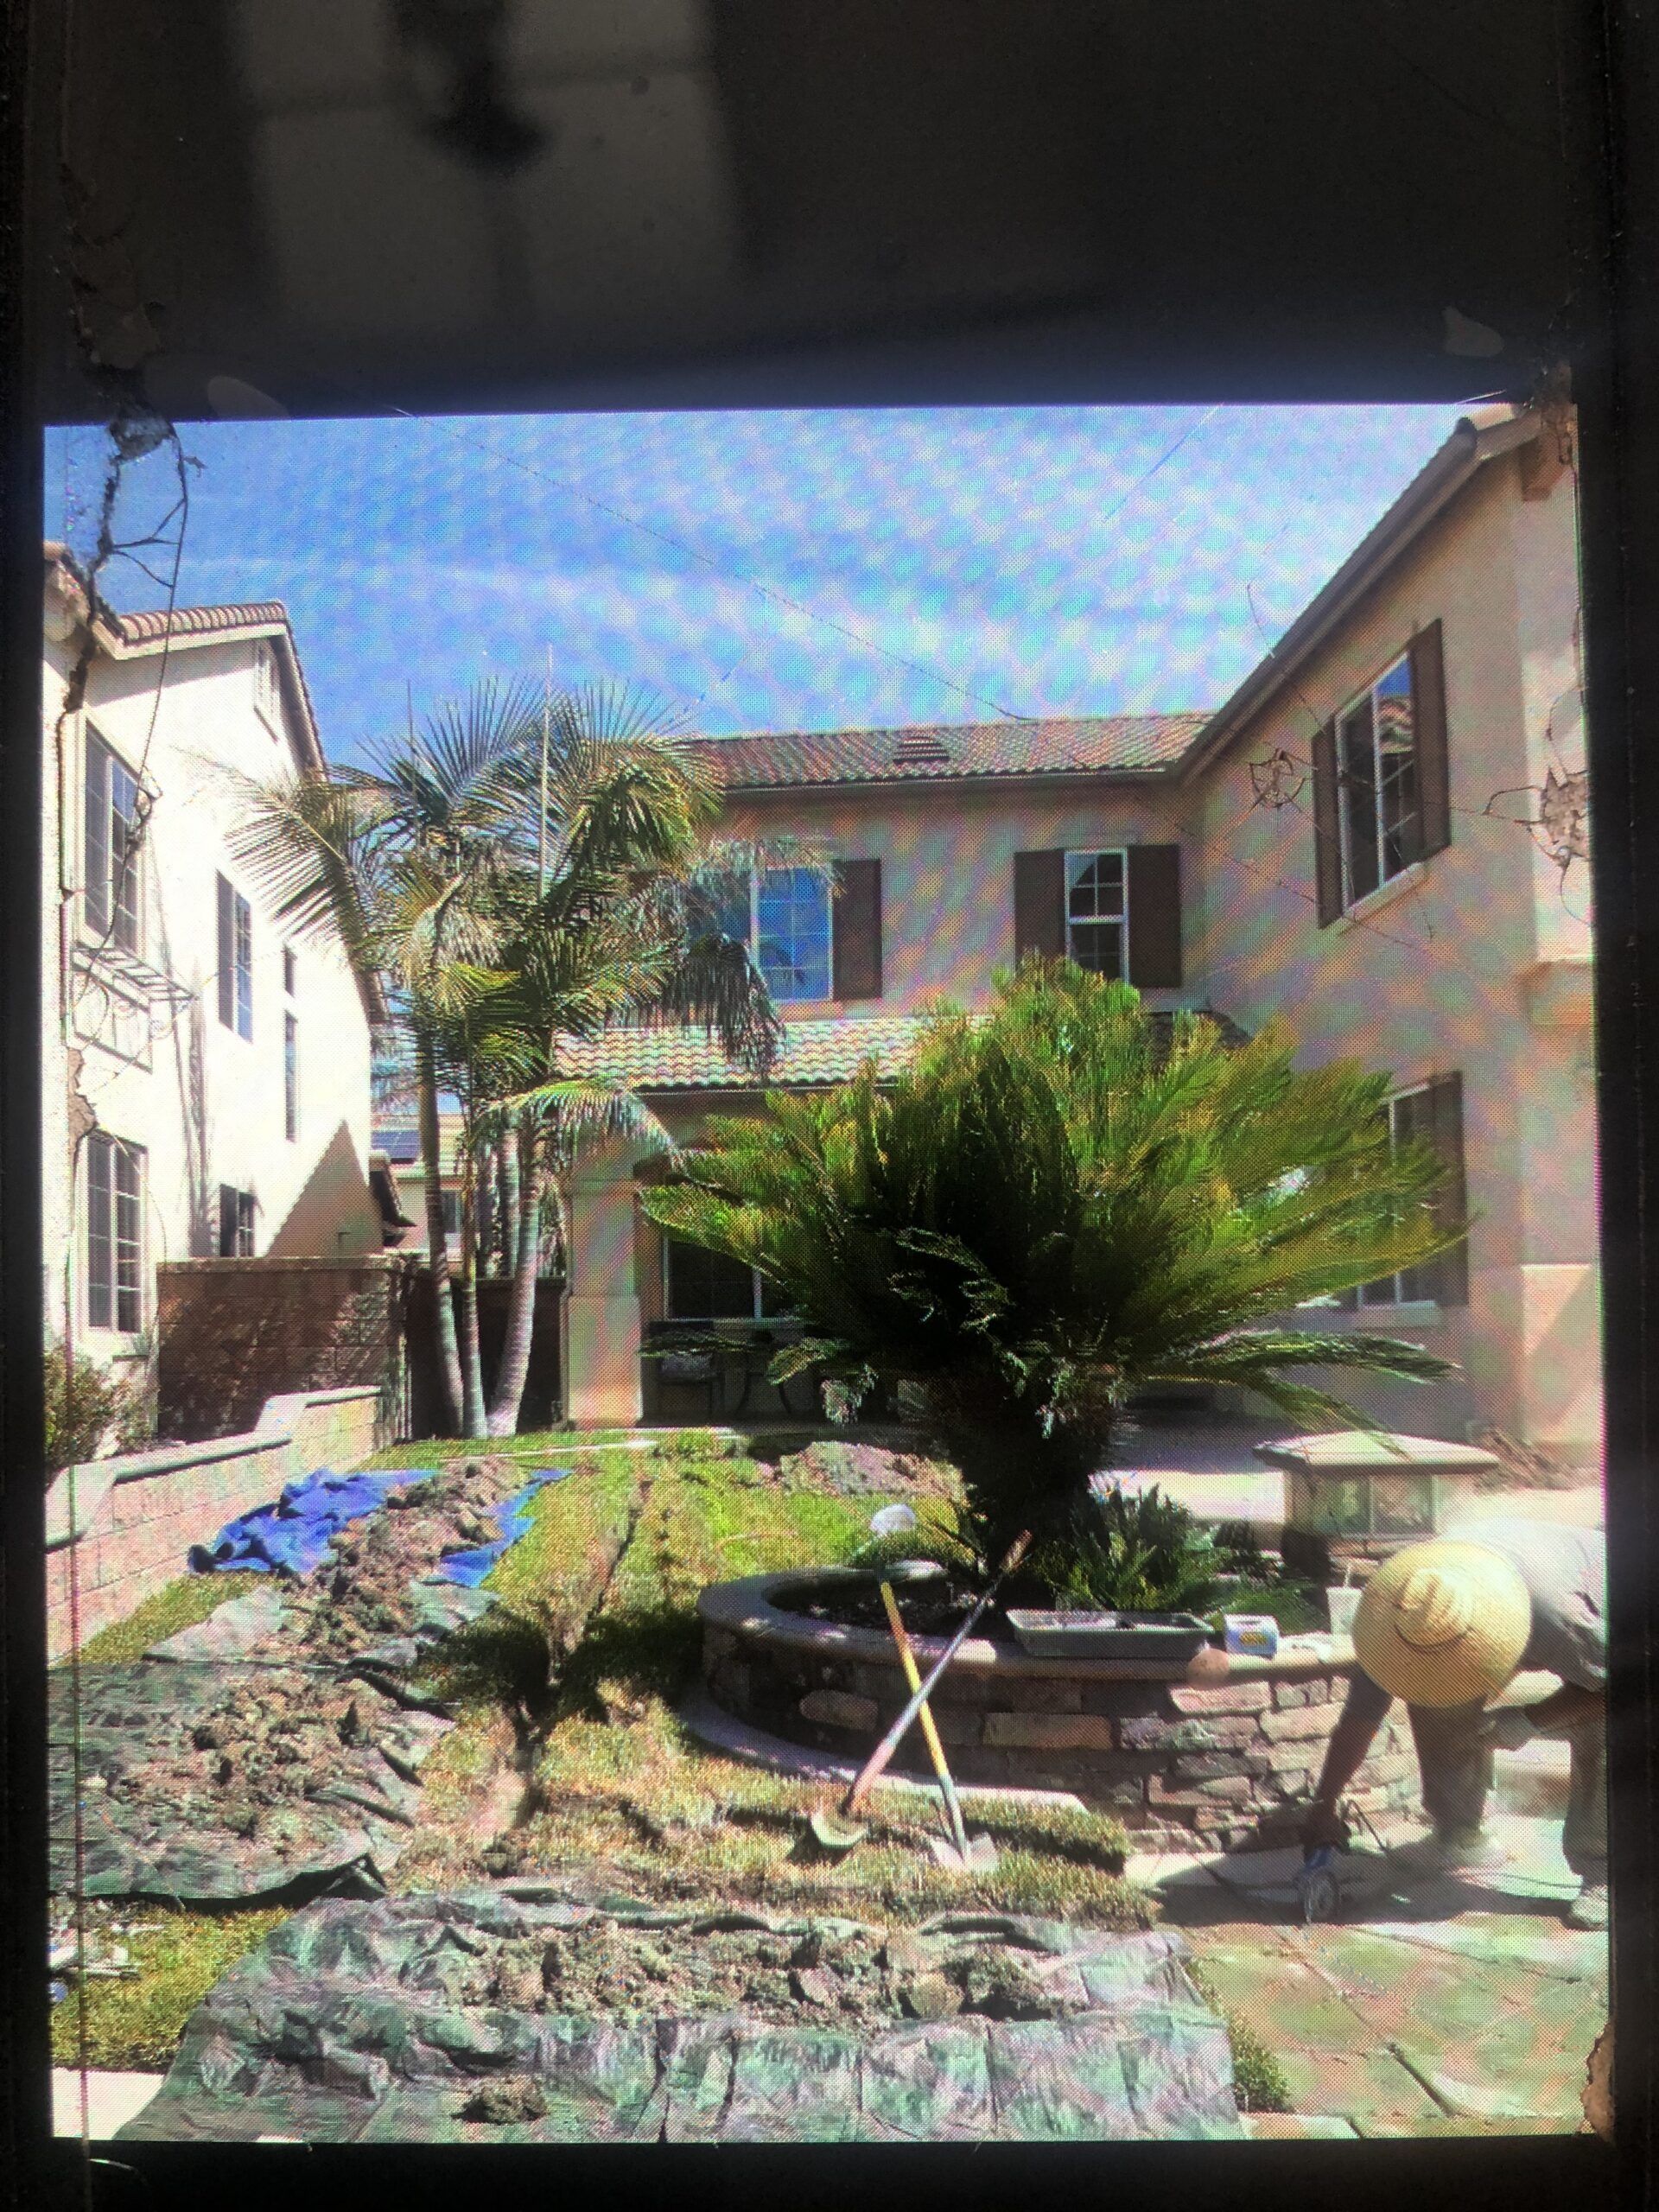
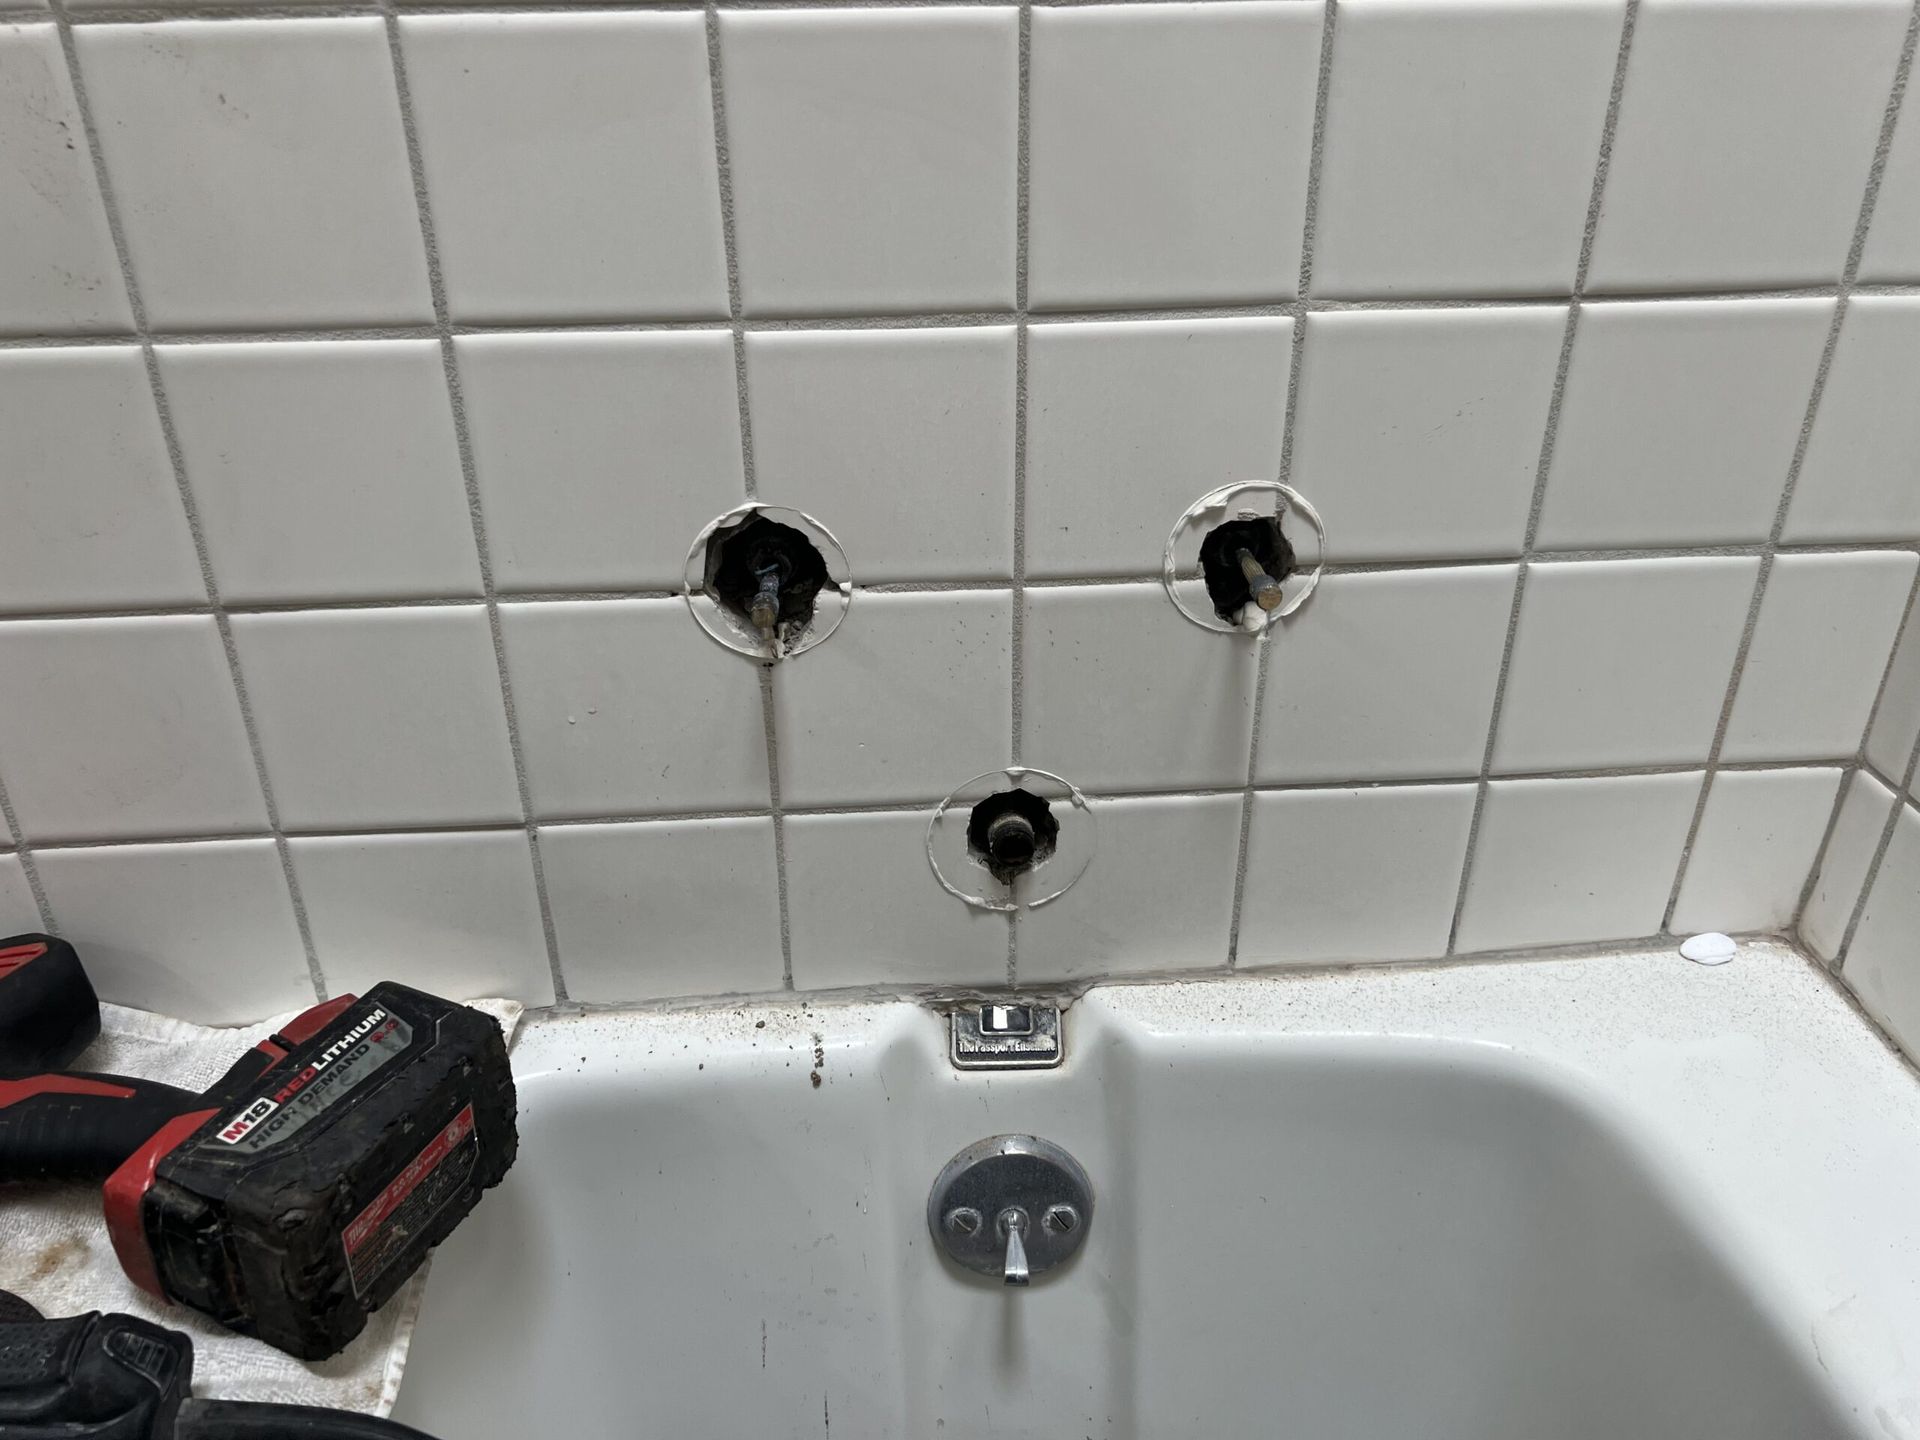
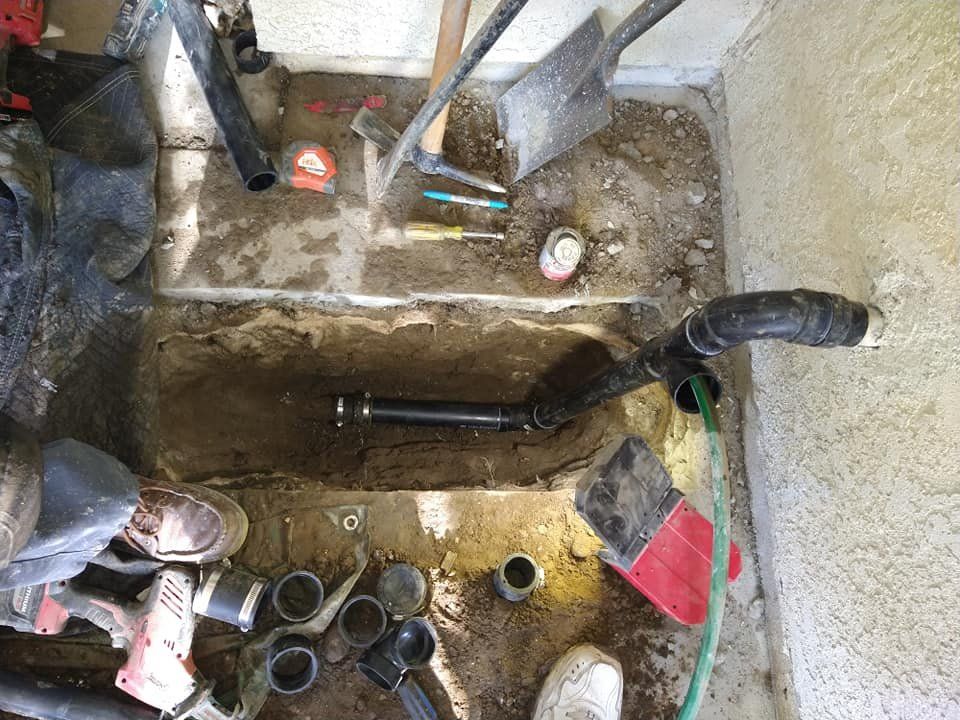
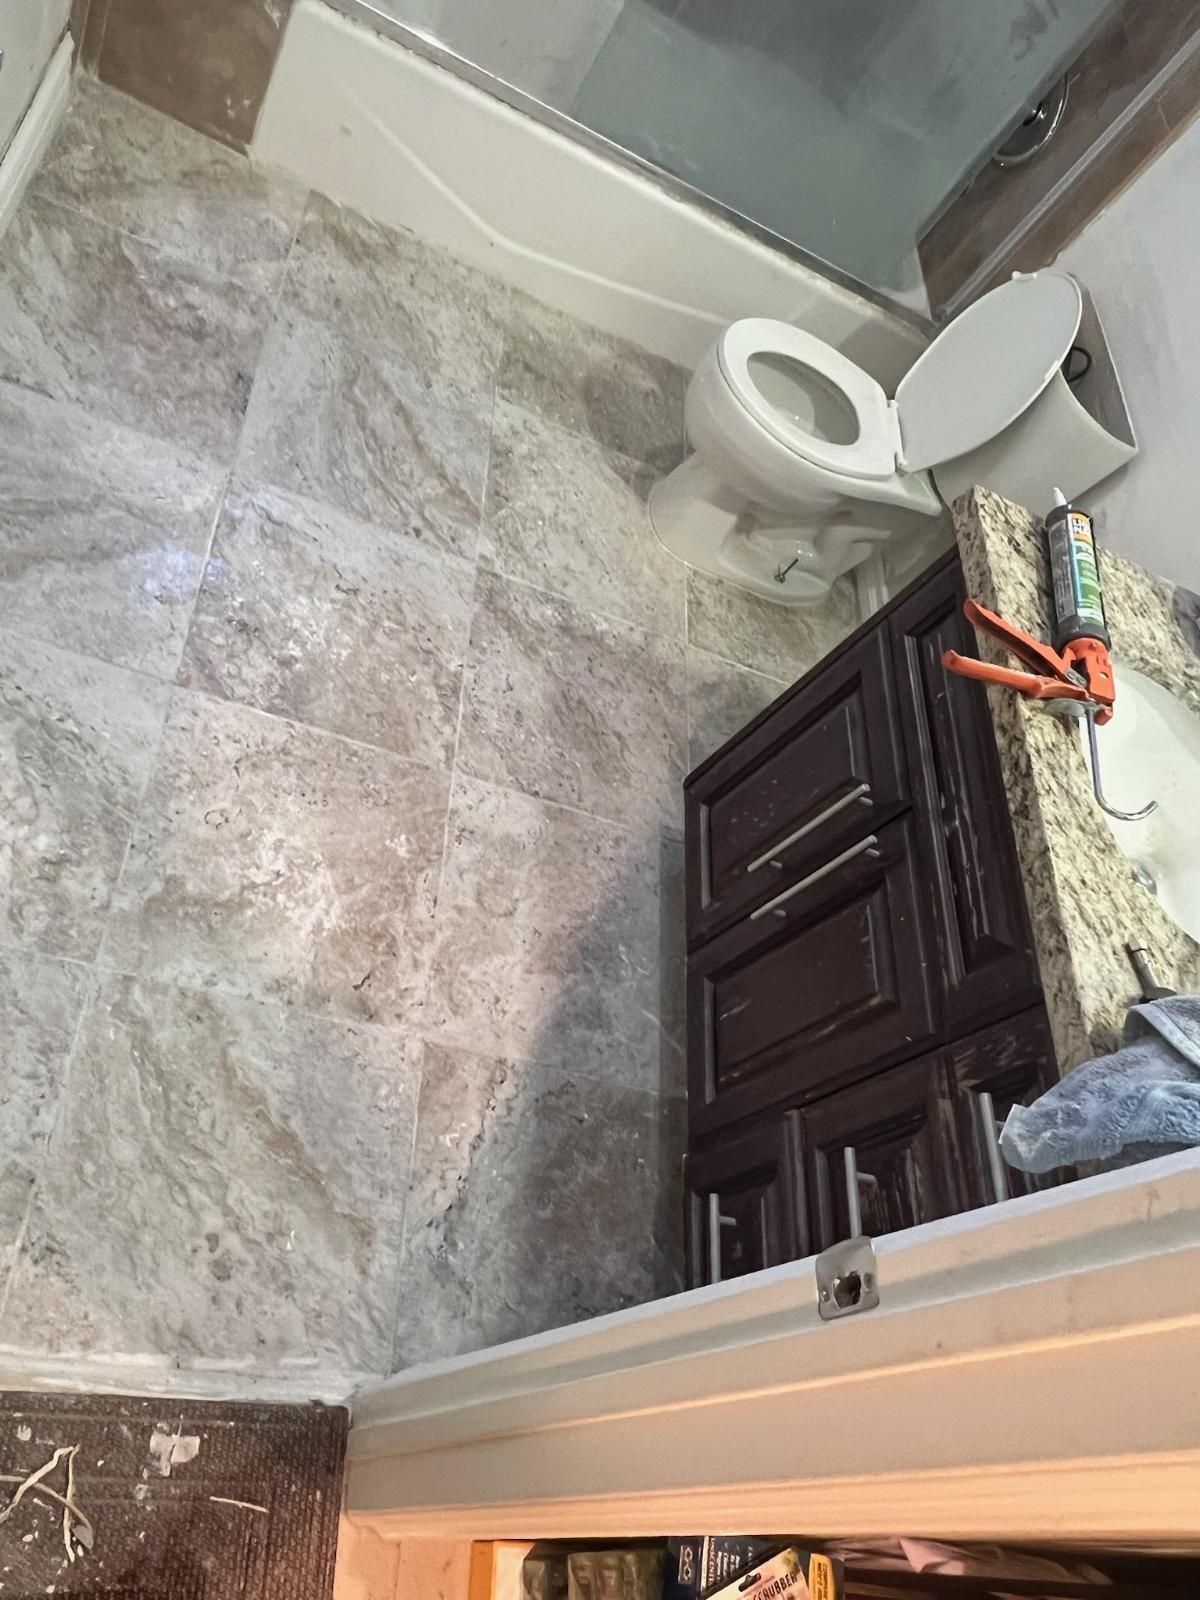
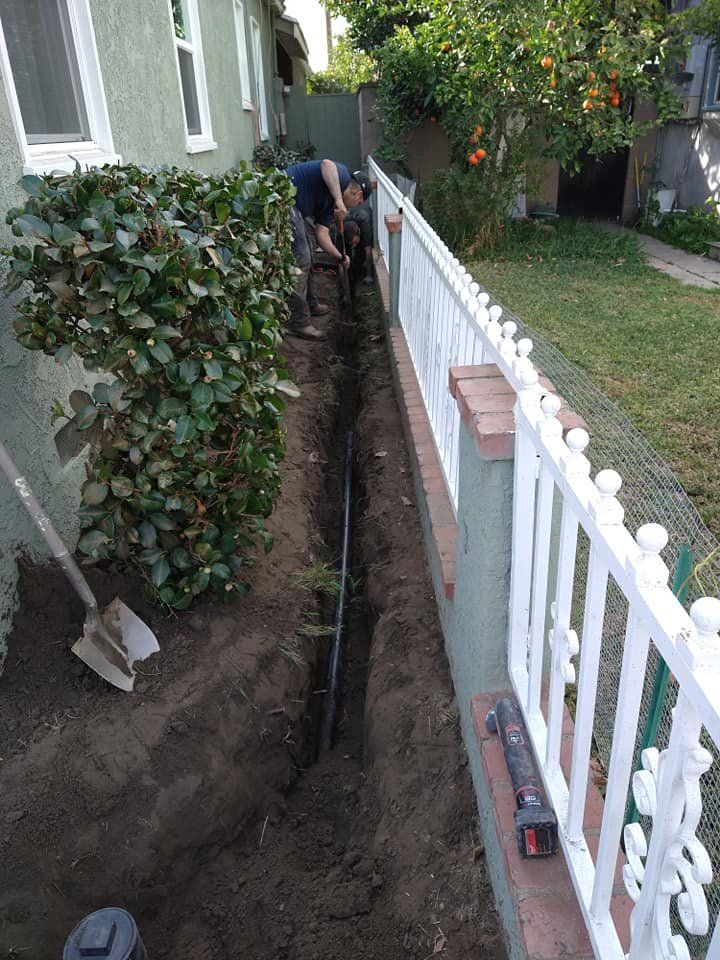
Our Previous Works
We Are Committed to Delivering Effective and Reliable Solutions
Witness our unwavering commitment to excellence as showcased in our gallery of previous works. Each case illustrates our dedication to delivering robust and effective plumbing solutions tailored to the unique needs of our diverse clientele. From simple repairs to complex installations, our expert craftsmanship, innovative techniques, and attention to detail remain consistent, ensuring reliable functionality that stands the test of time.


Emergency Plumbing Service 24/7 Availability
Our Emergency Plumbing Service offers around-the-clock assistance, ensuring help is always available during a crisis. Swift and dependable, we’re here to seamlessly tackle urgent plumbing needs any time, day or night.
Contact Us
Fill Out the Form and Enlist Our Services.
Ready to address your plumbing concerns? Fill out our contact form to enlist professional, efficient service you can trust to resolve any issue with precision and care.
Contact Form

Testimonials
Feedback From Our Clients
Discover the experiences of those who’ve entrusted us with their plumbing needs in our Testimonials section. Honest feedback from our clients provides insight into the quality of artistry and customer service we consistently deliver. Each testimonial is a testament to our commitment to exceeding expectations and establishing lasting relationships with our clients.
Quick Links
Our Services